
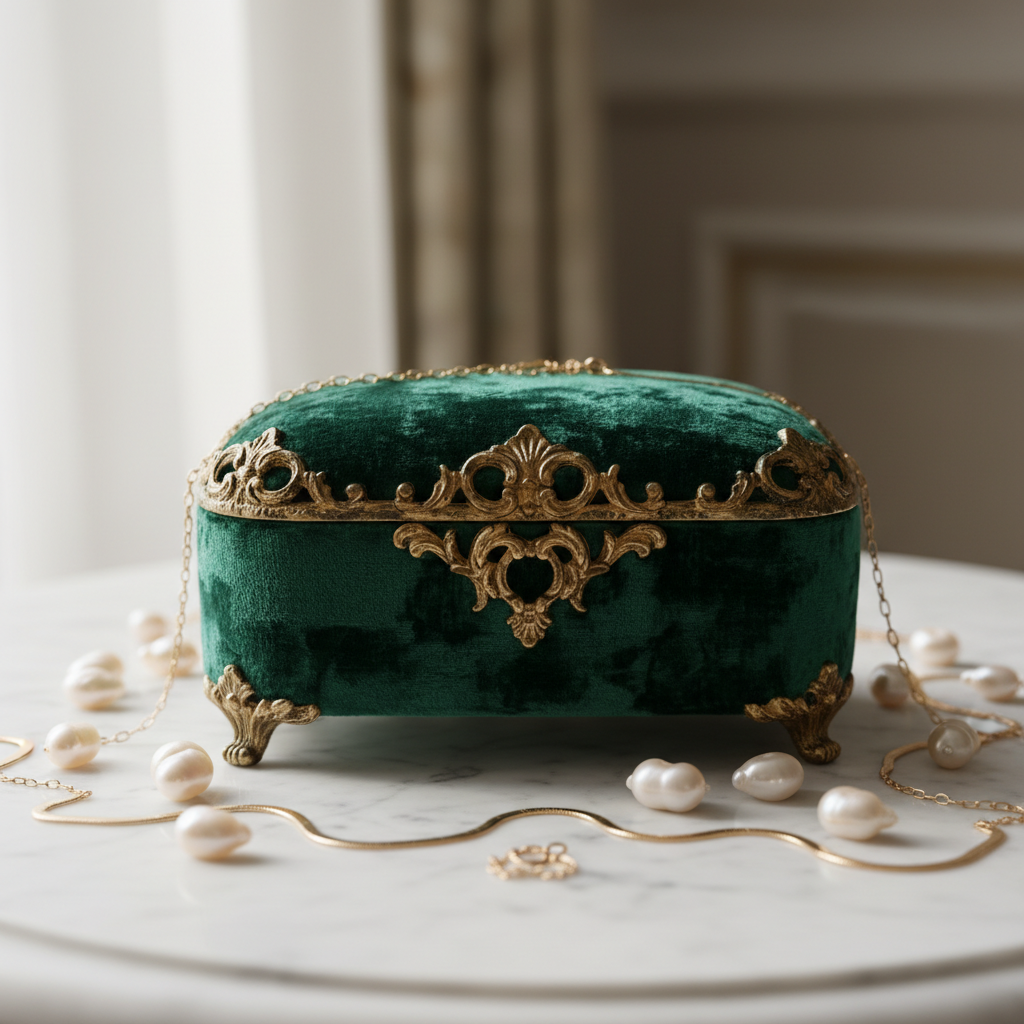
Transforming an existing container into a custom jewelry organizer involves lining the interior with protective fabrics and adding structural inserts for specific accessories. Cluttered vanities damage precious accessories while wasting valuable morning time when you cannot find your favorite pieces. Tangled chains and scratched gemstones represent a significant loss in your financial investment and personal style. Learning how to make a jewelry box at home allows you to create a bespoke solution that rivals high-end retail options.
Why struggle with how to make a jewelry box at home?
Organizing at home saves money and allows for perfect customization to your specific collection size. Mastering how to make a jewelry box ensures your silver and gold remain tarnish-free. You can avoid the frustration of generic store-bought options that never quite fit your drawer dimensions. This process transforms a simple container into a functional piece of art for your vanity.
What are the main benefits of DIY?
Creating your own storage gives you total control over the aesthetic and protective qualities of the box. You can select fabrics that specifically prevent metal oxidation and surface scratches.
Check this out:
- Perfect fit for unique jewelry shapes.
- Cost-effective use of recycled materials.
- Total creative freedom with colors.
Key Takeaway: Custom organization protects your jewelry while maximizing your existing storage space efficiently.
| Benefit | Impact | |
|---|---|---|
| Custom Sizing | Maximizes drawer space | |
| Fabric Choice | Prevents metal tarnishing | |
| Cost | Minimal financial investment |
Taking the initiative to build your own storage reflects a commitment to preserving your most valuable accessories.
What materials are needed for how to make a jewelry box?
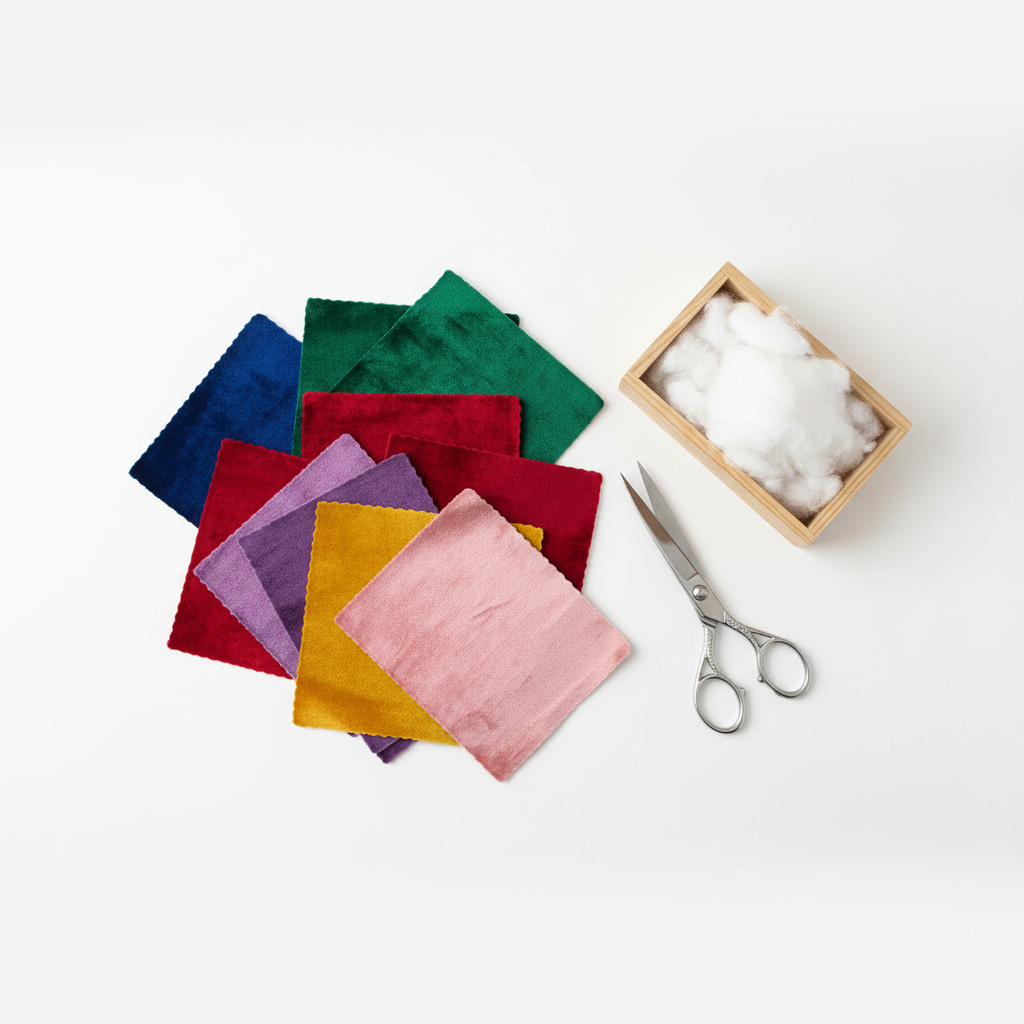
You need a sturdy base container, cotton batting, velvet fabric, and a reliable adhesive like hot glue. Understanding how to make a jewelry box requires selecting materials that protect delicate surfaces from abrasion. You might start with high-quality Paper Jewelry Boxes as your foundation. Having the right tools on hand ensures a professional finish that lasts for years.
How do you pick the right lining?
Selecting a soft lining is the most critical step for protecting your gemstones and metals. Velvet or microfiber are the best choices because they offer a lush texture without snagging delicate prongs.
Think about it:
- Velvet provides high-end luxury feel.
- Cotton batting adds necessary cushion.
- Hot glue offers a permanent bond.
Key Takeaway: High-quality fabric and padding are the foundation of a professional-grade jewelry organizer.
| Material | Primary Role | |
|---|---|---|
| Velvet | Surface protection | |
| Batting | Structural padding | |
| Hot Glue | Component assembly |
Selecting premium components ensures that your handmade project feels like a luxury boutique purchase.
How do you prep a basic box for how to make a jewelry box?

Clean the chosen container thoroughly and remove any old labels or debris from the surface. When learning how to make a jewelry box , a clean surface ensures that your adhesives bond correctly. You should lightly sand glossy surfaces to create a better grip for the fabric glue. This preparation stage prevents the lining from peeling away during humid summer months.
Should you paint the exterior first?
Painting the exterior allows you to match the box to your bedroom decor before adding the interior. Use high-quality acrylic paint for a smooth finish that won’t crack over time.
Here is the deal:
- Sanding creates a better adhesive bond.
- Paint refreshes vintage containers instantly.
- Cleaning prevents bumps under the fabric.
Key Takeaway: Proper preparation of the base container guarantees the structural longevity of your project.
| Prep Step | Expected Result | |
|---|---|---|
| Sanding | Improved glue adhesion | |
| Cleaning | Smooth fabric application | |
| Painting | Enhanced visual appeal |
A well-prepped box provides the stable foundation necessary for complex internal modifications and custom inserts.
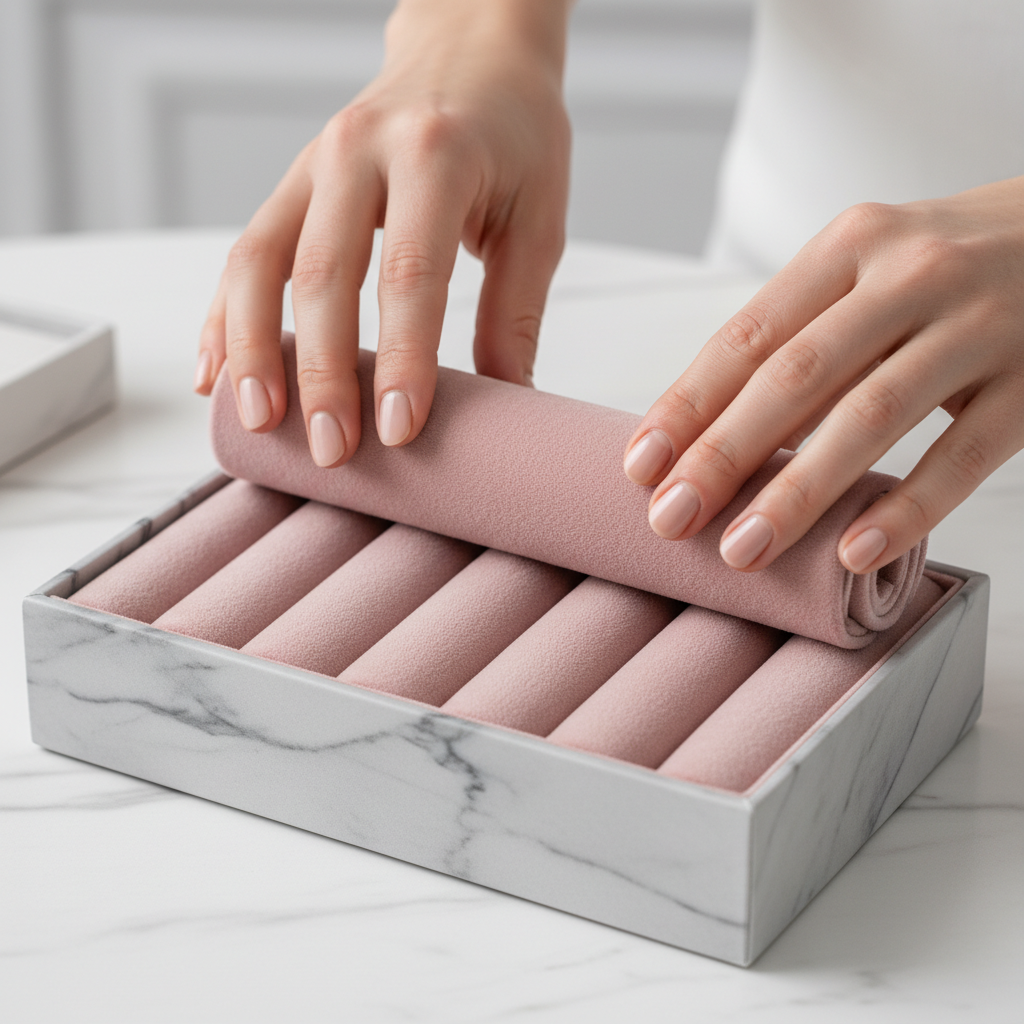
Can you explain how to make a jewelry box ring insert?
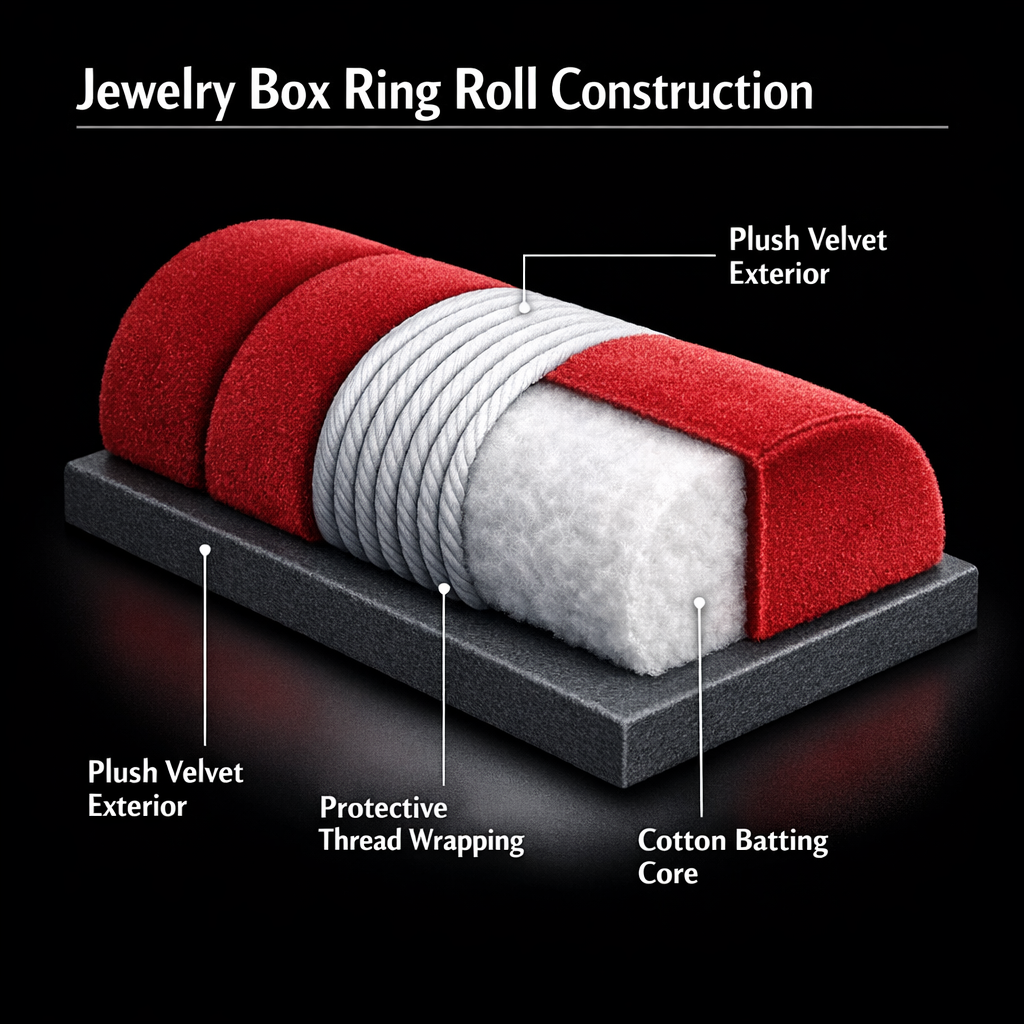
Creating ring rolls involves wrapping cotton batting in fabric to create soft, pressurized storage slots. Knowing how to make a jewelry box means mastering the tension required to hold rings securely in place. You can use similar techniques found in professional Ring Boxes to achieve a sleek look. These rolls act as protective clamps for your most delicate bands and gemstones.
How do you achieve the perfect roll?
Consistency is the secret to making your ring rolls look like they came from a factory. Ensure each strip of batting is exactly the same thickness before you wrap them in velvet.
Check this out:
- Tight rolls prevent ring movement.
- Uniform sizing creates symmetry.
- Soft fabrics prevent metal friction.
Key Takeaway: Uniform ring rolls provide the professional aesthetic and security your ring collection deserves.
| Insert Element | Function | |
|---|---|---|
| Batting Core | Compression and grip | |
| Velvet Wrap | Non-abrasive surface | |
| Snug Fit | Holds rings upright |
Mastering the ring roll technique is the hallmark of a truly skilled jewelry box creator.
How should you measure fabric for how to make a jewelry box?
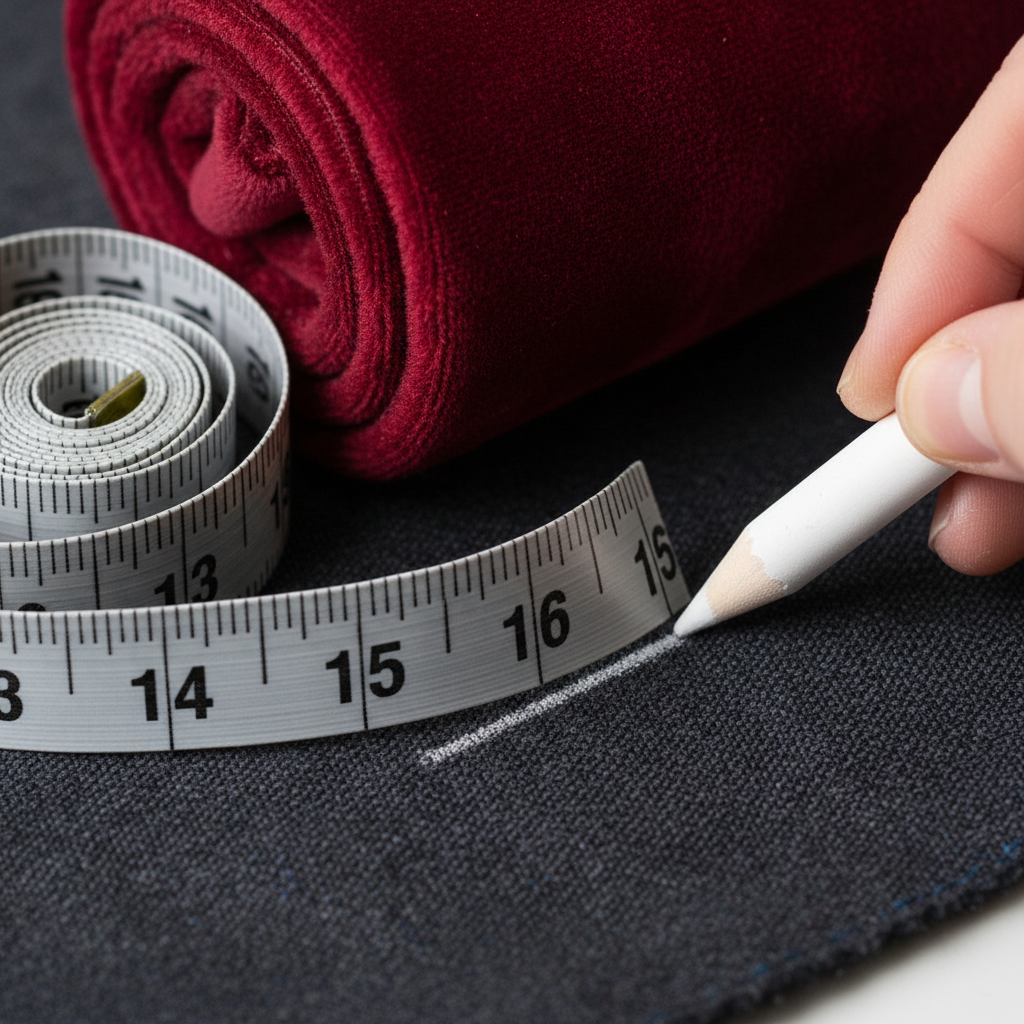
Measure the circumference of your inserts and add a half-inch allowance for the seam. For those learning how to make a jewelry box , precision in measurement prevents fabric waste and bulky corners. You must use a flexible measuring tape to account for the thickness of the padding. Accurate cuts lead to a seamless interior that looks professionally manufactured.
Why is the grain direction important?
The grain of the velvet determines how light reflects off the interior of your finished box. If you cut the fabric randomly, the panels will look like different colors when viewed from above.
Think about it:
- Consistent grain creates a luxury shimmer.
- Allowances prevent exposed padding.
- Chalk marks keep cuts straight.
Key Takeaway: Precise measurements and grain alignment are essential for a high-end, boutique-quality finish.
| Measurement Tip | Why It Matters | |
|---|---|---|
| Add 0.5 inches | Allows for clean seams | |
| Check Grain | Ensures color consistency | |
| Use Chalk | Prevents fabric staining |
Taking the time to measure twice ensures that your assembly process is smooth and error-free.
Is there a trick for how to make a jewelry box with velvet?
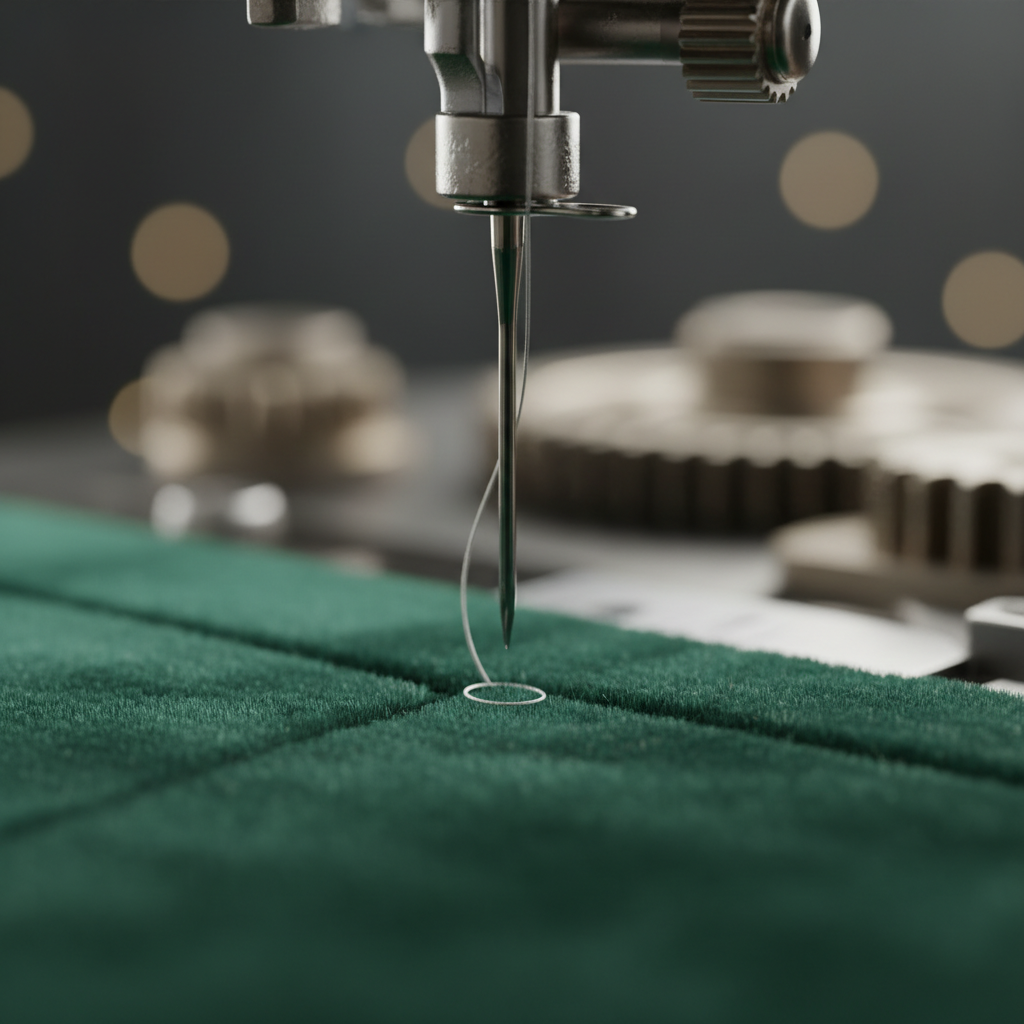
Use a walking foot on your sewing machine to prevent the velvet from sliding while you stitch. When you are figuring out how to make a jewelry box, handling slippery fabrics is often the biggest challenge. You should also use pins frequently to keep your layers aligned during the entire process. This attention to detail prevents bunching and ensures your inserts fit the box perfectly.
How do you avoid glue stains?
Applying glue in small dots rather than thick lines keeps the adhesive from soaking through the fabric. Use a popsicle stick to press the velvet into corners to keep your fingers clean and safe.
Here is the deal:
- Walking feet handle velvet easily.
- Small glue dots prevent bleeding.
- Safety pins help turn tubes.
Key Takeaway: Specialized sewing techniques and careful adhesive application result in a clean, professional interior.
| Technique | Professional Benefit | |
|---|---|---|
| Walking Foot | Even fabric feeding | |
| Dot Gluing | Stain-free surfaces | |
| Pinning | Precise alignment |
Successful velvet manipulation separates amateur DIY attempts from artisan-quality jewelry storage solutions.
How do you assemble the pieces for how to make a jewelry box?
Press your finished rolls into the bottom of the container so they fit tightly together without gaps. When you explore how to make a jewelry box , the final assembly is where your hard work truly comes together. A friction fit is often better than using excessive glue, as it allows for future adjustments. Ensure all edges are tucked neatly for a high-end look that impresses everyone.
Should you use dividers for bracelets?
Adding rigid cardboard dividers covered in fabric helps keep larger items like watches and bracelets separated. This prevents heavy pieces from colliding and causing microscopic scratches on polished surfaces.
Check this out:
- Snug fits eliminate the need for glue.
- Tucked edges look more professional.
- Dividers prevent jewelry tangling.
Key Takeaway: Strategic placement of inserts ensures a stable and organized environment for your accessories.
| Assembly Step | Goal | |
|---|---|---|
| Friction Fit | Stability without mess | |
| Edge Tucking | Seamless appearance | |
| Alignment | Symmetrical layout |
Final assembly transforms individual components into a cohesive and highly functional jewelry storage system.
What about how to make a jewelry box for necklaces?
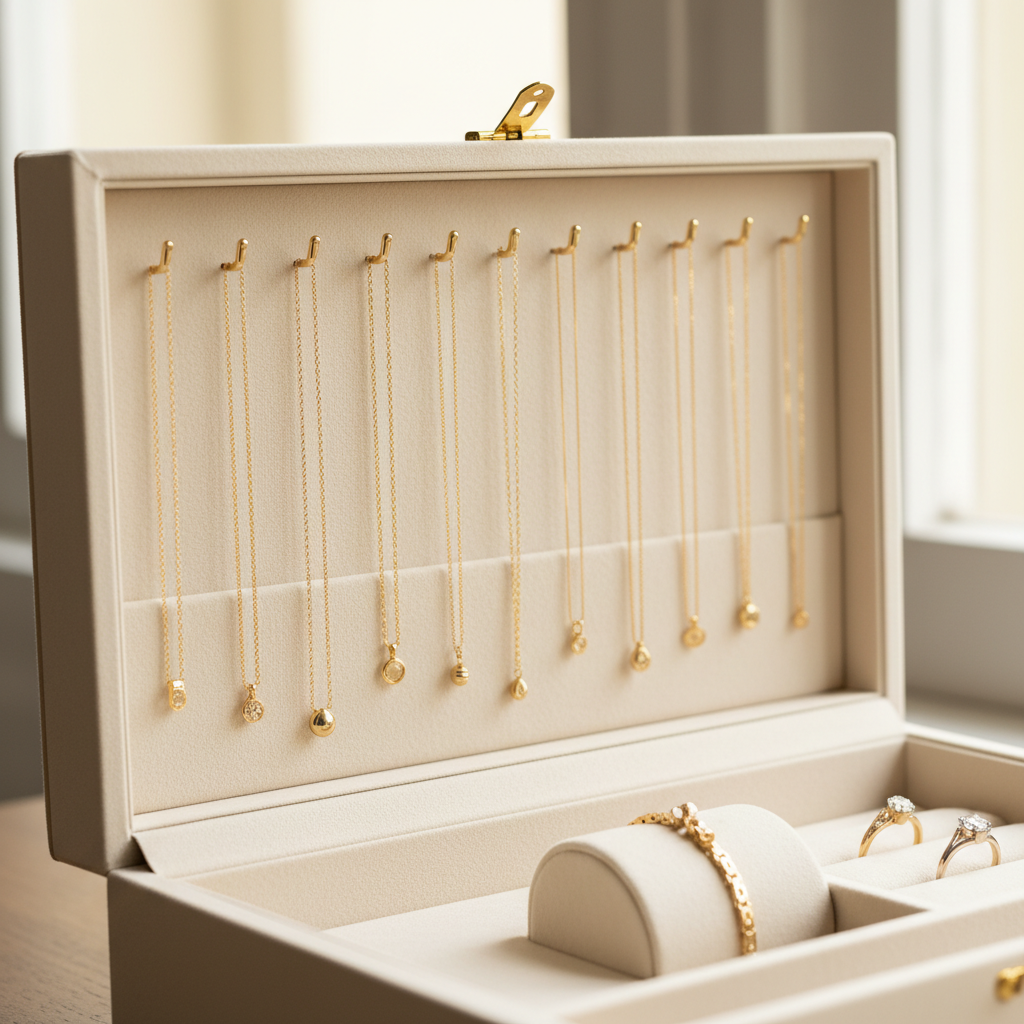
Install small brass hooks on the inside of the lid to keep your chains hanging straight and tangle-free. Understanding how to make a jewelry box for necklaces involves managing length and preventing knots during storage. You can look at professional Necklace Boxes for inspiration on hook placement and pouch design. This vertical storage solution maximizes space while protecting delicate links.
Can you add a protective pouch?
A small velvet pouch at the bottom of the lid catches the ends of your hanging necklaces. This prevents the chains from getting caught in the box hinges when you close the lid.
Think about it:
- Hooks prevent frustrating knots.
- Pouches protect pendant finishes.
- Elastic loops hold chains securely.
Key Takeaway: Vertical storage solutions are the best way to maintain the integrity of delicate necklace chains.
| Component | Protection Level | |
|---|---|---|
| Brass Hooks | High (Prevents knots) | |
| Velvet Pouch | Medium (Protects ends) | |
| Elastic Band | Medium (Holds in place) |
Integrating specialized necklace storage ensures your custom box can handle your entire jewelry collection with ease.
Can a professional box help you learn how to make a jewelry box?
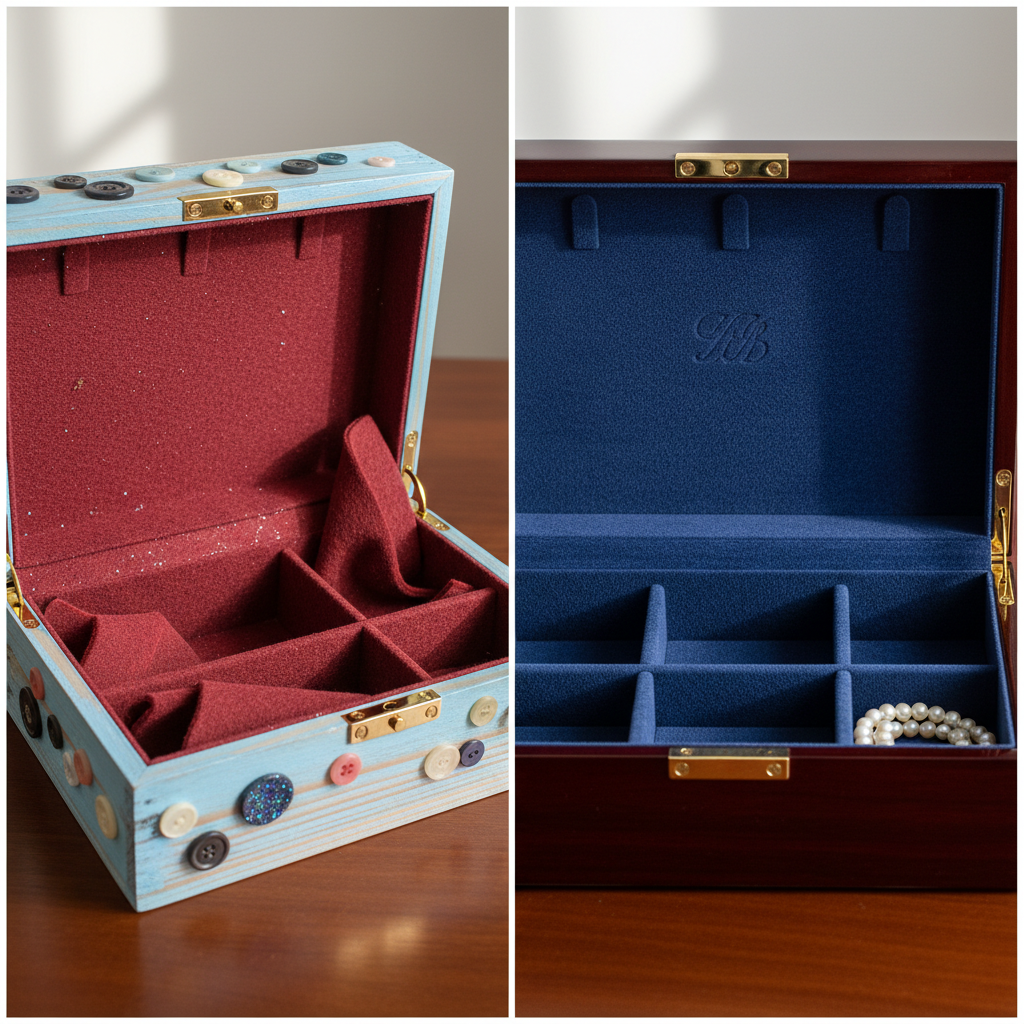
Reverse-engineering an industrial container reveals the sophisticated folding and gluing techniques used by experts. Studying how to make a jewelry box through professional examples helps you identify where to add structural reinforcement. Many high-end Plastic Jewelry Boxes use hidden seams that you can replicate at home. This research elevates your DIY skills to an artisan level.
What secrets do manufacturers hide?
Manufacturers often use specialized cardstock inserts to hide raw fabric edges and provide internal rigidity. By mimicking these hidden frames, you can make your handmade box feel significantly more substantial and durable.
Here is the deal:
- Invisible seams improve aesthetics.
- Cardstock frames add durability.
- Industrial glues last longer.
Key Takeaway: Learning from professional packaging designs provides the technical insights needed for artisan-quality results.
| DIY Method | Pro Secret | |
|---|---|---|
| Raw Edges | Hidden cardstock seams | |
| Soft Base | Rigid internal framing | |
| Hand Gluing | Precision heat bonding |
Applying industrial design principles to your project ensures a finished product that is both beautiful and resilient.
Ready to finish your guide on how to make a jewelry box?
Add a final styling touch by arranging your most precious items in the center of your new creation. Completing your journey on how to make a jewelry box gives you a sense of accomplishment and a cleaner vanity. You now have the skills to protect your investments and streamline your morning routine every single day. Enjoy the luxury of a perfectly organized accessory collection.
How do you maintain the velvet?
Keep your jewelry box away from direct sunlight to prevent the vibrant velvet colors from fading over time. Use a soft lint roller once a month to remove any dust that settles on the fabric surface.
Check this out:
- Lint rollers keep velvet fresh.
- Sunlight protection preserves color.
- Periodic glue checks ensure safety.
Key Takeaway: Regular maintenance and proper placement will keep your custom jewelry box looking new for decades.
| Maintenance | Frequency | |
|---|---|---|
| Dusting | Monthly | |
| Glue Check | Yearly | |
| UV Protection | Always |
Consistent care ensures that your handmade masterpiece remains a functional and beautiful part of your home.
FAQ Section
Q1: What is the best box to use?A sturdy wooden or heavy-duty cardboard container is the ideal choice. These materials provide the rigid structure needed to support internal rolls and lid hooks without warping under the weight of your jewelry.
Q2: How does the velvet stay clean?You should use a standard lint roller or a light adhesive tape to lift debris. Velvet attracts dust easily, but regular light cleaning prevents the fibers from becoming matted or dull over long periods of use.
Q3: Can I use different fabrics?Yes, silk and microfiber are excellent alternatives if you prefer a different aesthetic. While velvet is the gold standard for protection, any non-abrasive fabric will serve the primary purpose of preventing scratches on your accessories.
Q4: Do I need a sewing machine?No, you can achieve similar results using fabric glue or careful hand-stitching. While a machine speeds up the process for making ring rolls, the structural integrity of the box depends more on your adhesive choices and measurement accuracy.
Q5: How do I know if the rolls are tight enough?The rolls should resist light pressure when you try to push a ring into the slot. If the jewelry falls out when you tilt the box, you need to add more cotton batting to increase the internal tension.
Creating a custom jewelry box solves your organization problems while adding a touch of elegance to your daily life. We have explored how to select premium materials, measure with precision, and assemble professional-grade inserts that protect your valuable collection. This guide empowers you to transform ordinary objects into extraordinary storage solutions through smart DIY techniques. Start your project today to experience the peace of a perfectly organized vanity. If you require high-volume solutions or professional design inspiration for your brand, contact us today to see how YiXin Packaging can elevate your jewelry presentation.