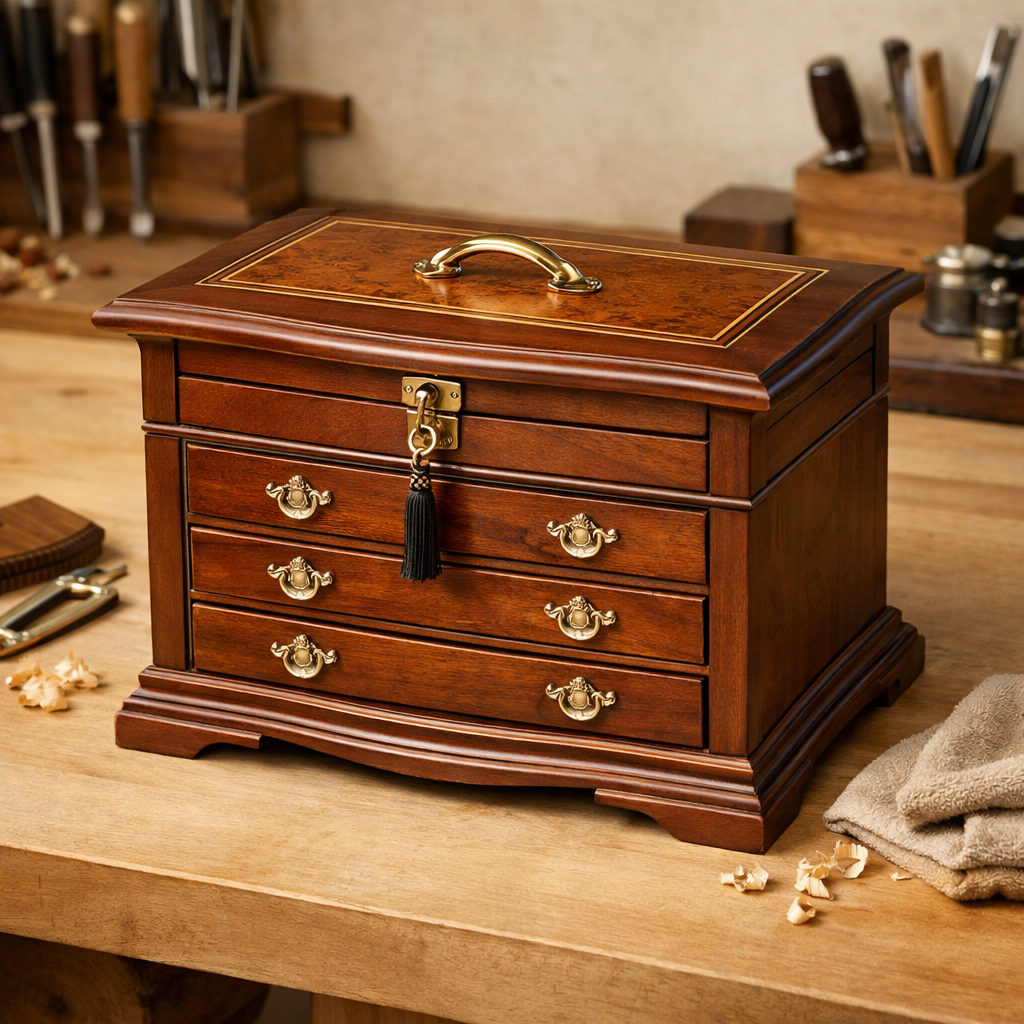
Is your precious collection currently tangled in a messy heap or hidden away in a dark drawer where you can never find what you need? When high-value pieces are stored improperly, they often rub against each other, leading to unsightly scratches, tarnished metals, and hours of frustration during your morning routine. Learning how to build a jewelry box is the perfect solution to protect your investments while creating a beautiful, personalized organizer that fits your specific style. Whether you are looking for a weekend project or want to upgrade from a standard how to build a jewelry box setup, this guide provides the precision steps needed for professional-grade results.
What Tools and Materials are Needed to Build a Jewelry Box?
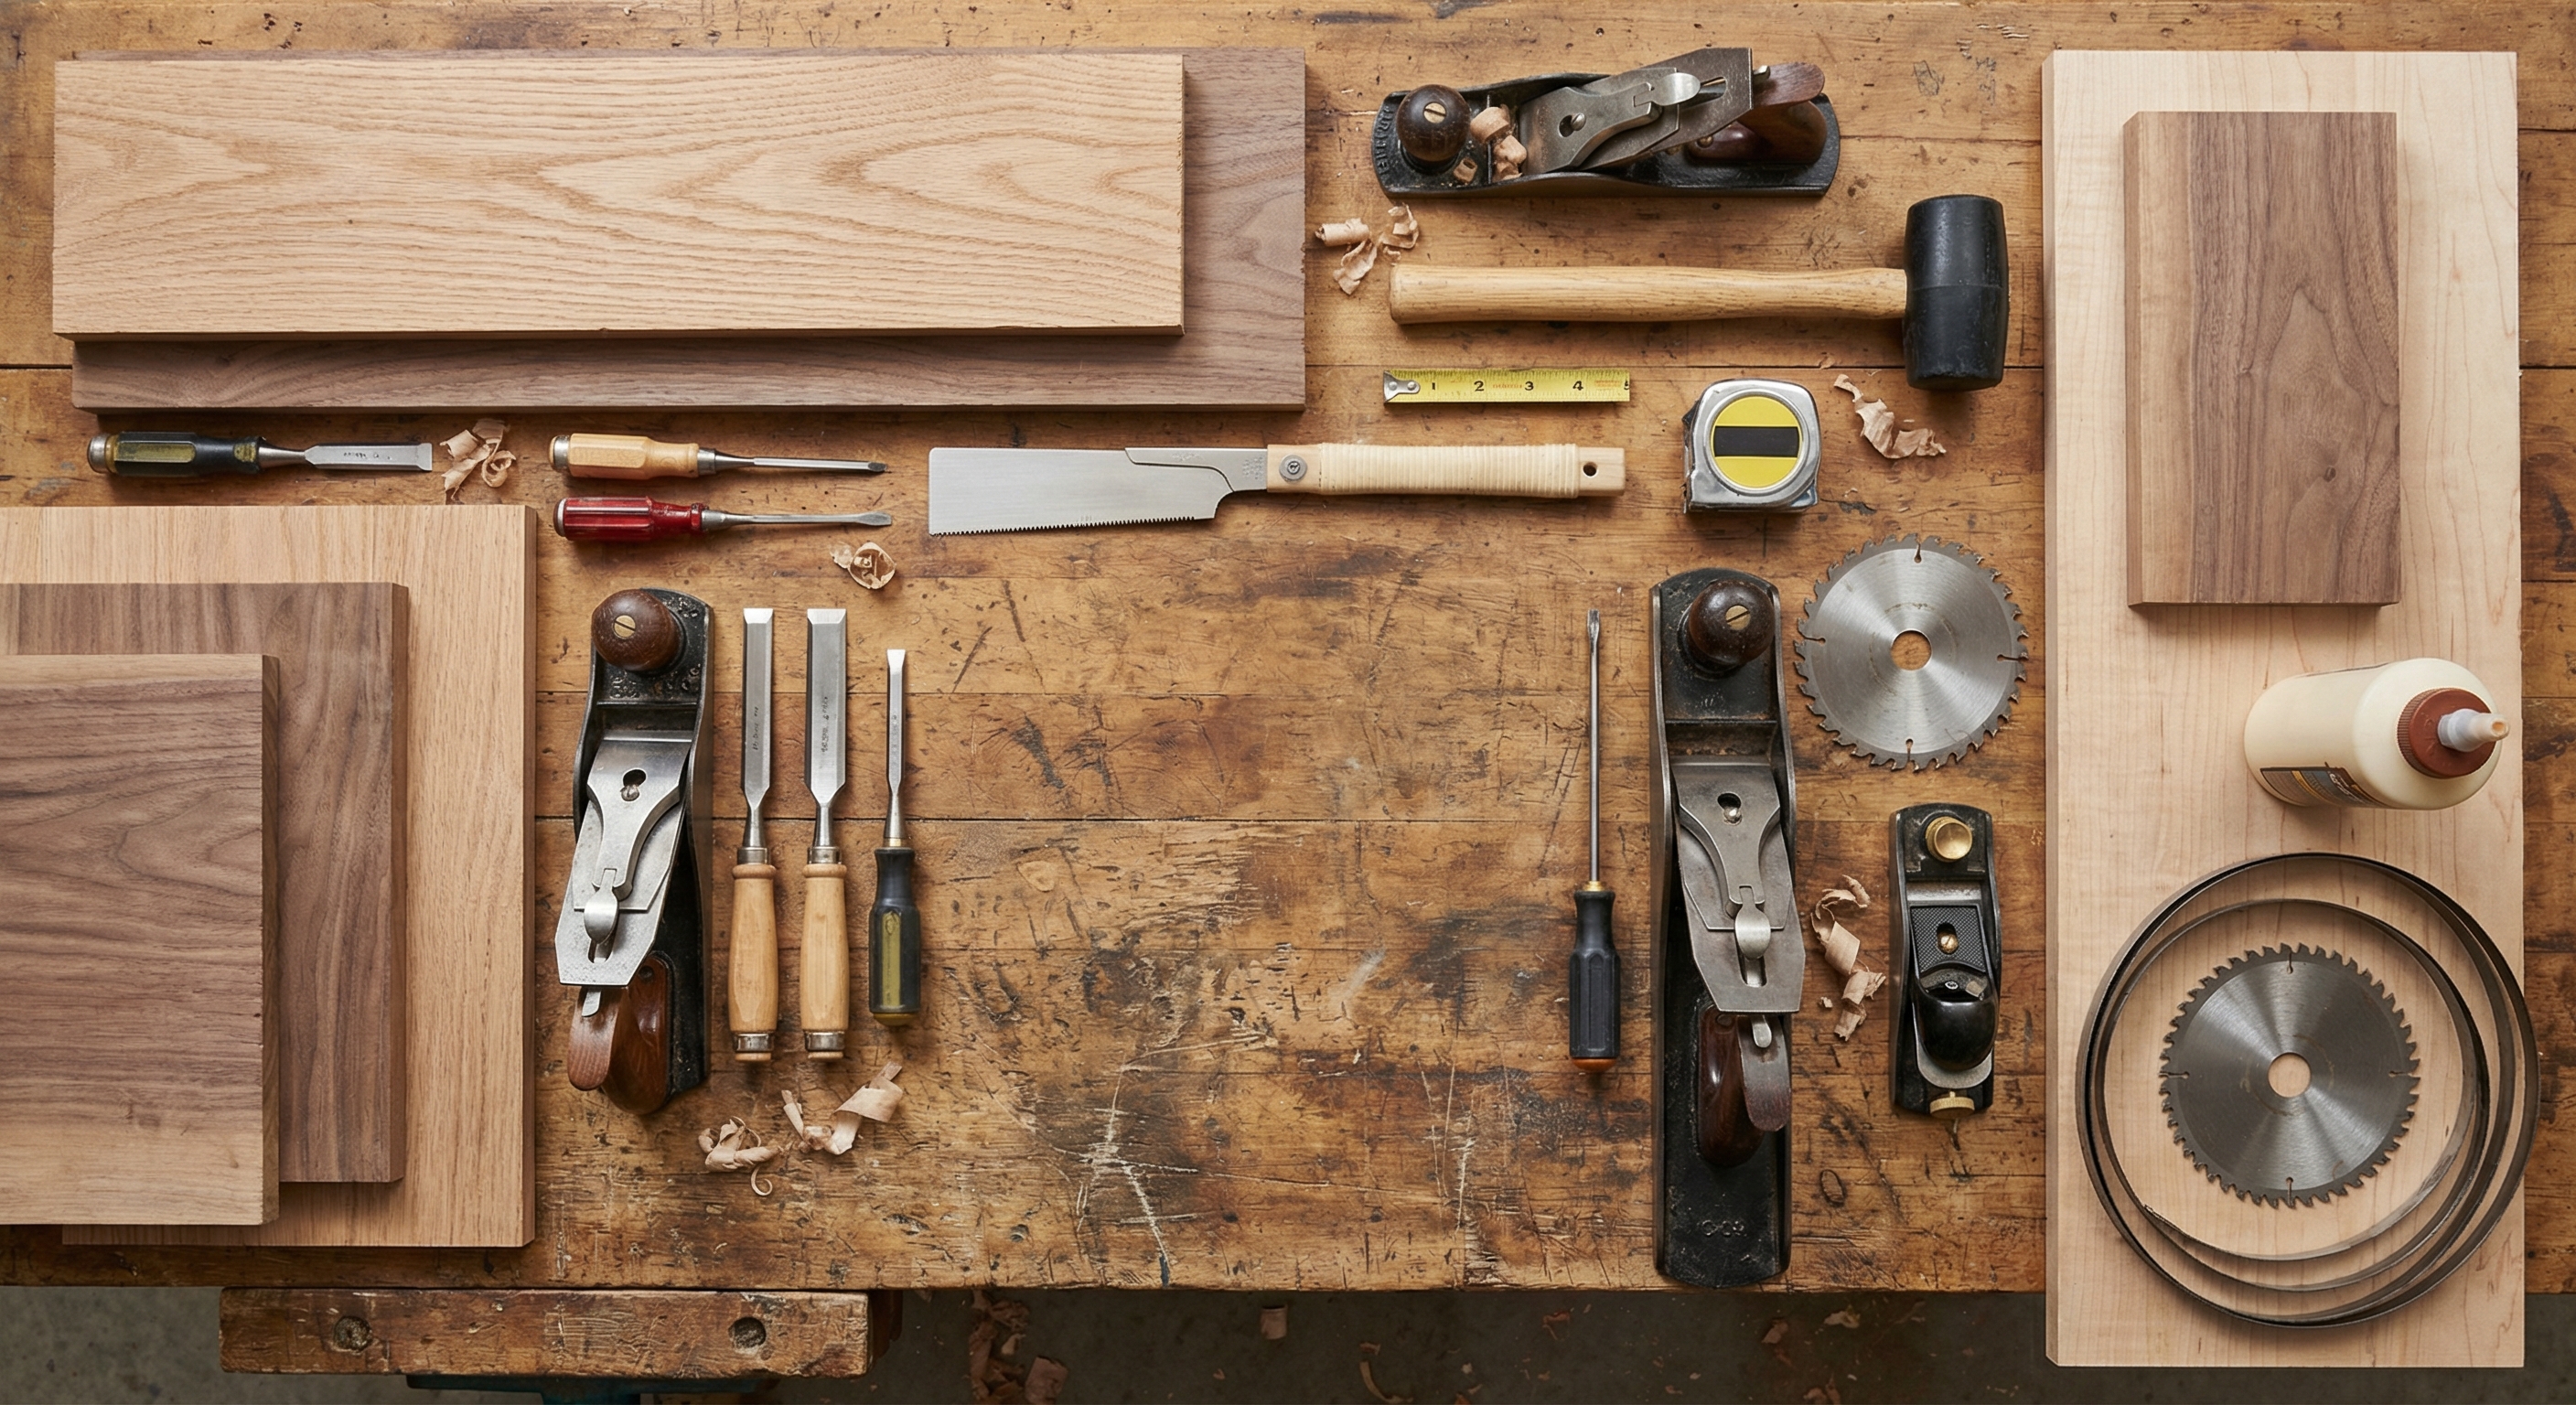
Before making your first cut, you must gather the necessary woodworking equipment to ensure a smooth assembly process. Learning how to build a jewelry box requires a miter saw for angled cuts and a table saw for ripping boards. You should also have an orbital sander and safety gear ready.
First things first, you need to organize your wood and hardware. Having everything laid out prevents mid-project delays and ensures your measurements remain consistent across all components.
- Miter saw and table saw.
- Orbital sander with 150-220 grit paper.
- Wood glue and clear packing tape.
- Quick-Grip clamps.
- 1/2″ and 3/4″ hardwood boards.
Essential Wood Selection
You should choose a hardwood like walnut or oak for a premium feel. Plywood is a great alternative if you prefer a modern, minimalist aesthetic for your dresser.
| Item Type | Material Recommendation | Purpose | |
|---|---|---|---|
| Main Structure | 3/4″ Hardwood | Outer walls and lid | |
| Inner Tray | 1/4″ Baltic Birch | Lightweight storage | |
| Finish | Wipe-on Polyurethane | Protection and shine |
Analyzing the right materials ensures the box lasts for generations while protecting delicate gems.
How Do I Cut and Groove the Box Top and Bottom?
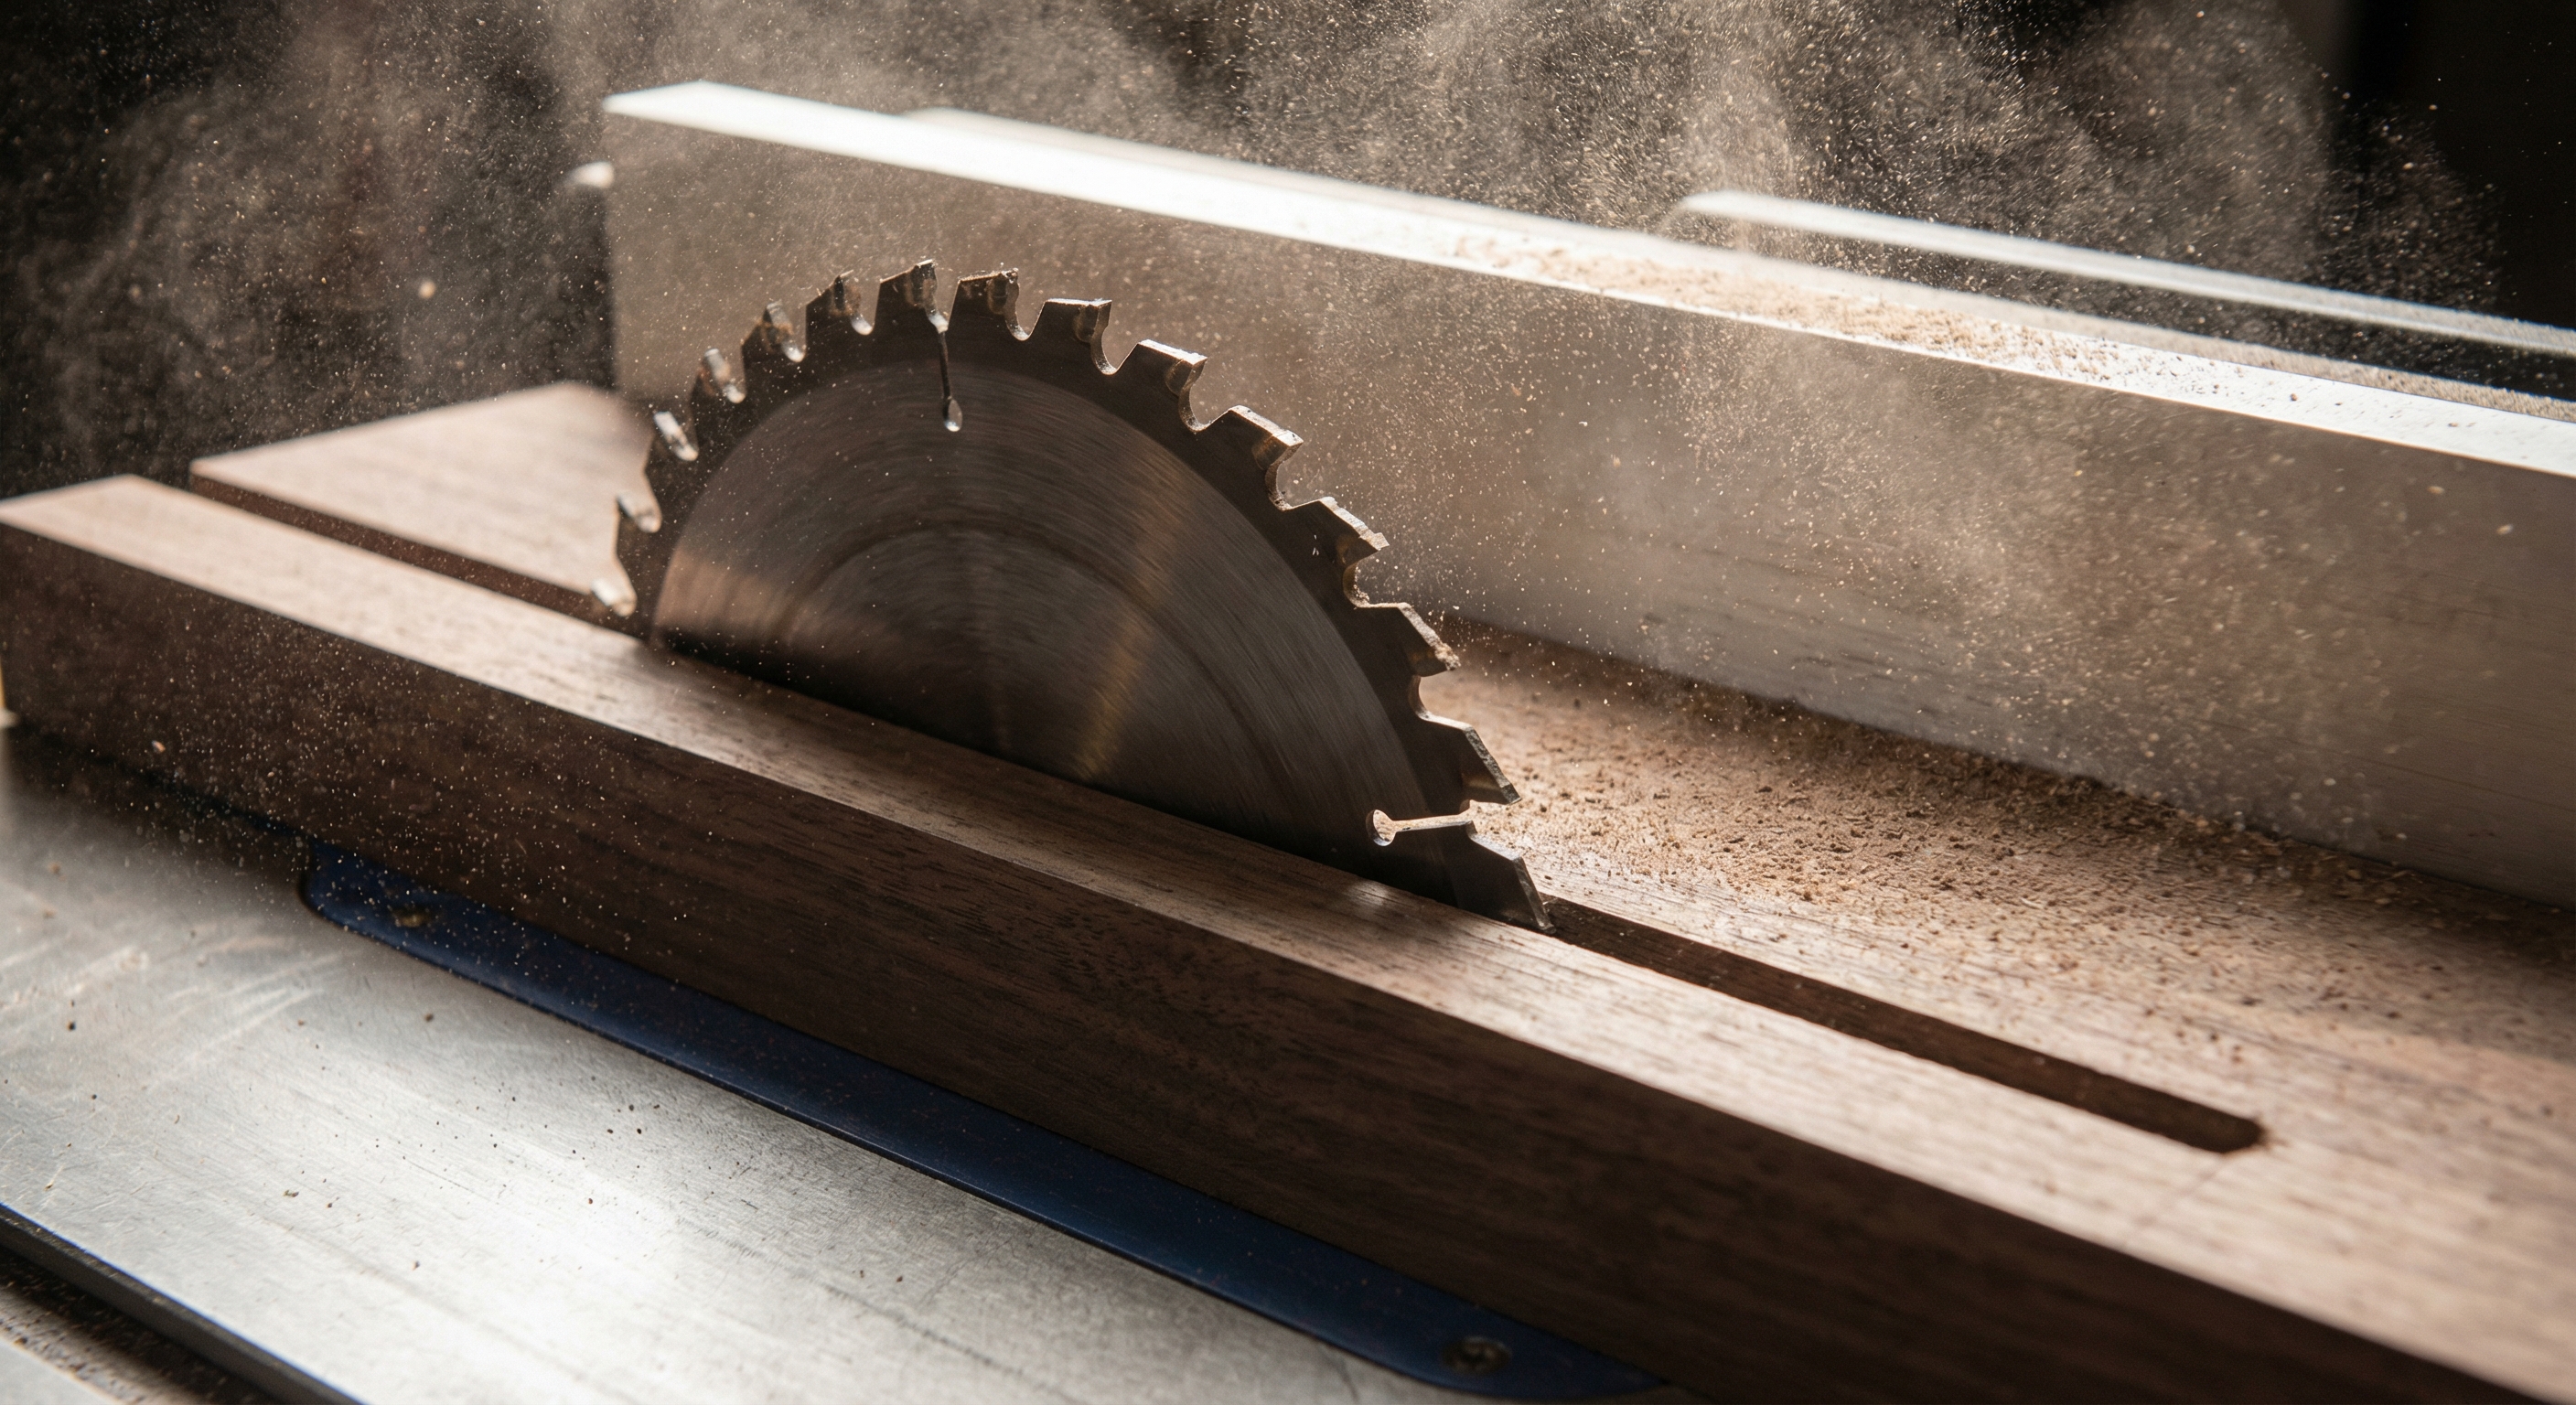
The structural integrity of the project starts with the top and bottom panels. When you learn how to build a jewelry box , you must start with a 3/4-inch piece of hardwood cut to 6-in. x 20-in. Using a table saw, you will create a groove cut on the two long sides.
Think about it: this groove is what holds your side walls in place without bulky nails. Precision here is non-negotiable for a flush fit.
- Cut boards to 6-in. x 20-in.
- Set blade depth to 1/4-inch.
- Groove width should be 1/2-inch.
- Use a miter saw to divide the board into two nine-inch pieces.
Creating the Recessed Lip
You need to make additional groove cuts on the ends of each board to the same specifications. This creates a recessed “lip” that serves as the foundation for the entire assembly.
| Measurement | Dimension | Tool Used | |
|---|---|---|---|
| Depth | 1/4 inch | Table Saw | |
| Width | 1/2 inch | Table Saw | |
| Total Length | 9 inches (x2) | Miter Saw |
Precise grooving creates a mechanical bond that significantly strengthens the final structure.
What is the Best Way to Prepare the Main Box Wood?
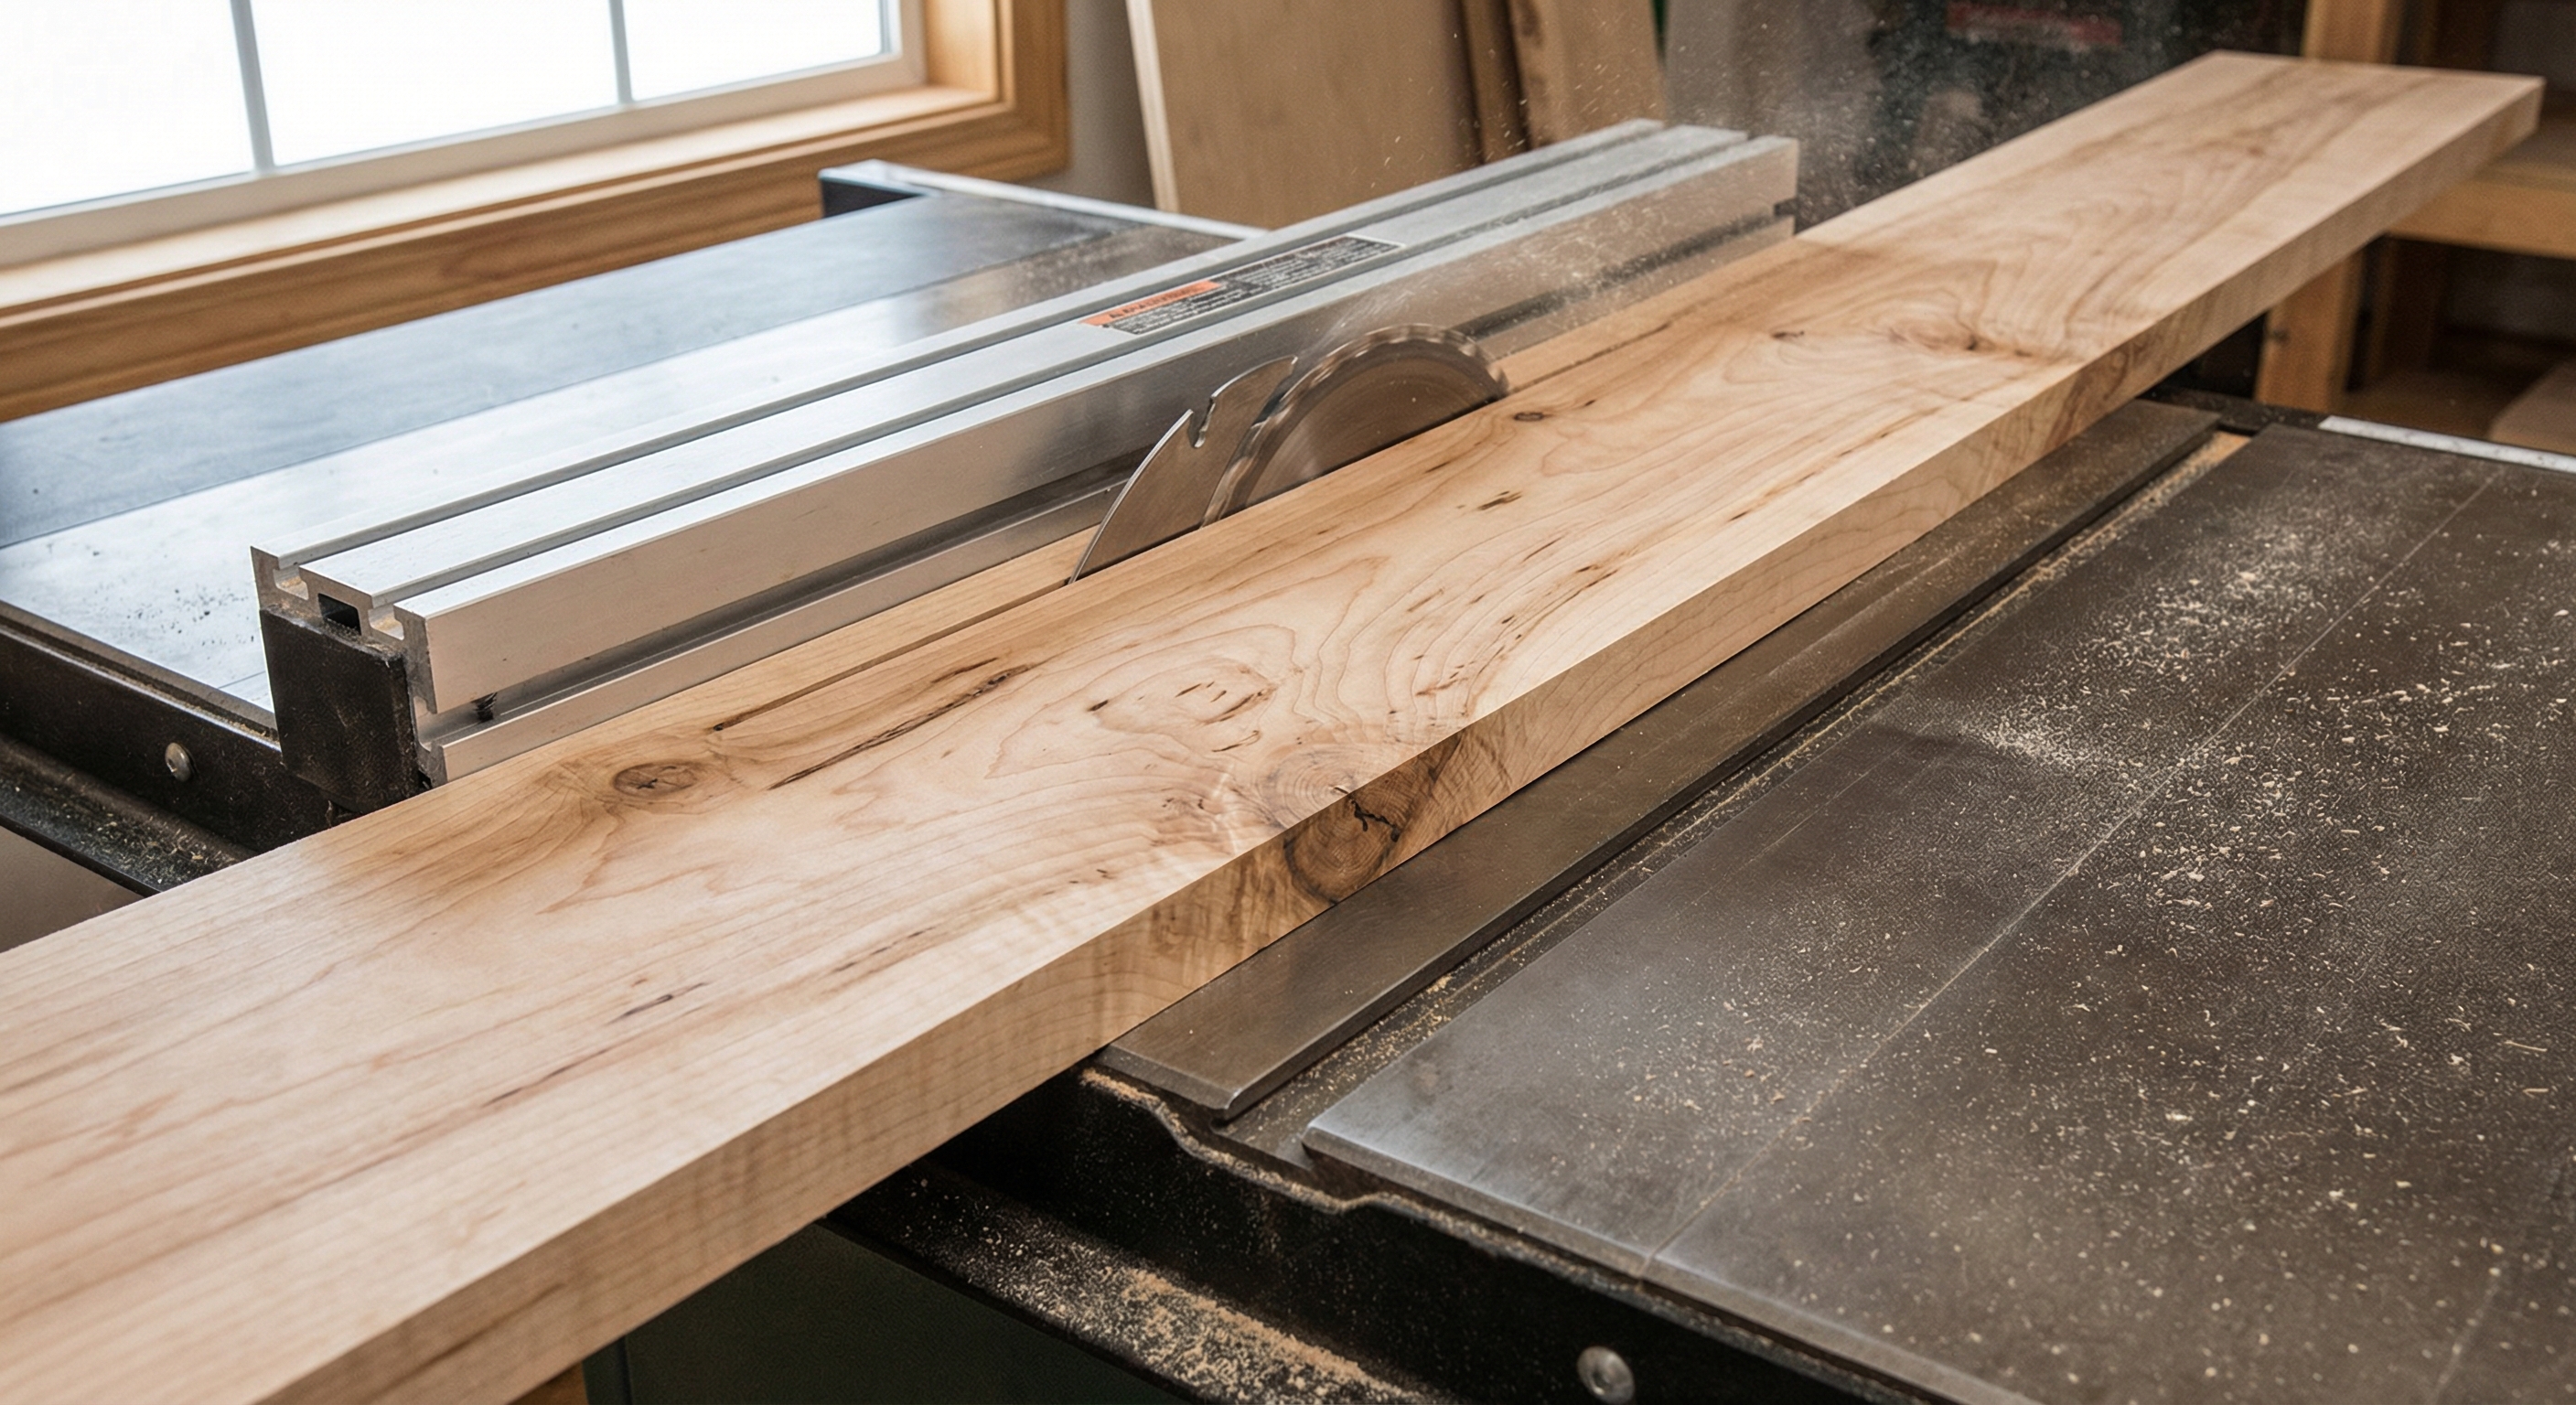
To ensure the walls of your project are uniform, you must rip your lumber to the correct dimensions. While researching how to build a jewelry box, you will find that consistency is the key to avoiding a lopsided appearance. You should take your 1/2-in. hardwood and cut a single length to 32 inches.
Want to know the secret? Ripping the entire board to a consistent width of 4-1/2 inches at once ensures every side matches perfectly.
- Rip board to 4-1/2 inches wide.
- Maintain a length of 32 inches for the main run.
- Use a push stick for safety on the table saw.
- Check for straight edges before proceeding.
Lumber Preparation Tips
You should always sand the boards lightly after ripping to remove any saw marks. This saves you significant time during the final finishing stage when the box is already assembled.
| Board Part | Dimensions | Required Quantity | |
|---|---|---|---|
| Wall Stock | 1/2″ x 4-1/2″ x 32″ | 1 Piece | |
| Bottom Panel | 3/4″ x 6″ x 9″ | 1 Piece | |
| Top Panel | 3/4″ x 6″ x 9″ | 1 Piece |
Uniform ripping ensures that all four corners meet at the exact same height for a professional look.
How Do I Cut the Mitered Box Sides and Front?
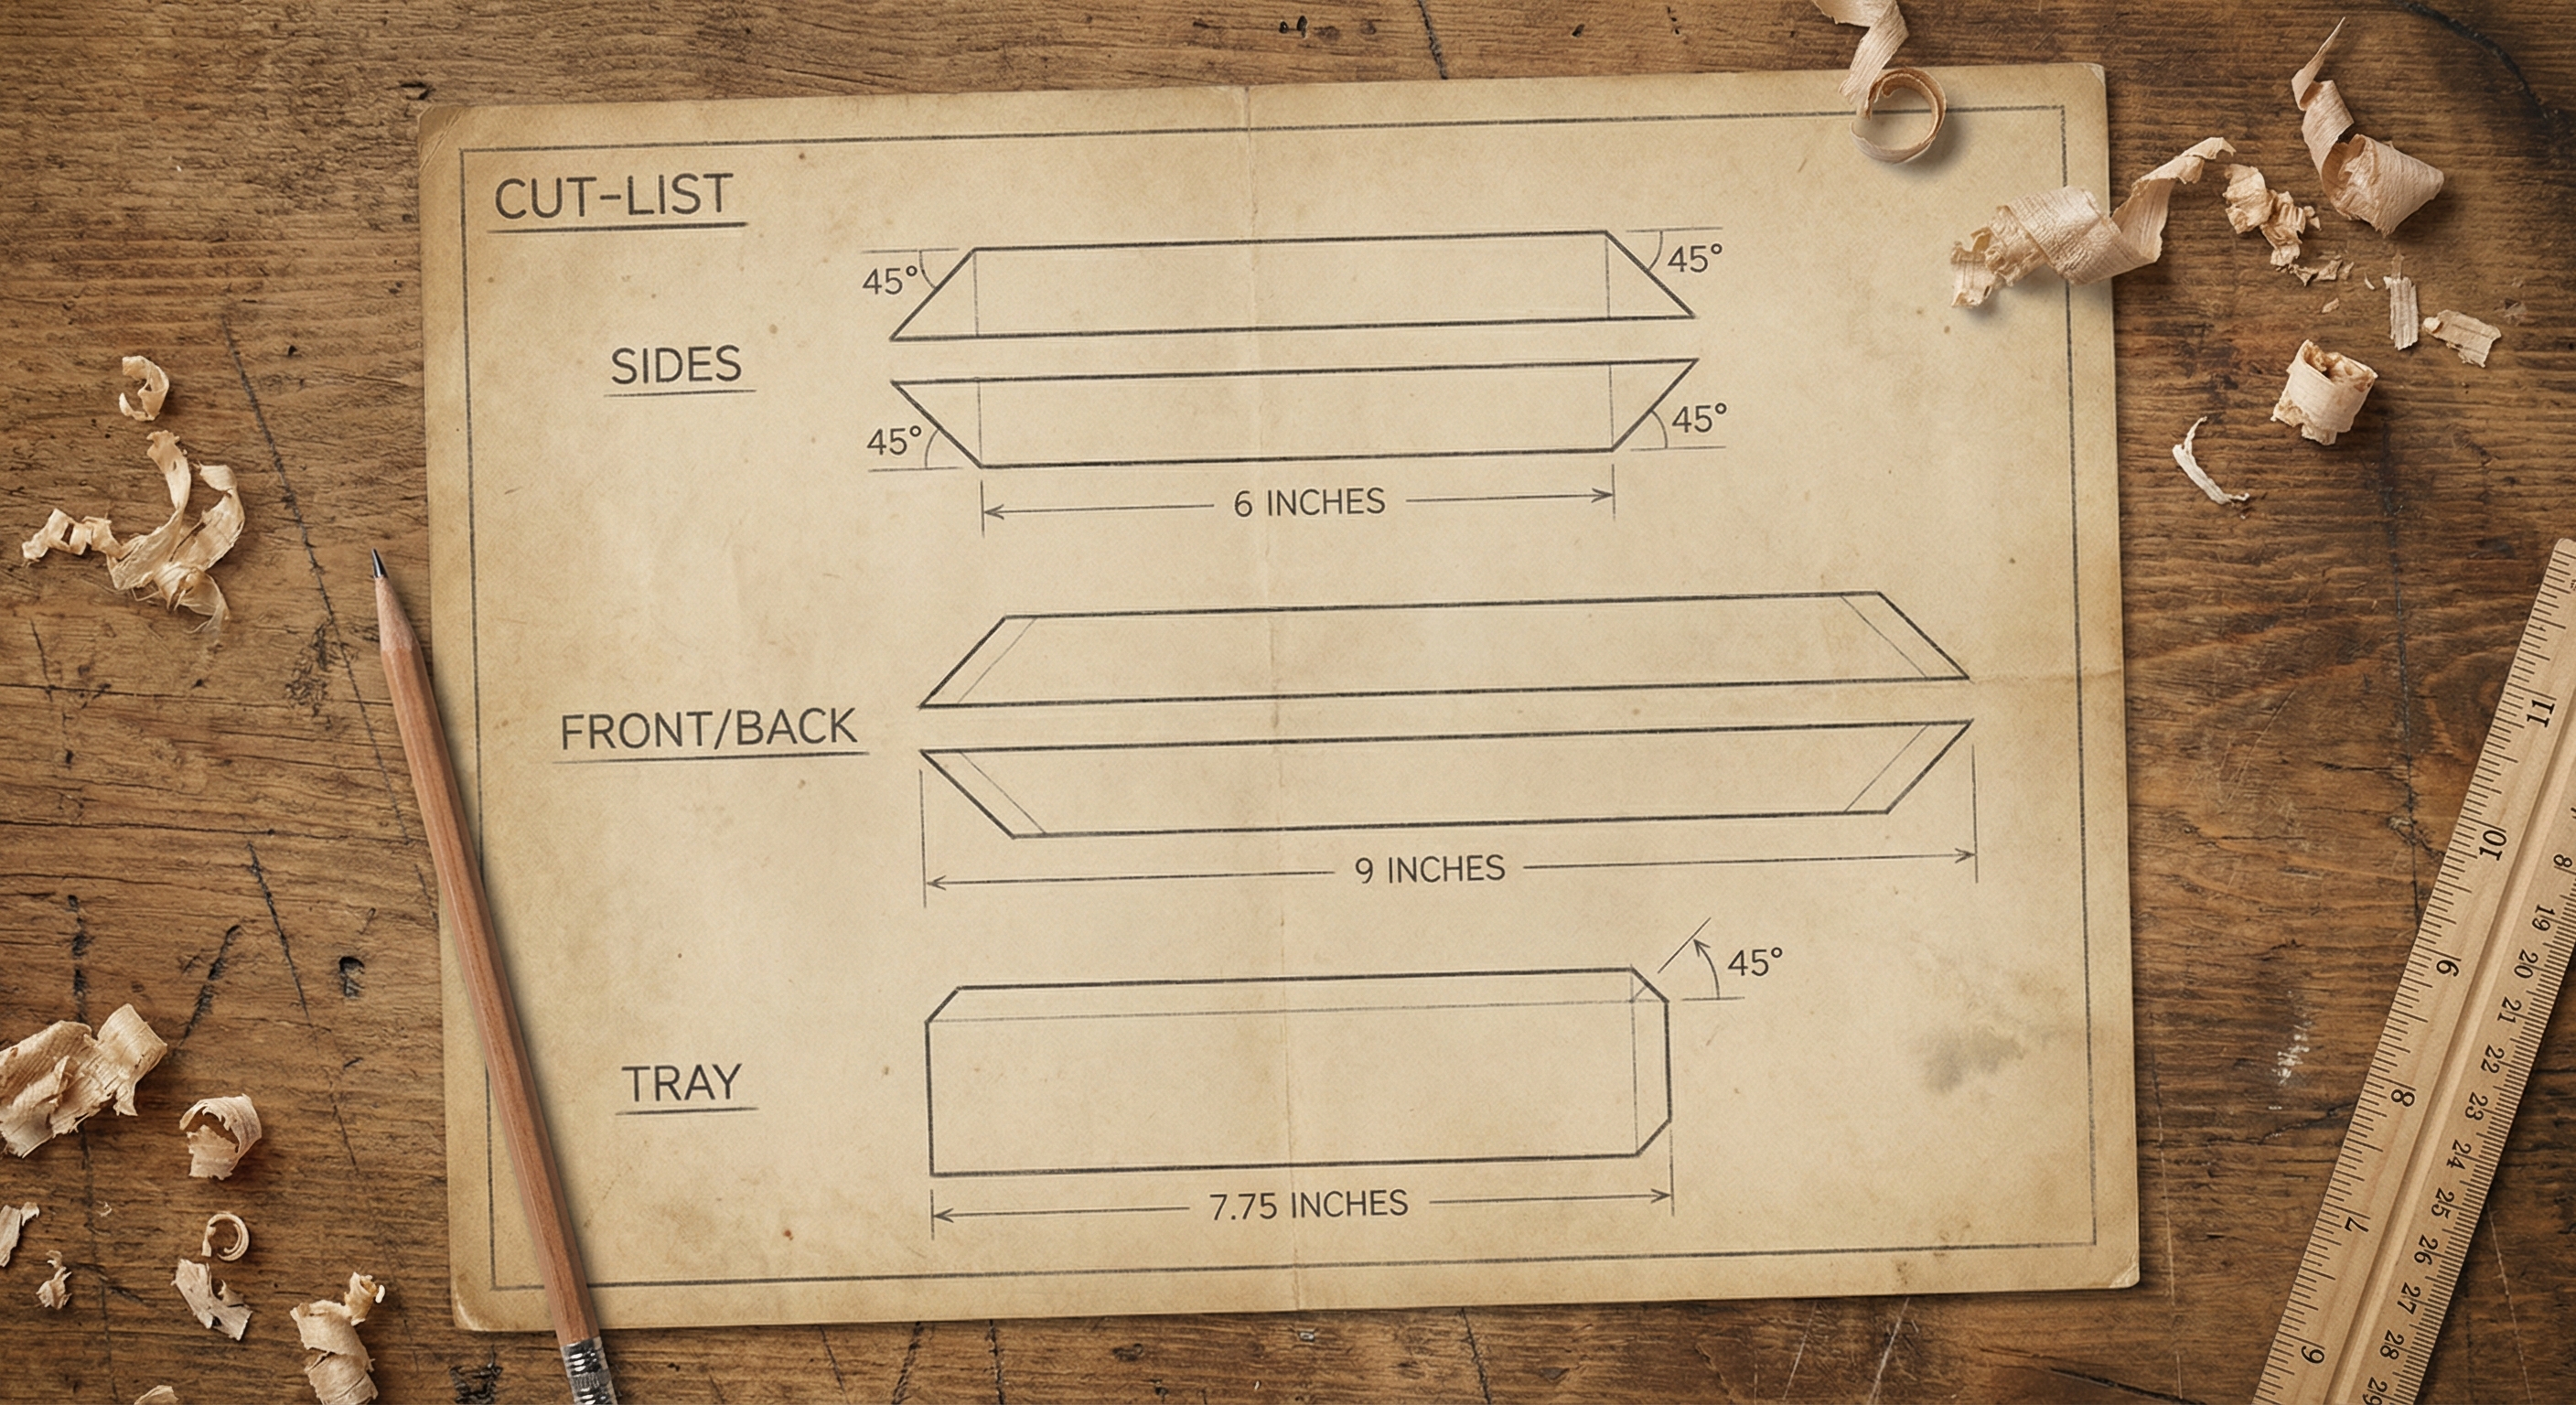
Accuracy is vital when cutting the 45-degree angles for the corners of your project. As you master how to build a jewelry box , use your miter saw to cut two side boards at exactly six inches long. Each end must feature a sharp 45-degree angle.
But wait, there’s more. Once the first piece is cut, you should use it as a physical template for the second side.
- Cut two sides at 6 inches.
- Cut front/back at 9 inches.
- Set miter saw to exactly 45 degrees.
- Use a stop block for identical lengths.
Using Physical Templates
Using a physical template rather than a tape measure for every cut reduces the margin of error. This technique ensures your box is perfectly square when you fold it together.
| Box Component | Length | Angle | |
|---|---|---|---|
| Side A | 6 inches | 45 Degrees | |
| Side B | 6 inches | 45 Degrees | |
| Front/Back | 9 inches | 45 Degrees |
Relying on physical templates is the most effective way to eliminate cumulative measuring errors.
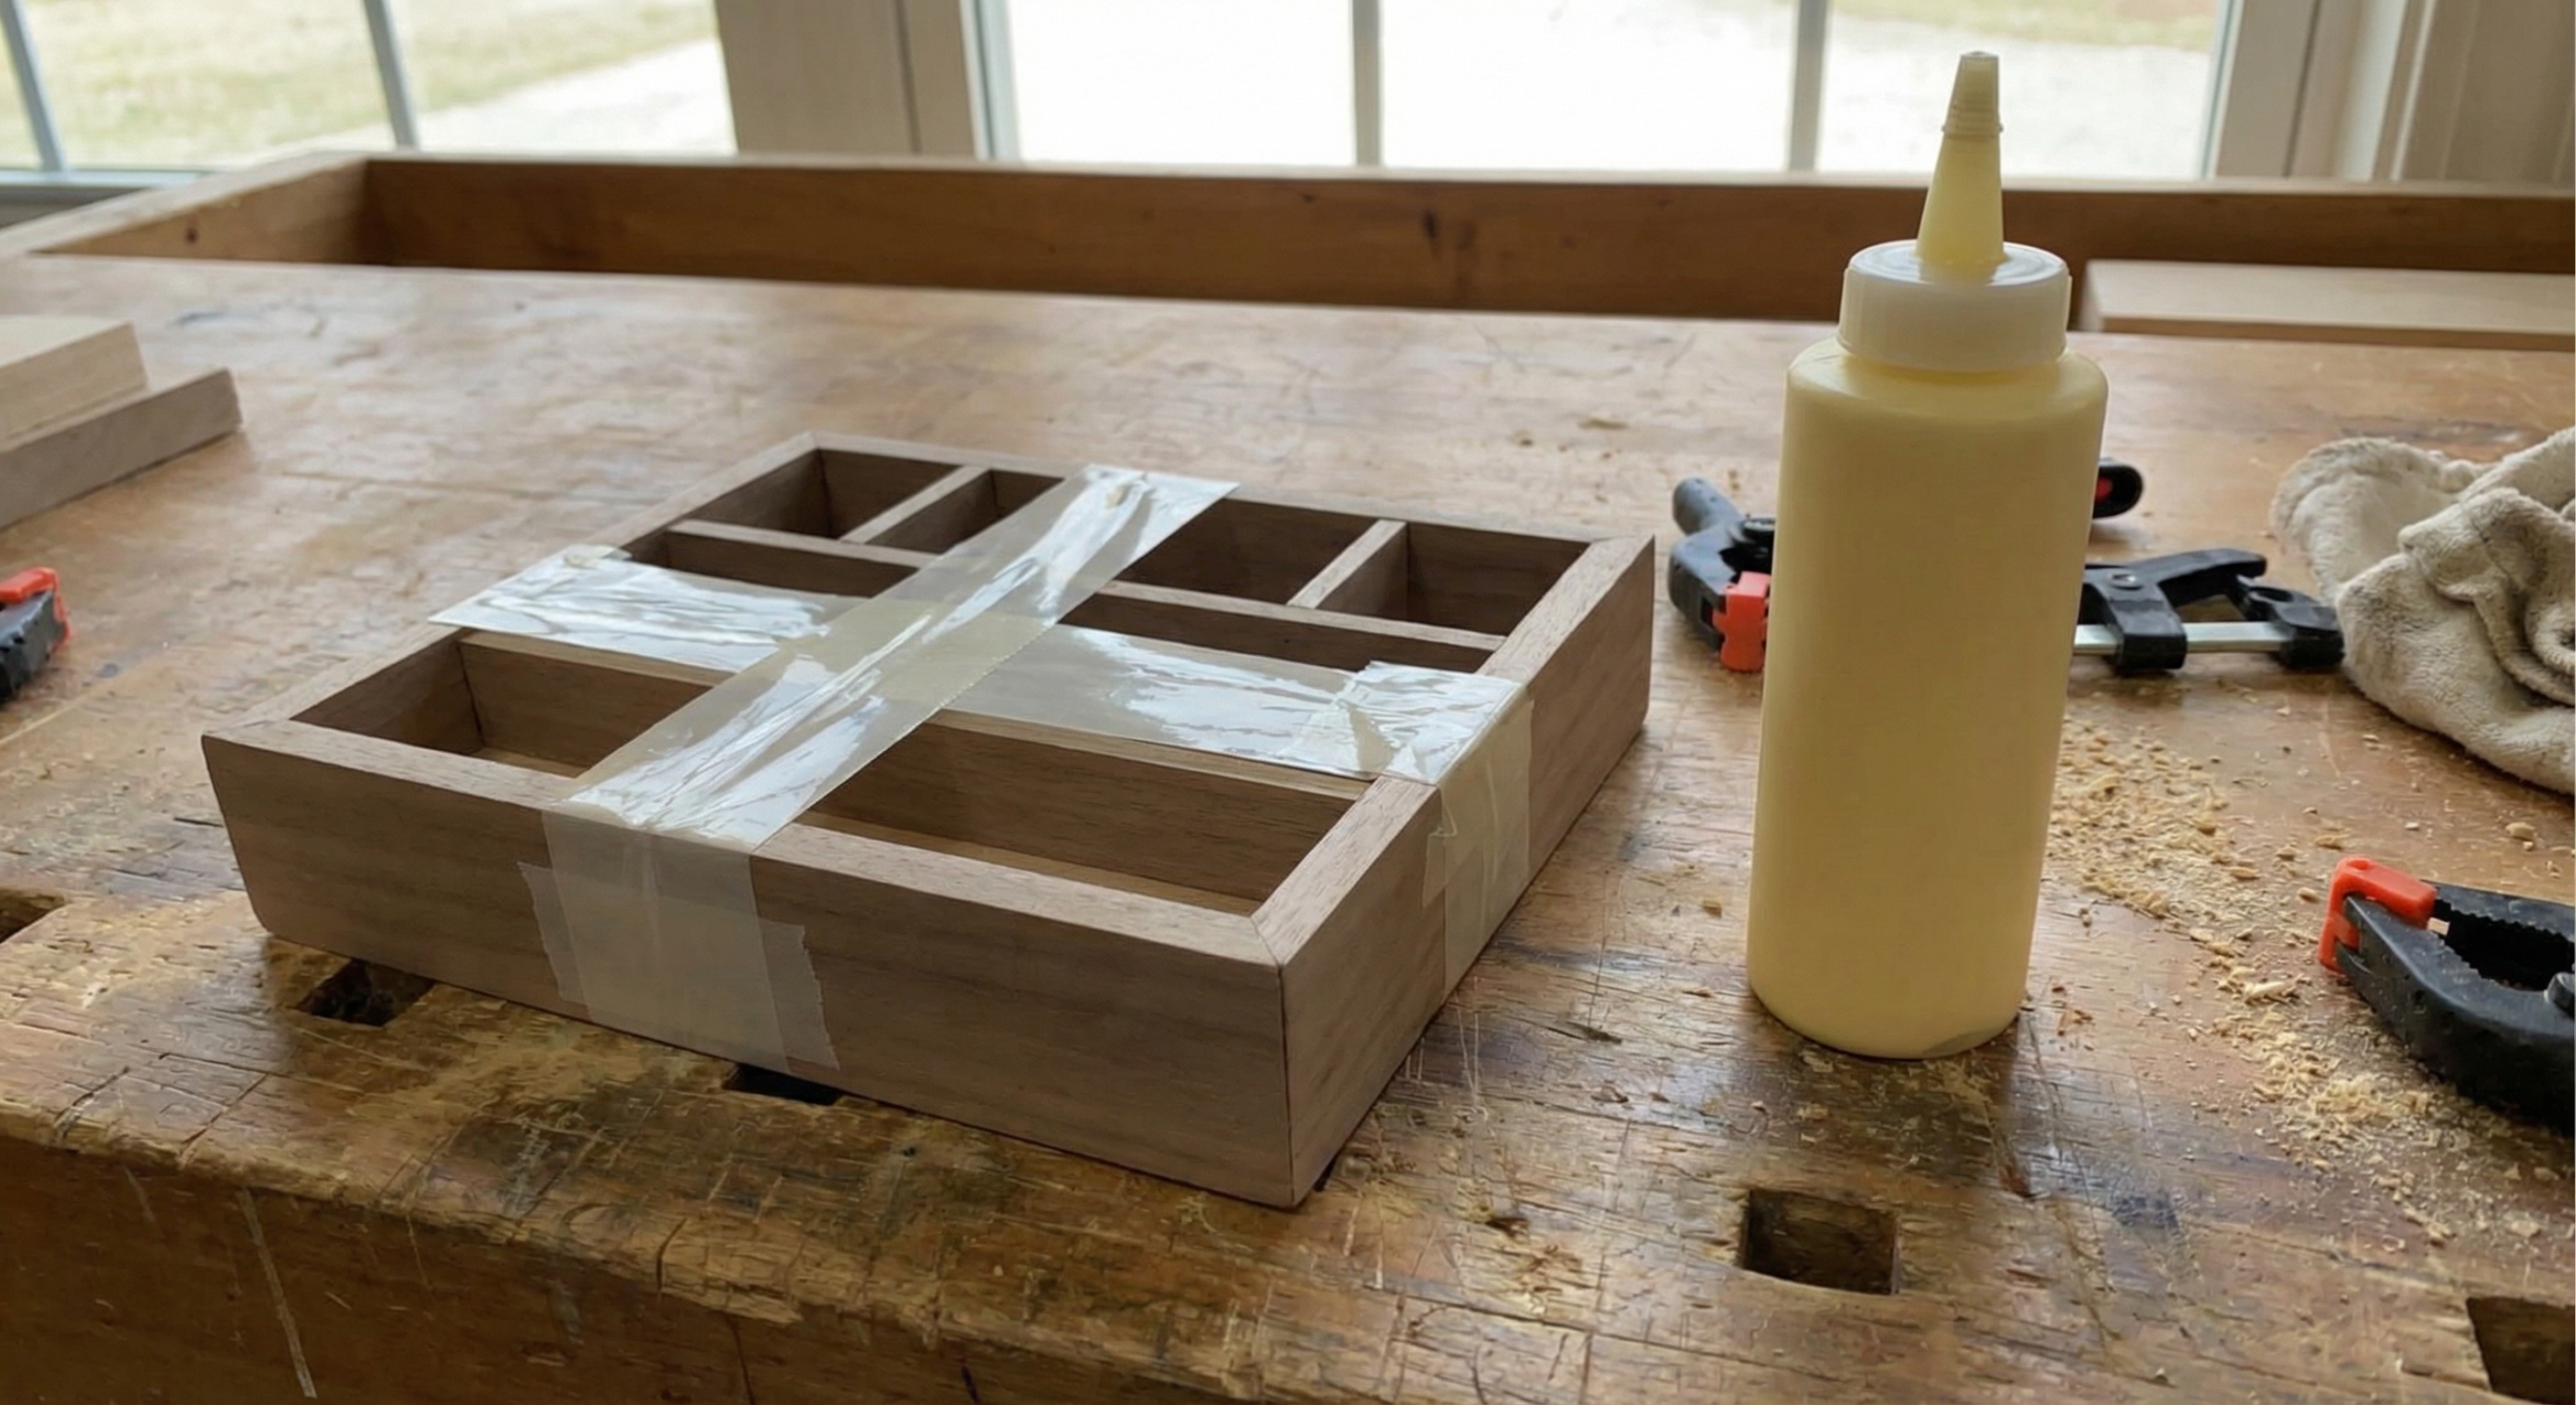
How Do I Dry-Fit the Box Components?
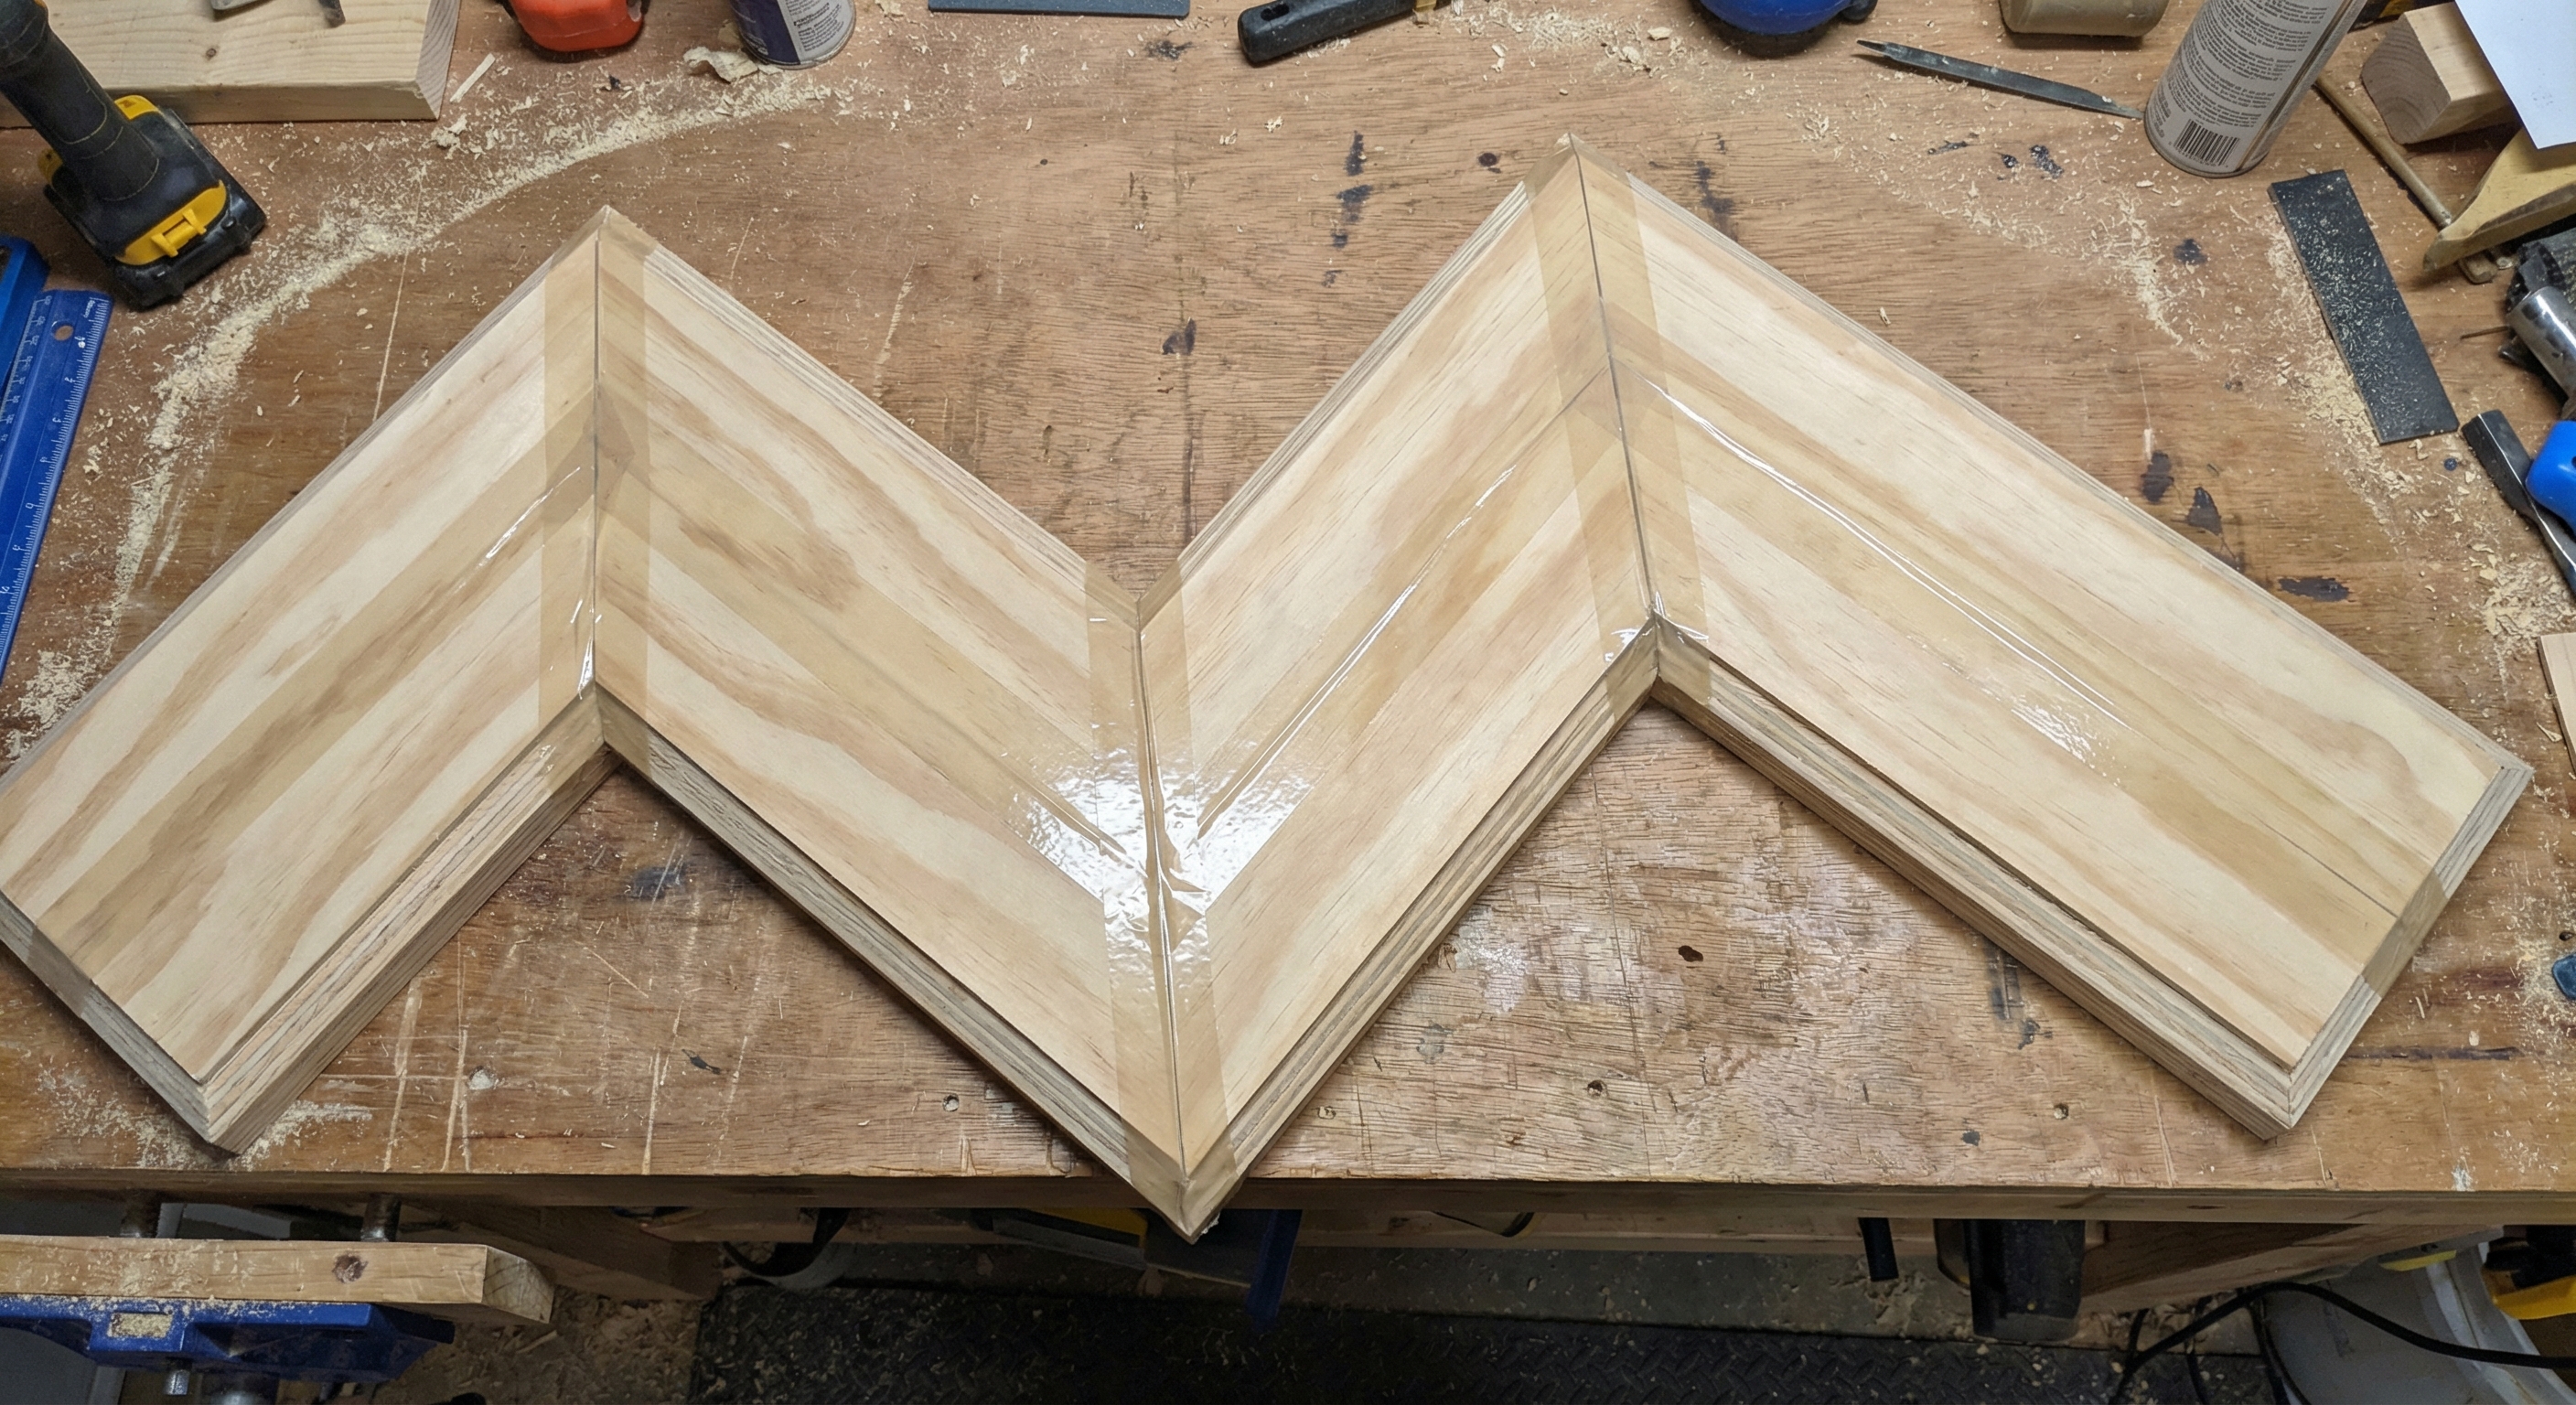
You should never apply glue until you have confirmed the fit of every component. When learning how to build a jewelry box, the “dry-fit” stage allows you to see if any corners have unsightly gaps. Lay your front board flat with the mitered angles facing down on your workbench.
The best part? You can use clear packing tape to hinge the boards together in a long “snake” pattern before folding them into a rectangle.
- Lay boards end-to-end.
- Apply tape across the joints.
- Fold into a box shape.
- Insert the bottom panel to check the groove fit.
Checking the Alignment
If the corners don’t meet perfectly, you may need to trim the angles slightly. This stage is your last chance to make adjustments before the assembly becomes permanent with glue.
| Inspection Point | Desired Result | Fix | |
|---|---|---|---|
| Miter Joints | No visible light/gaps | Re-cut angle | |
| Bottom Groove | Snug but not forced | Sand edges | |
| Overall Shape | Perfectly rectangular | Adjust tape tension |
A successful dry-fit acts as a blueprint, guaranteeing the final glue-up goes smoothly.
What are the Steps for Gluing the Main Box Assembly?
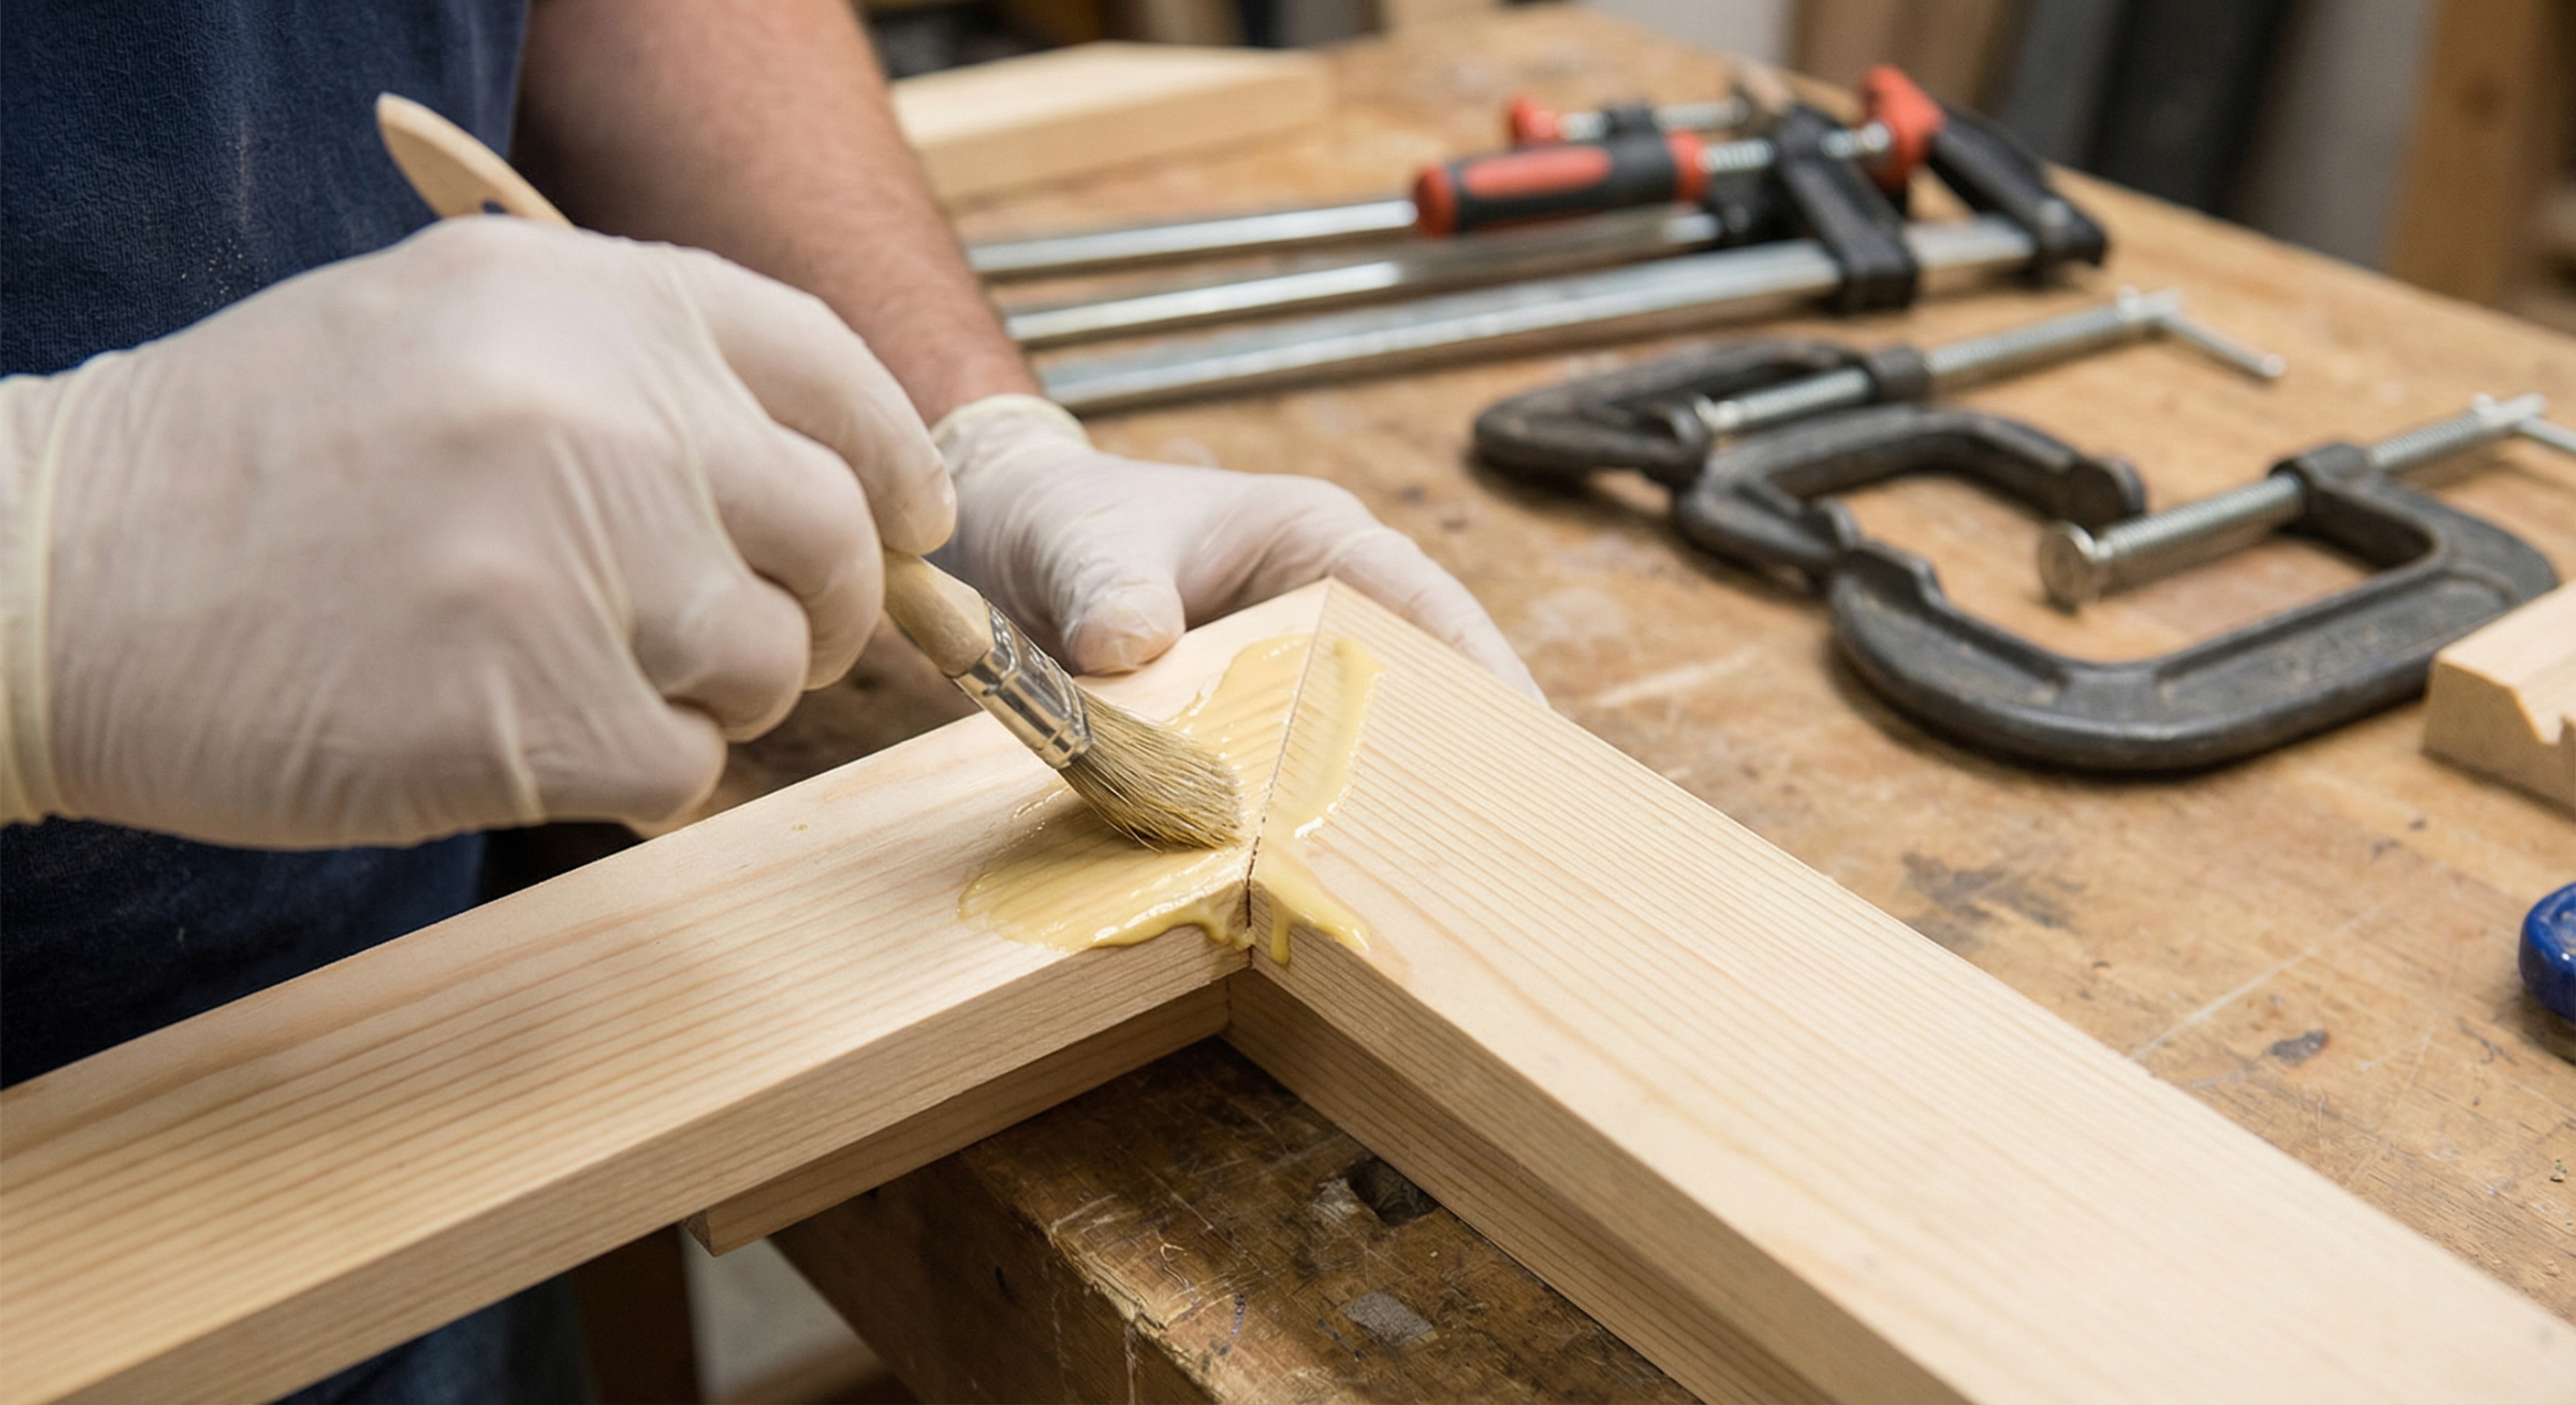
Once the fit is perfect, you are ready to make the structure permanent. When you understand how to build a jewelry box , you know that a thin, even layer of wood glue is superior to a thick, messy one. Apply the glue to each 45-degree face and into the bottom groove.
It gets better: the packing tape you used for the dry-fit now acts as a clamp, pulling the miters together tightly as you fold the box.
- Apply glue with a small brush.
- Fold the walls around the bottom.
- Clamp all four sides firmly.
- Wipe away “squeeze-out” with a damp cloth.
Managing Glue Squeeze-Out
You must immediately wipe away any excess glue that leaks from the joints. Dried glue acts as a barrier that will repel wood stain or finish later, leaving ugly spots on your wood.
| Glue Step | Tool | Goal | |
|---|---|---|---|
| Application | Small brush | Even coverage | |
| Clamping | Quick-Grip clamps | Uniform pressure | |
| Cleanup | Damp microfiber cloth | No residue |
Proper glue management is the difference between a “craft” look and a professional “furniture” finish.
How Do I Measure and Cut the Wood for the Inner Tray?
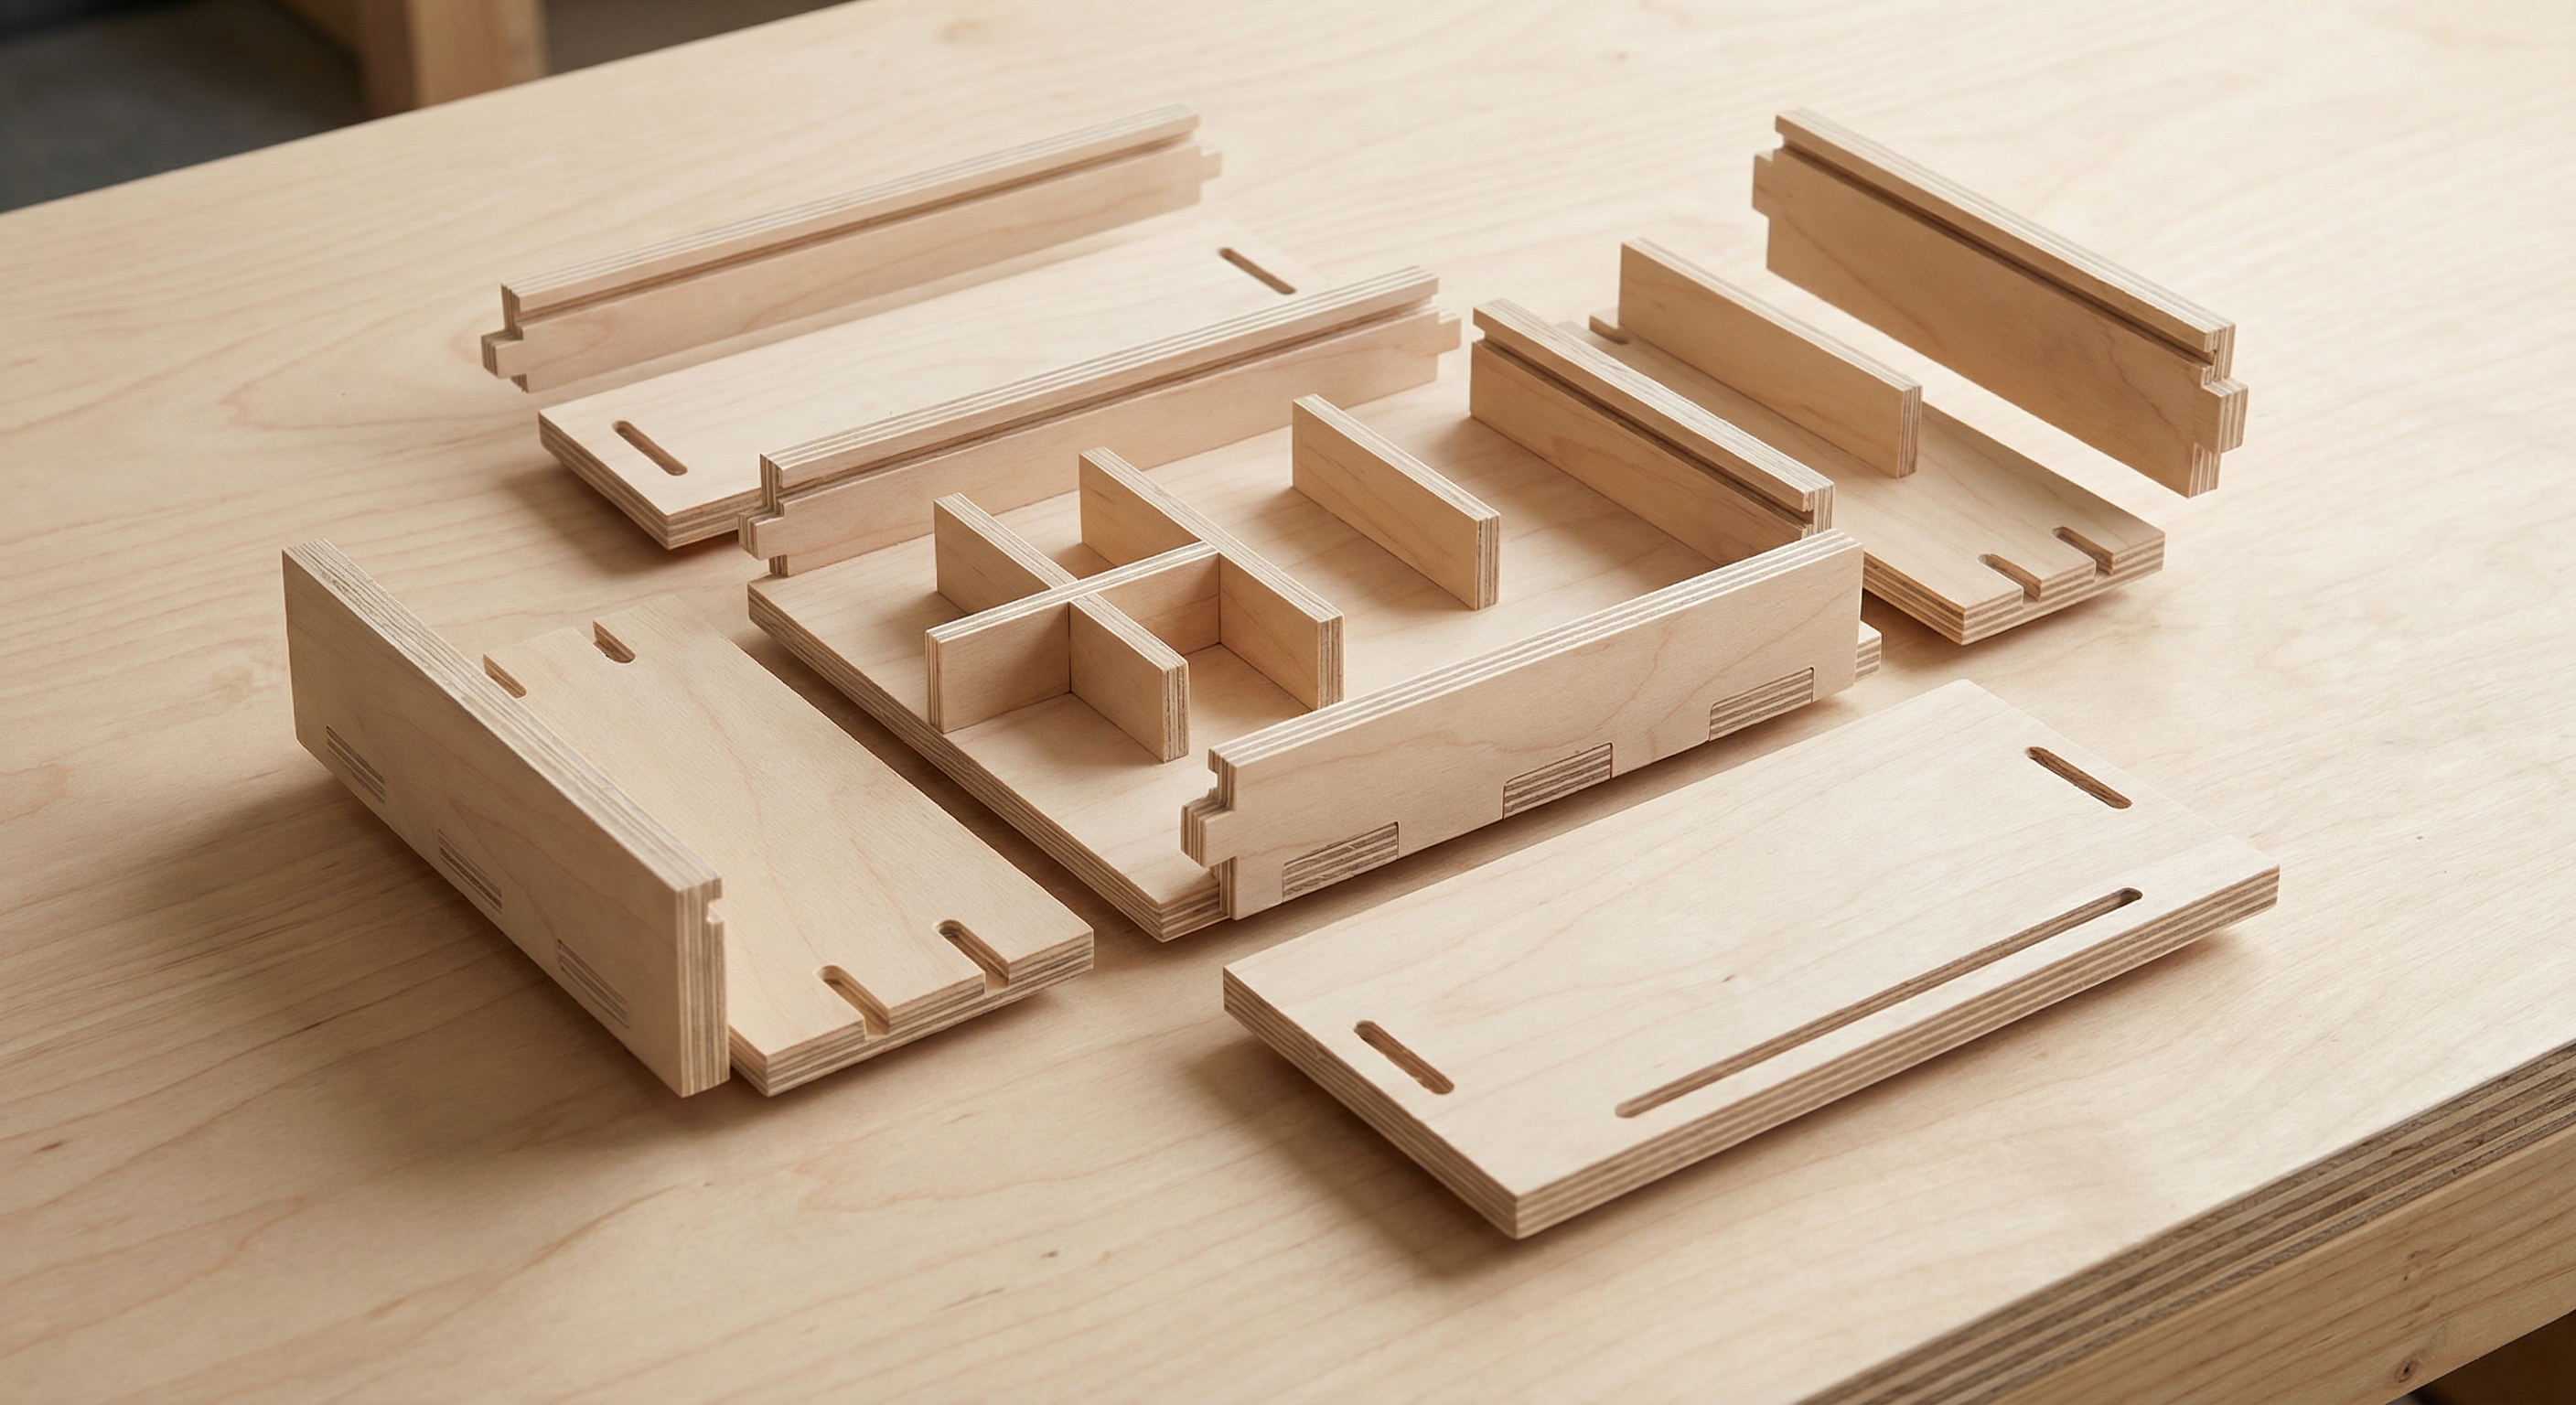
A truly functional project needs a dedicated tray for smaller items like rings or earrings. When you research how to build a jewelry box, you’ll see that a floating tray adds immense value and organization. Rip two 2-in. x 16-in. pieces of 1/4-in. plywood to begin this sub-assembly.
Simply put, the tray is just a smaller, thinner version of the main box. You will use a table saw to create 1/8-in. deep grooves for the tray bottom.
- Cut front/back to 7-3/4 inches.
- Cut sides to 4-5/8 inches.
- Create 1/8-in. deep grooves.
- Add a central partition for rings.
Designing the Layout
You can customize the partition to fit your specific collection. Adding a small divider allows you to separate necklaces from smaller studs, keeping everything organized and tangle-free.
| Tray Part | Thickness | Length | |
|---|---|---|---|
| Front/Back | 1/4 inch | 7-3/4 inches | |
| Side Walls | 1/4 inch | 4-5/8 inches | |
| Bottom Panel | 1/4 inch | 4-5/8″ x 7-5/8″ |
A custom-cut tray maximizes internal space and prevents jewelry from shifting during use.
How Do I Assemble and Glue the Jewelry Tray?
Assembling the tray requires a delicate touch because the wood is much thinner than the main box. As you learn how to build a jewelry box , you will find that the tray assembly mirrors the main box process. Apply glue to the ends of the side pieces and the central partition first.
Here is the kicker: because the wood is only 1/4-inch thick, you should use light pressure to avoid warping the components during the drying phase.
- Apply glue to partition ends.
- Insert partition into dado grooves.
- Wrap the tray with clear tape.
- Slide the bottom into place.
Securing the Thin Joints
You should secure the assembly with clear tape while the glue sets. This provides enough tension to hold the joints square without the crushing force of heavy metal clamps.
| Assembly Action | Tool | Benefit | |
|---|---|---|---|
| Partition Fit | Hand pressure | Aligns segments | |
| Corner Wrap | Clear tape | Gentle clamping | |
| Bottom Slide | Glue/Slot | Structural floor |
Using tape instead of heavy clamps on thin wood prevents bowing and ensures a flat tray bottom.
Where Should I Place the Tray Cleats Inside the Box?
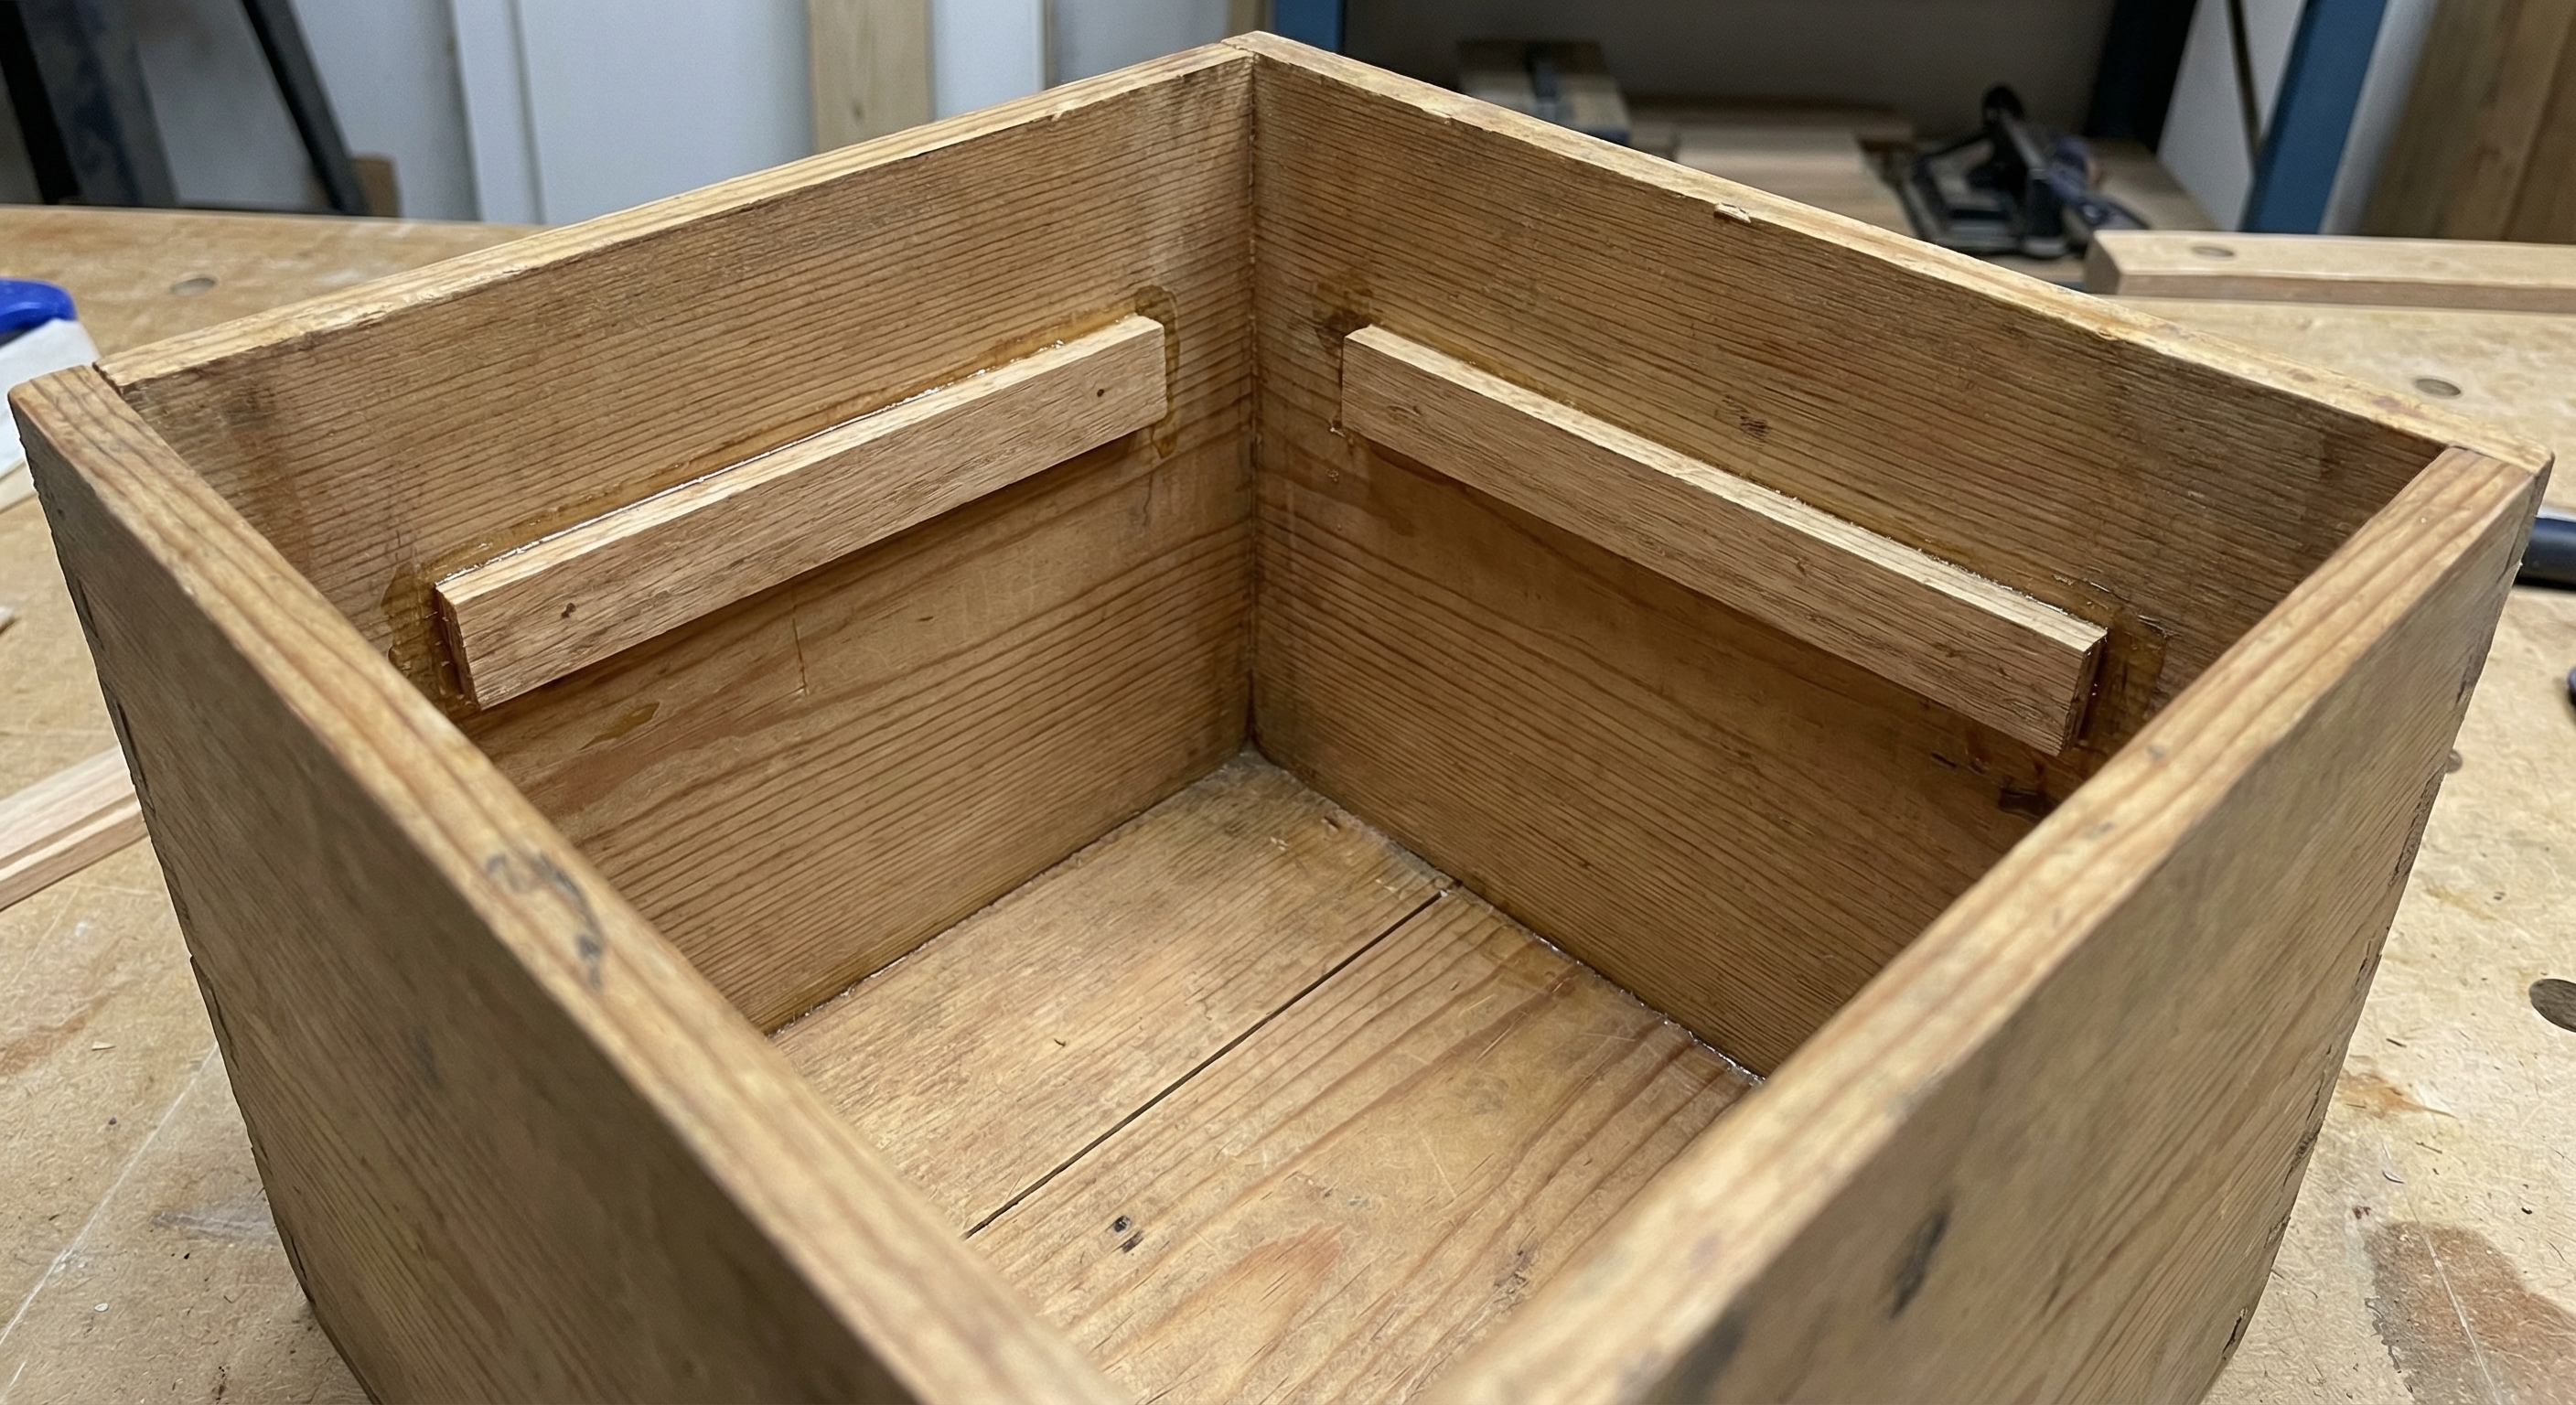
To allow the tray to “float” or sit at the top of the box, you must install interior cleats. When you are determining how to build a jewelry box, these cleats are essential for creating tiered storage levels. Cut two small 1/4-in. wood strips to 1-3/4-in. x 5-in for this purpose.
Ready to dive in? Glue these strips to the inner side walls, ensuring they are perfectly flush with the bottom panel of the box.
- Cut cleats to 1-3/4-in. x 5-in.
- Apply wood glue to the back of the strips.
- Press firmly against the inner side walls.
- Check levelness with a square.
Benefits of the Cleat System
The cleats provide a sturdy ledge for the tray to rest on while leaving ample space underneath for larger items. This creates a dual-layer system that keeps your bracelets separated from your rings.
| Cleat Detail | Specification | Result | |
|---|---|---|---|
| Material | 1/4 inch wood | Minimal footprint | |
| Placement | Flush with bottom | Supports tray height | |
| Adhesion | Wood glue | Permanent bond |
Cleats transform a simple wooden container into a sophisticated, multi-level organization system.
How Do I Apply the Final Finish and Protective Felt?
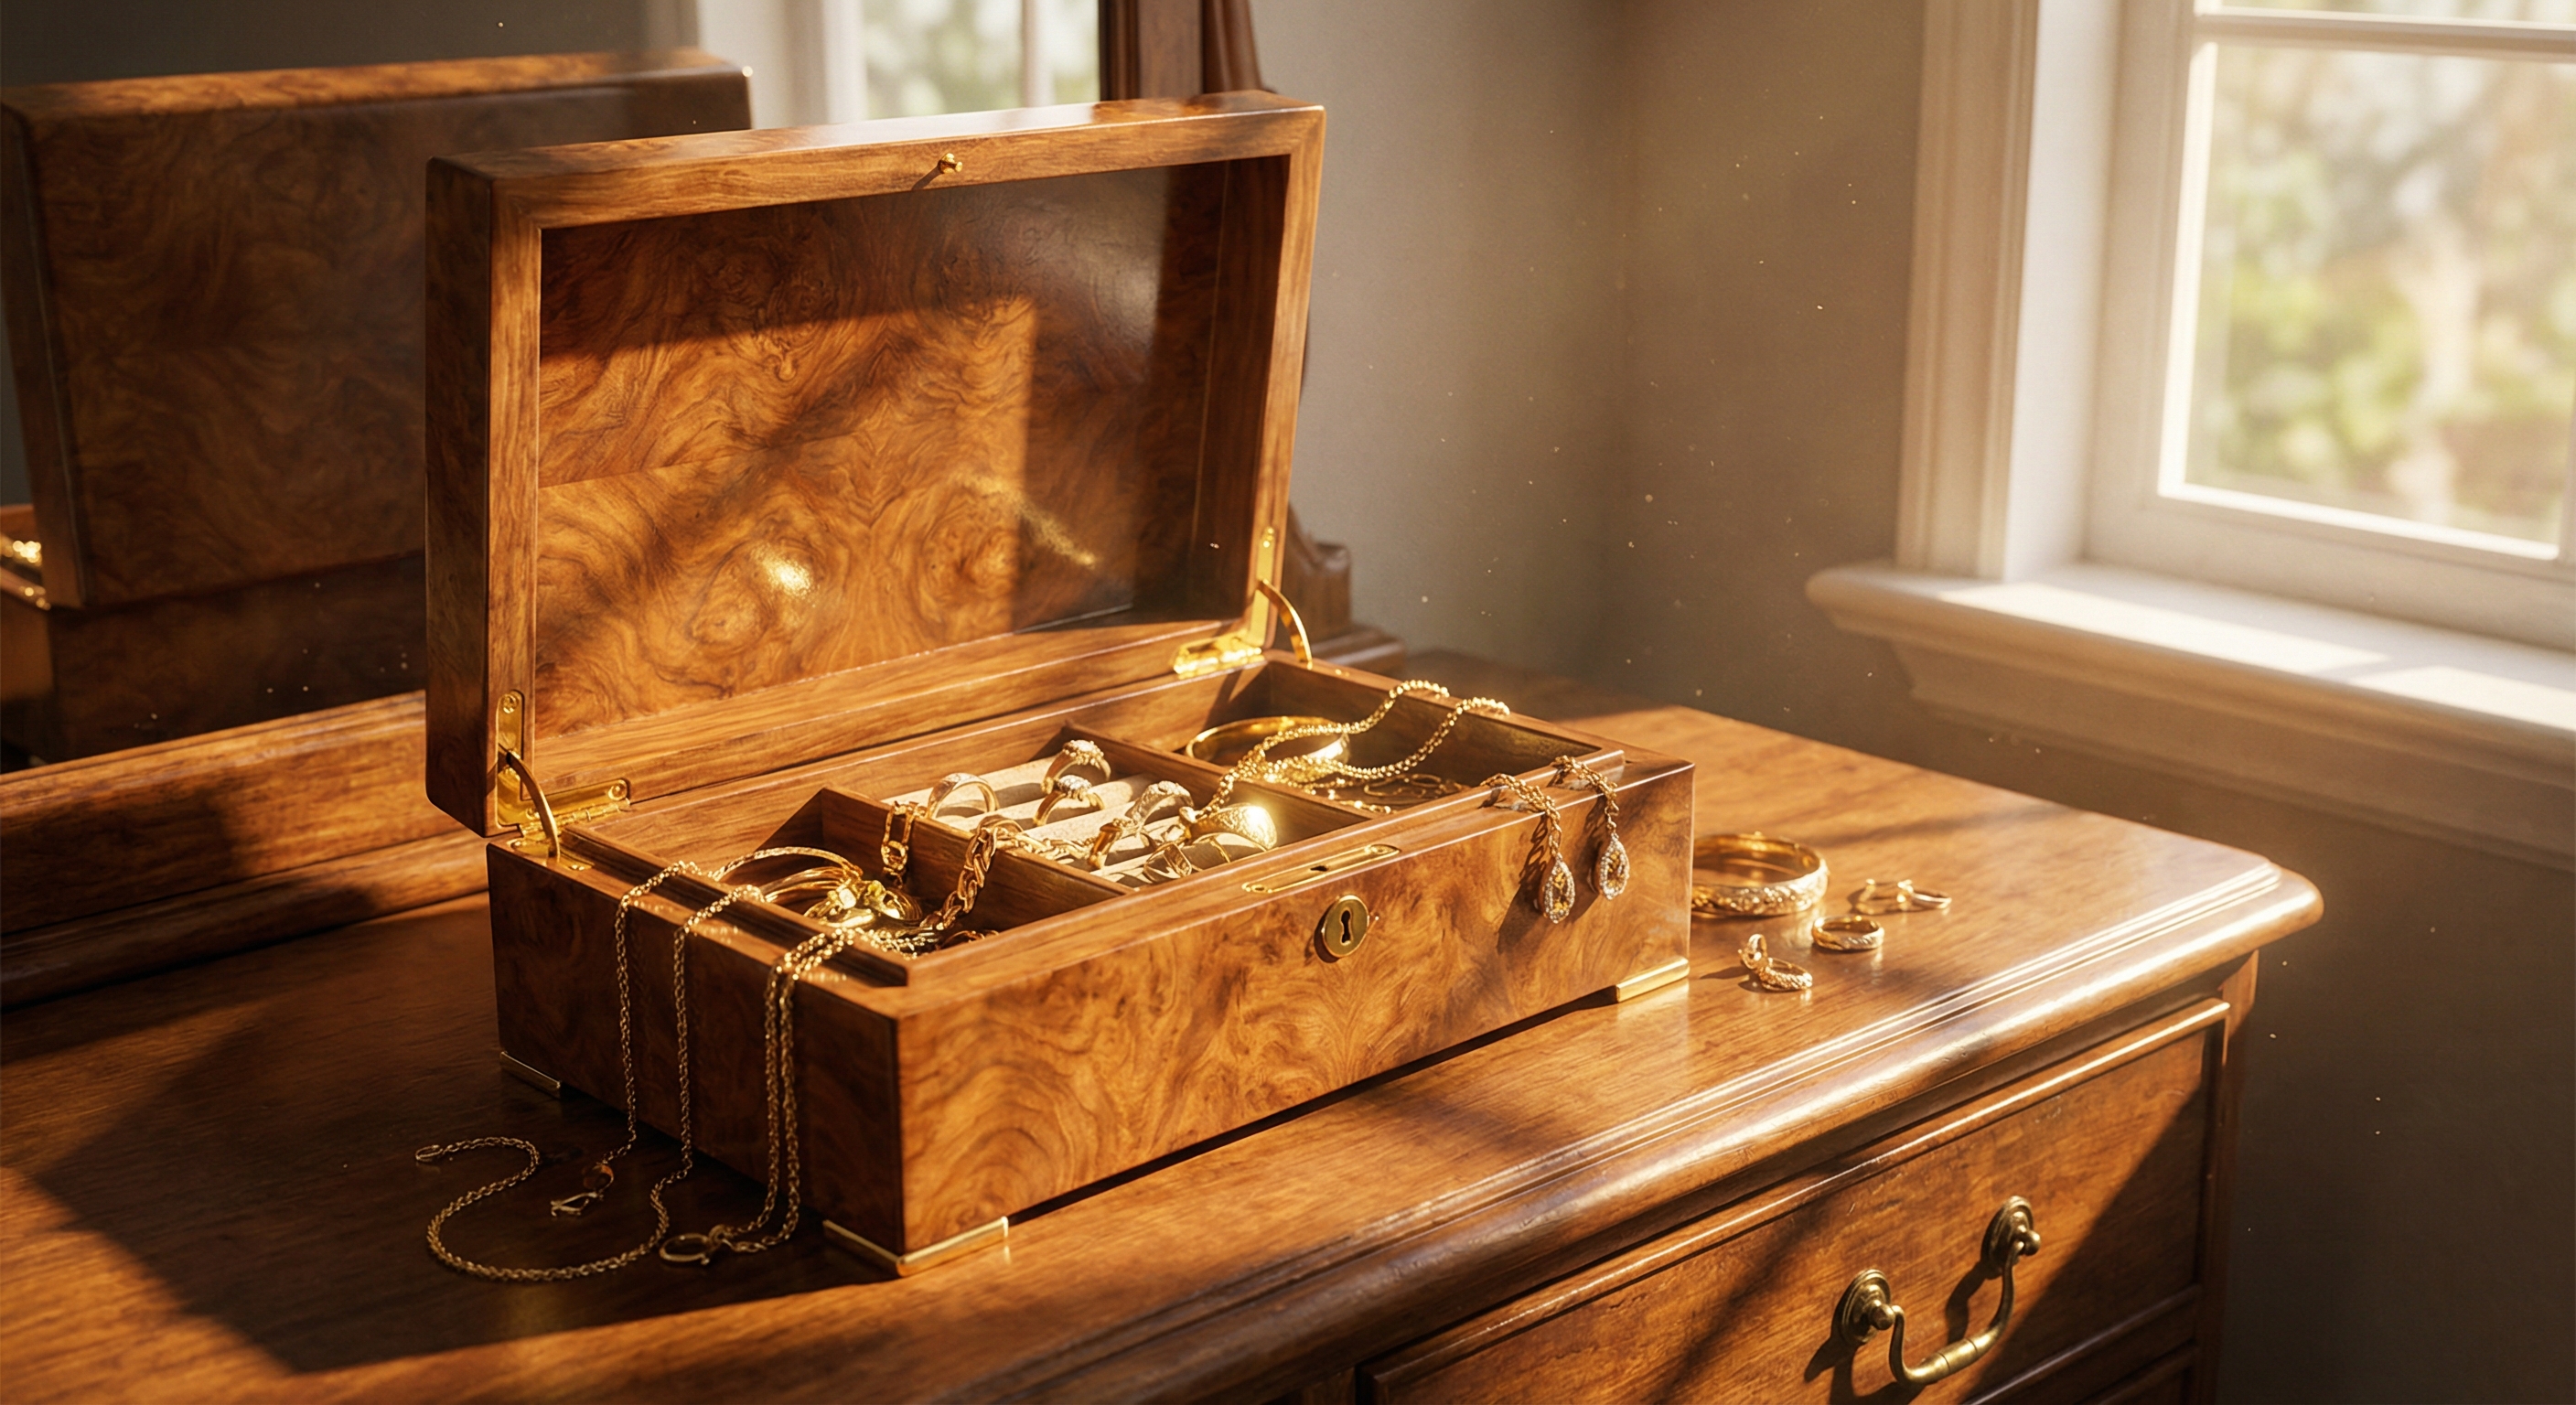
After the glue has cured for at least 24 hours, you are ready for the finishing touches. A major part of how to build a jewelry box is the sanding process, which should progress from 150-grit to 220-grit for a glass-smooth surface. Apply a wipe-on polyurethane to enhance the grain.
The best part? Adding stick-on felt feet to the bottom prevents the box from scratching your vanity or dresser surface.
- Sand up to 220-grit.
- Apply thin coats of polyurethane.
- Let dry for 24 hours.
- Add velvet or felt lining inside.
Final Professional Touches
Consider lining the interior with velvet for a luxury feel. This extra step provides a soft cushion for delicate pearls and ensures your metals don’t rub against the wood.
Key Takeaway: A meticulously sanded surface combined with a soft interior lining elevates a basic DIY project into a professional-grade heirloom.
| Finishing Step | Material | Purpose | |
|---|---|---|---|
| Sanding | 220-grit | Smooth surface | |
| Coating | Polyurethane | Wood protection | |
| Lining | Velvet/Felt | Jewelry cushion |
The final finish is what protects the wood from moisture and gives the box its signature warm glow.
FAQ: Common Jewelry Box Building Questions
1. Can I use plywood instead of hardwood for this project?Yes, you can use high-quality plywood like Baltic Birch. It is often more stable than solid hardwood and provides a clean, modern aesthetic when the edges are sanded well and finished properly.
2. How do I prevent the wood from splitting during the grooving process?Ensure your saw blades are sharp and use a “zero-clearance” insert on your table saw. Taking multiple shallow passes rather than one deep cut also significantly reduces the risk of splintering or blowout.
3. What is the best finish for a jewelry box?A wipe-on polyurethane is excellent for beginners because it is easy to apply without streaks. For a more traditional look, a natural wax or shellac can provide a soft, satin luster that highlights the natural grain.
4. How do I make the box more secure for shipping if it’s a gift?If you are sending your DIY box to a loved one, ensure the tray is snug within the cleats. You might also consider placing the entire unit inside a dedicated shipping container with padding to prevent transit damage.
5. Can I add custom inserts to the tray?Absolutely. You can use high-density foam or velvet-covered cardboard to create custom slots for rings or necklaces. This allows you to tailor the storage to your specific collection size and jewelry types.
Ready to elevate your jewelry storage even further? While DIY projects are rewarding, professional-grade presentation often requires precision manufacturing. If you are looking to scale your designs or need high-quality bulk solutions, contact us today to discuss custom packaging that reflects your brand’s unique identity. Our commitment to quality ensures that every piece of jewelry is housed in a box that is as beautiful as the treasure inside.