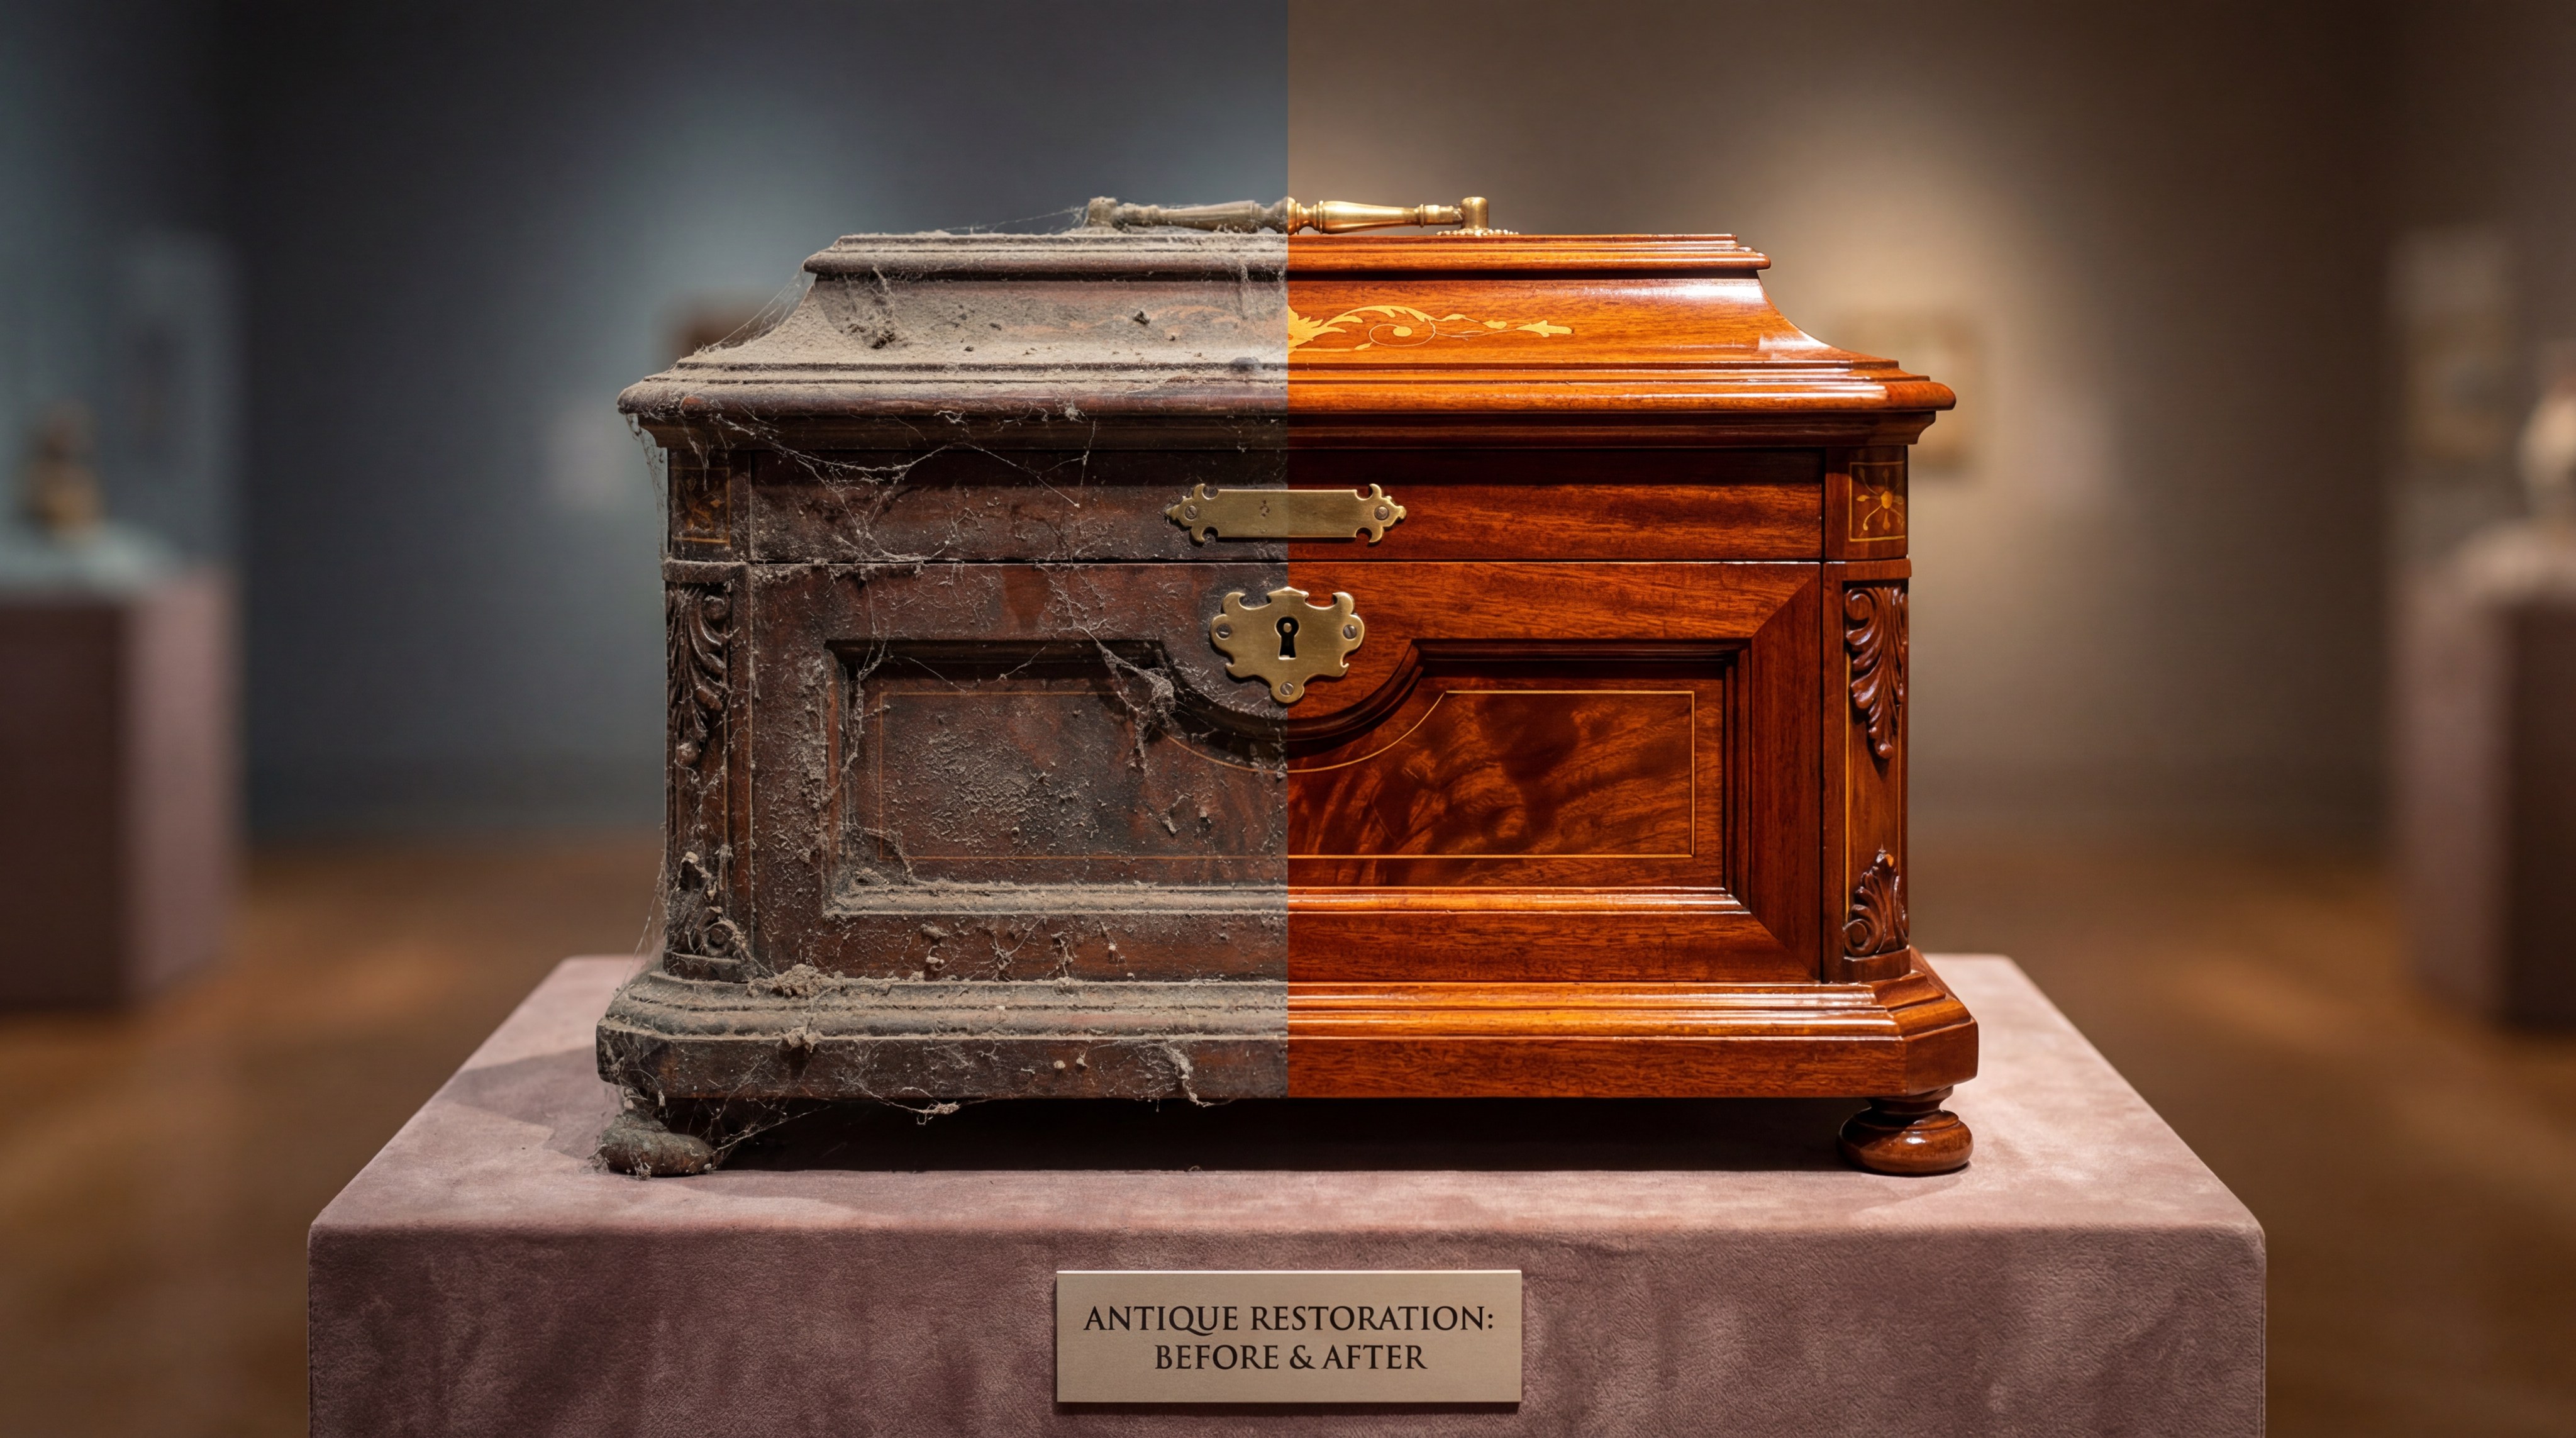
A cherished heirloom often arrives covered in decades of dust, grime, and environmental contaminants that obscure its true craftsmanship. If you leave these residues untreated, you risk permanent degradation of the wood grain and the erosion of delicate interior linings. The definitive solution for how to clean antique jewelry box involves a systematic approach that combines material identification with professional-grade restorative techniques to ensure your treasures remain protected.
Why learn how to clean antique jewelry box safely?
You must learn how to clean antique jewelry box surfaces safely because improper chemicals can strip original lacquers and destroy the resale value of vintage pieces. Using the wrong solvent might lead to irreparable warping or the “red rot” often seen in poorly maintained leather.
Determining the Original Material
Believe it or not, identifying whether your box is solid mahogany or a thin veneer is the most critical first step.
- Examine the grain patterns on the edges to see if they continue through the wood.
- Check for the weight of the piece, as solid wood is significantly heavier than composite materials.
- Look for manufacturer stamps that might indicate the specific finish used during production.
Assessing Structural Integrity
Think about it; there is no point in polishing a box that has loose hinges or a failing frame.
- Inspect the joints for any signs of glue failure or wood separation.
- Open and close the lid multiple times to ensure the hardware is not under stress.
- Lightly tap the base to check for hollow sounds that might indicate internal wood rot.
Key Takeaway
- Material ID: Always verify the substrate before applying any liquid cleaner.
- Safety First: Prioritize structural stability over aesthetic shine.
| Assessment Factor | Diagnostic Method | Risk Level | |
|---|---|---|---|
| Wood Type | Grain pattern inspection | High | |
| Hardware | Hinge tension test | Medium | |
| Finish | Inconspicuous spot test | High |
Conducting a thorough pre-cleaning audit ensures that your restoration efforts build upon a solid foundation rather than causing further structural decay.
Want tips on how to clean antique jewelry box wood?
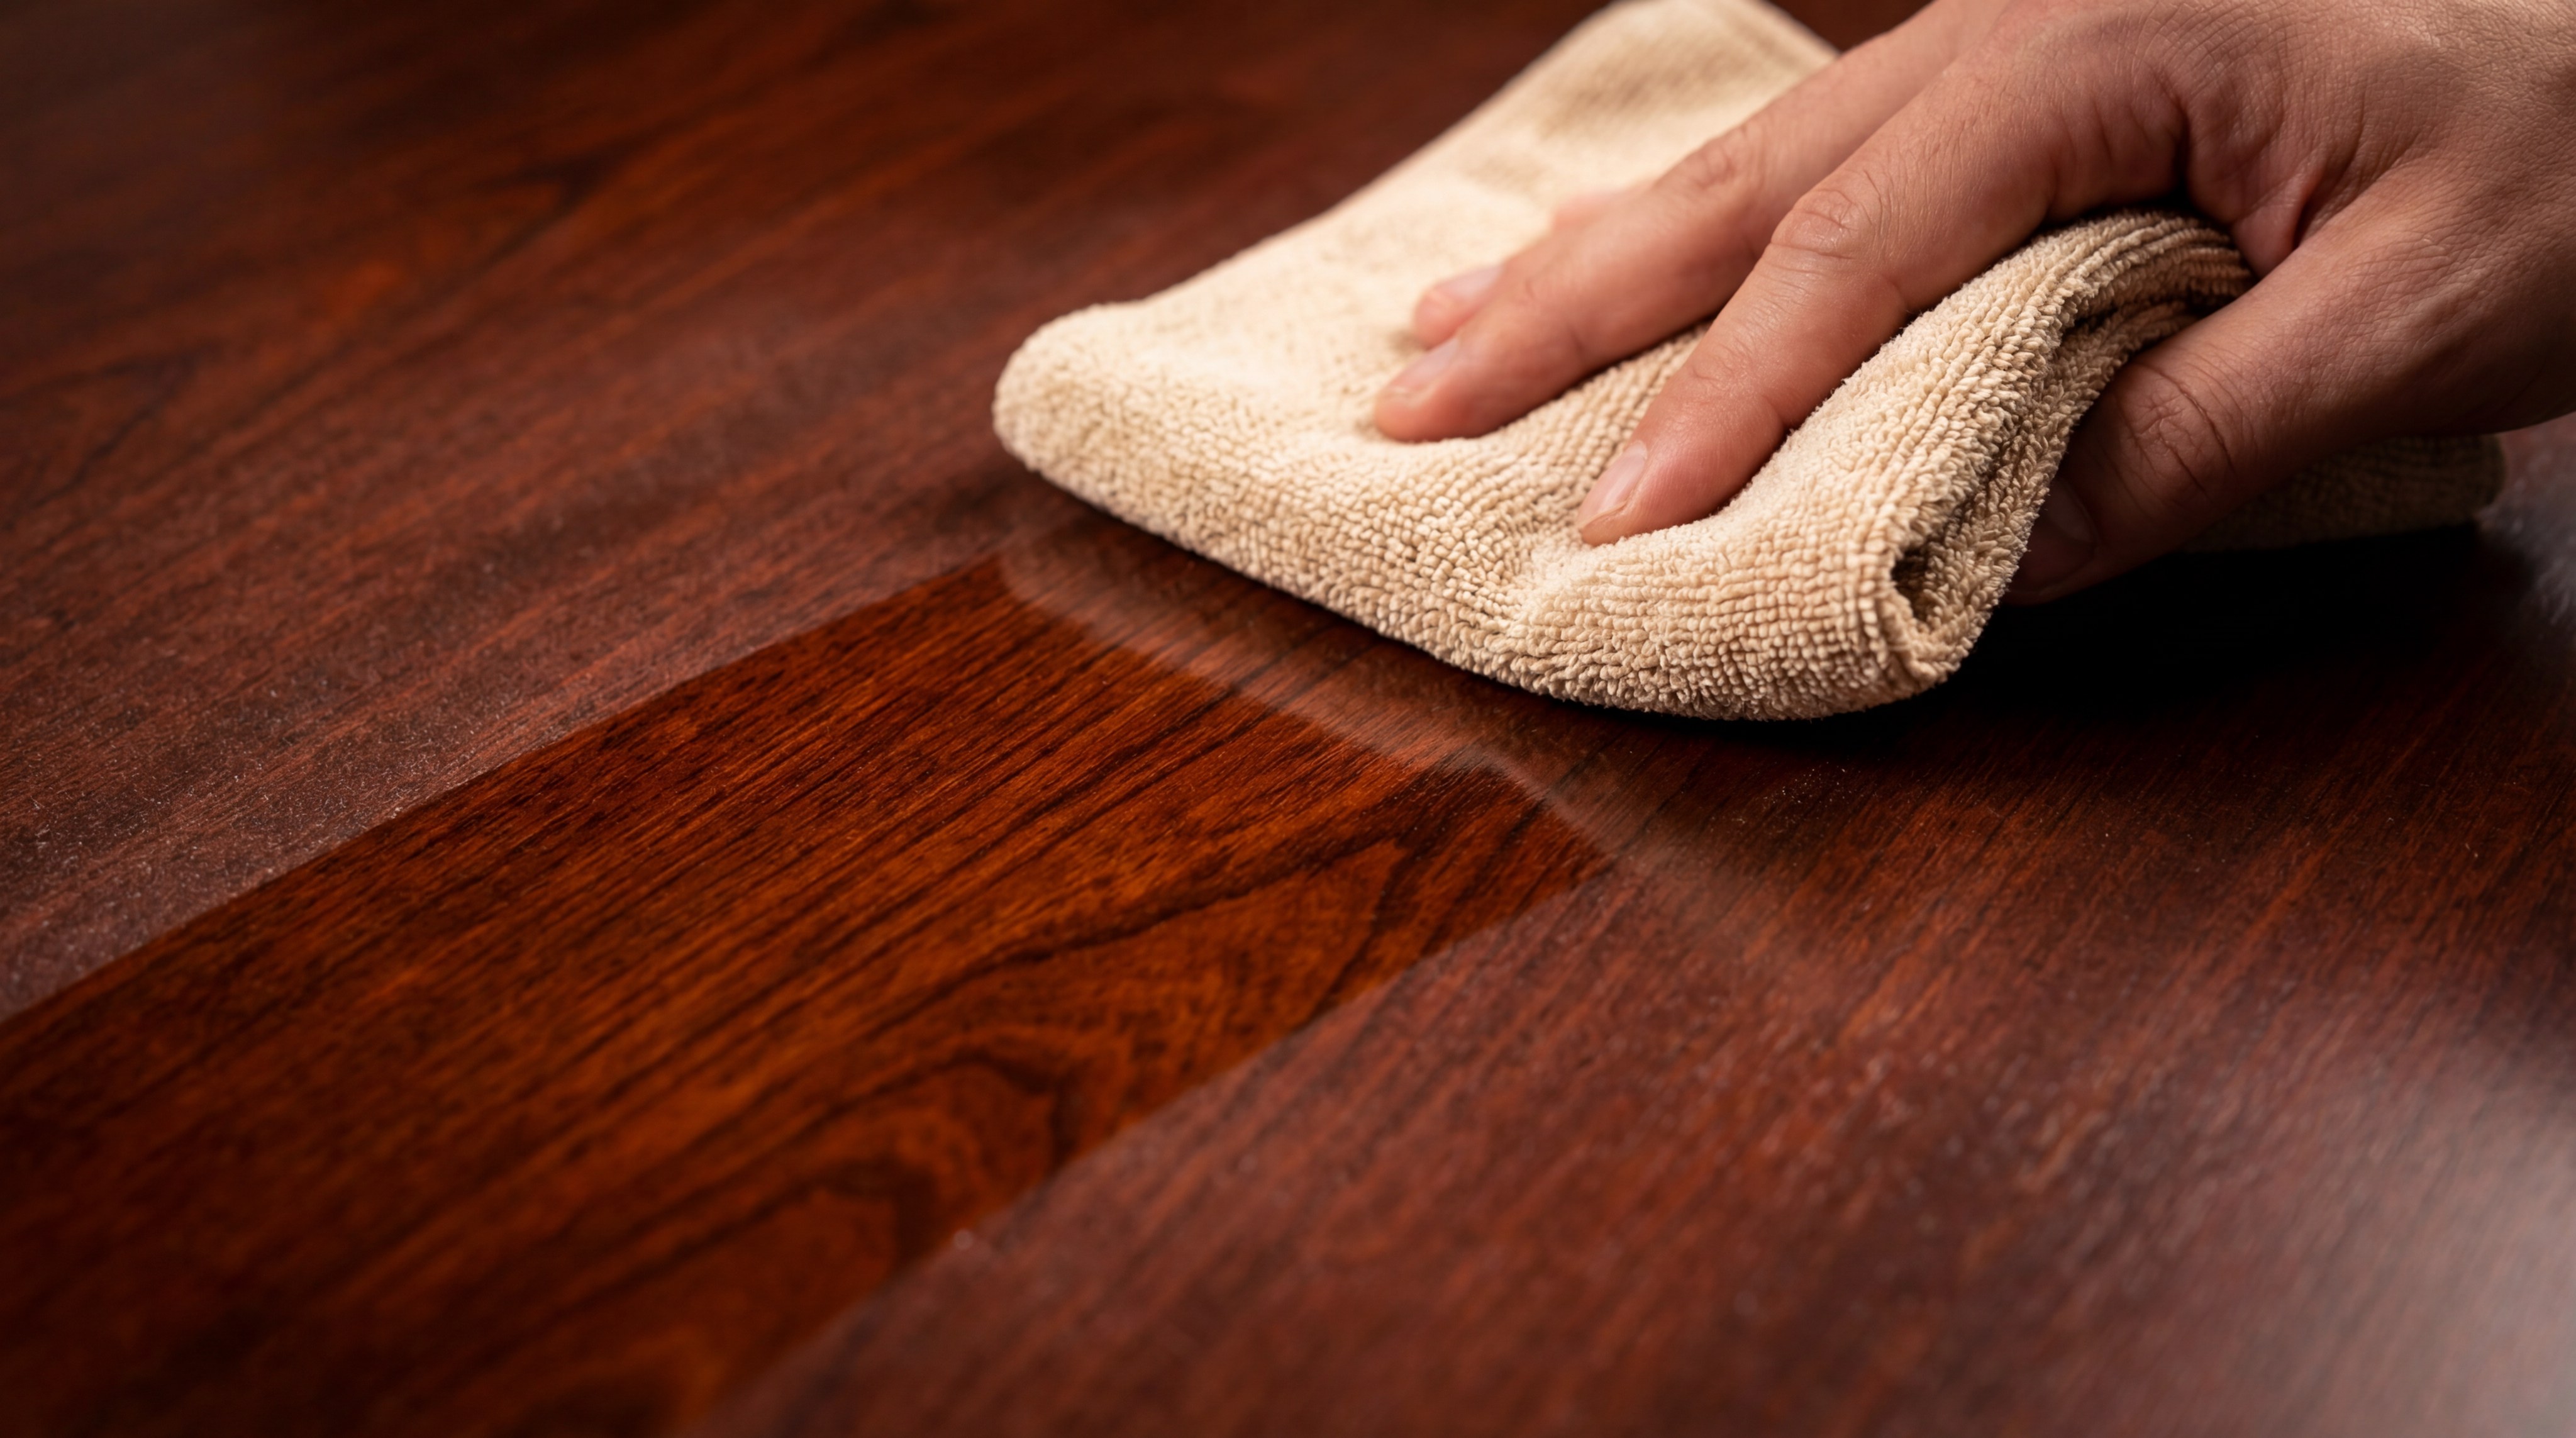
To master how to clean antique jewelry box wood, you should start with a dry dusting followed by a very lightly dampened microfiber cloth. Excessive moisture is the primary enemy of vintage timber, as it causes fibers to swell and finishes to cloud.
Managing Moisture Levels
Wait, there’s more to wood care than just wiping it down with a damp rag.
- Use distilled water only to prevent mineral deposits from appearing on the wood surface.
- Squeeze your cloth until it is nearly dry to the touch before making contact with the box.
- Wipe in the direction of the grain to avoid forcing dust deeper into the pores.
Natural Polishing Solutions
Now, here is the secret to achieving a professional-grade glow without using harsh silicone-based sprays.
- Mix a small amount of olive oil with lemon juice for a gentle, natural polish.
- Apply the mixture with a lint-free cloth using small, circular motions.
- Buff the surface immediately after application to prevent a sticky residue from forming.
Key Takeaway
- Grain Focus: Always work with the natural direction of the wood fibers.
- Natural Choice: Avoid aerosol polishes that contain harmful drying agents.
| Cleaning Stage | Recommended Tool | Benefit | |
|---|---|---|---|
| Dusting | Soft-bristled brush | Removes abrasive particles | |
| Wiping | Microfiber cloth | Lifts surface oils | |
| Polishing | Beeswax or Olive oil | Restores moisture and shine |
Maintaining the hydration of the wood prevents the cracking and splitting that often plagues antique storage units in dry environments.
Ready for how to clean antique jewelry box leather?
Learning how to clean antique jewelry box leather requires a pH-balanced approach to prevent the skin from becoming brittle and flaking off. You should treat leather-bound cases like leatherette jewelry boxes with specialized conditioners that penetrate the surface without leaving a greasy film.
Avoiding Material Cracking
But that’s only half the story when it comes to preserving aged leather surfaces.
- Keep the box away from direct sunlight, which accelerates the evaporation of natural oils.
- Avoid using standard dish soap, as the high alkaline content can cause the leather to dry out.
- Gently vacuum the seams where dust acts like sandpaper against the leather edges.
Conditioning for Longevity
Best of all, a well-conditioned box can last another century if you apply the right protective barriers.
- Use a high-quality leather cream that is specifically labeled as “non-darkening.”
- Apply the conditioner to a sponge first, never directly onto the jewelry box itself.
- Let the leather absorb the nutrients for at least an hour before buffing.
Key Takeaway
- pH Balance: Use cleaners that match the natural acidity of leather.
- Placement: Store restored items in temperature-controlled environments.
| Leather Condition | Action Required | Expected Result | |
|---|---|---|---|
| Dry/Brittle | Deep conditioning | Restored flexibility | |
| Soiled | pH-neutral cleanser | Clean pores | |
| Faded | Color-matched balm | Aesthetic renewal |
Leather is a biological material that requires regular “feeding” with oils to remain supple and resistant to environmental cracking.
Does learning how to clean antique jewelry box save money?
The process of how to clean antique jewelry box units significantly saves money by preventing the need for expensive professional restoration services later. By performing routine maintenance yourself, you preserve the patina that collectors value while removing the grime that causes long-term rot.
Enhancing Resale Value
Let’s dig deeper into why a clean box is a better investment for your collection.
- Buyers are willing to pay a premium for “original condition” items that don’t smell of mold.
- Removing surface oxidation from metal parts prevents the metal from pitting permanently.
- A clean interior protects the jewelry inside from chemical reactions with old dust.
Avoiding Professional Fees
Keep in mind that professional restorers often charge by the hour, making simple cleaning very costly.
- Most surface-level dirt can be removed with basic household items and patience.
- Learning these techniques allows you to flip thrift store finds for a substantial profit.
- You reduce the risk of a third party accidentally damaging a fragile heirloom.
Key Takeaway
- Value Preservation: Patina is valuable, but dirt is a destructive force.
- DIY Savings: Small regular efforts prevent massive restoration invoices.
| Restoration Path | Average Cost | Time Investment | |
|---|---|---|---|
| Professional | High ($200+) | Weeks | |
| DIY Cleaning | Low ($10-20) | Hours | |
| Replacement | Variable | Instant |
The financial benefit of DIY cleaning lies in the combination of reduced procurement costs and the dramatic increase in the item’s market appeal.
Is it time for how to clean antique jewelry box stains?
If you are wondering how to clean antique jewelry box stains, the answer lies in a gentle, iterative process rather than aggressive scrubbing. You should always start with the mildest possible solution to see if the stain lifts before moving to stronger enzymatic cleaners. A custom jewelry box manufacturer would recommend testing any liquid on the bottom of the box first.
Creating a Gentle Soap Solution
You see, most vintage stains are simply bound by old oils that can be broken down easily.
- Mix one drop of mild dish detergent with a cup of warm, distilled water.
- Agitate the water until small suds form on the surface.
- Only use the foam from the suds to clean the surface, as this minimizes water saturation.
Testing Inconspicuous Areas
The bottom line is that you can never take back a chemical reaction once it has started.
- Choose a spot on the back or bottom that is rarely visible to the eye.
- Apply a small amount of your cleaner and wait ten minutes for it to dry.
- Check for any color lifting or changes in the texture of the wood or fabric.
Key Takeaway
- Sud Sensation: Use foam rather than liquid to control moisture.
- Patience: Never skip the 10-minute reaction test on hidden surfaces.
| Stain Type | Recommended Treatment | Success Rate | |
|---|---|---|---|
| Water Ring | Oil and vinegar mix | Moderate | |
| Surface Grime | Soap suds (foam) | High | |
| Ink/Deep Stain | Professional solvent | Low (DIY) |
Stain removal is a delicate balance of chemistry and physical restraint, where “less is almost always more” in terms of liquid application.
Need to know how to clean antique jewelry box metal?

The secret to how to clean antique jewelry box metal hardware is using non-abrasive polishes that target tarnish without scratching the underlying brass or silver. You must be careful to avoid getting metal polish on the surrounding wood, as it can cause permanent staining or finish lifting.
Restoring Tarnished Hardware
Wait, there’s more to metal care than just rubbing it with a cloth.
- Use a cotton swab to apply polish only to the small metal components like hinges.
- Gently work the polish in small circles until the dark oxidation begins to lift.
- Wipe away all residue immediately with a clean, dry section of your microfiber cloth.
Protective Barriers for Metal
Believe it or not, cleaning the metal is only the first half of the restoration process.
- Apply a very thin layer of microcrystalline wax to the metal to seal it from oxygen.
- Buff the wax until it is invisible to prevent it from attracting new dust.
- Ensure the hinges are moving freely; if not, apply a tiny drop of mineral oil.
Key Takeaway
- Precision: Use swabs to isolate metal from wood or fabric.
- Sealing: Always apply a protective layer to prevent rapid re-tarnishing.
| Metal Type | Cleaning Agent | Protection | |
|---|---|---|---|
| Brass/Copper | Brasso or Lemon/Salt | Renaissance Wax | |
| Silver | Silver polish | Anti-tarnish strips | |
| Plated Metal | Mild soap only | Light buffing |
Restoring the luster to metallic elements provides the visual “pop” that makes an antique box look refreshed and high-end.
Can you finish how to clean antique jewelry box steps?
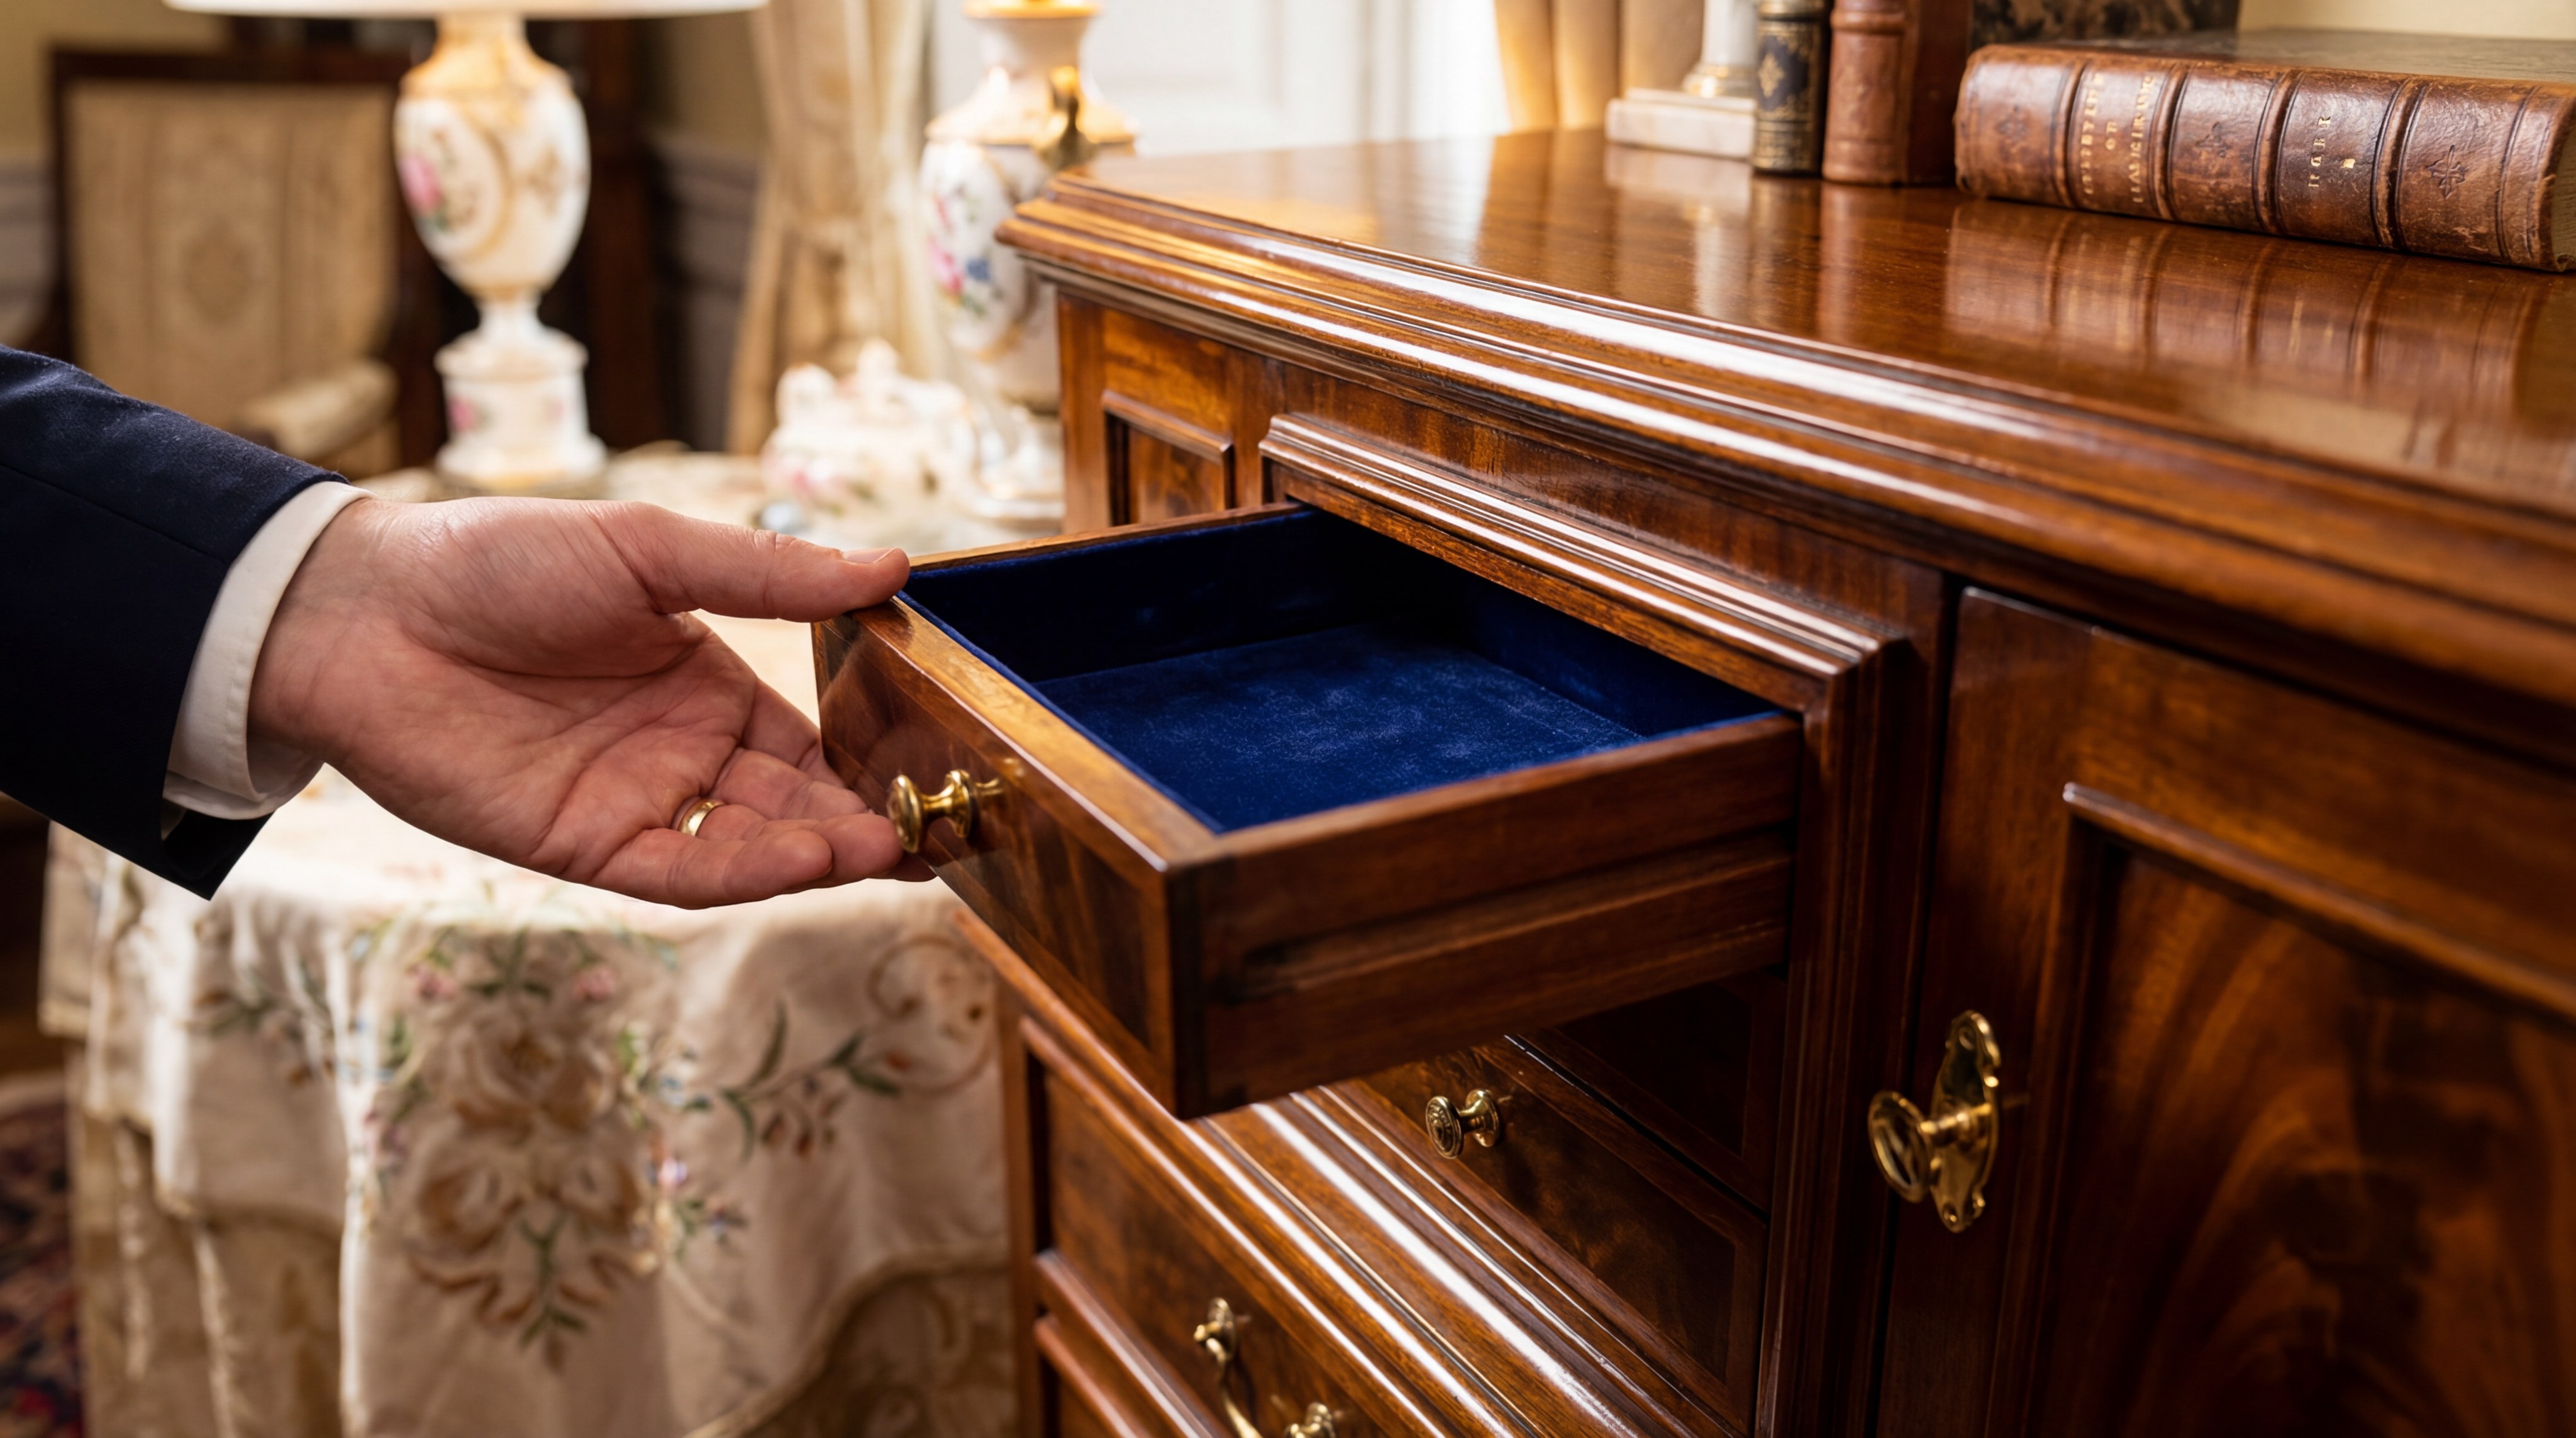
Finalizing the process of how to clean antique jewelry box interiors requires a dedicated drying period to ensure no moisture is trapped inside. You should leave the box open in a well-ventilated room for at least 24 hours before reinserting any high-density foam inserts or jewelry.
Drying and Aeration Rules
Think about it; mold can grow in as little as 48 hours if you close a damp jewelry box.
- Place the box in a room with a ceiling fan or a dehumidifier to circulate the air.
- Avoid using hair dryers or direct heat, as this can cause the wood to shrink and crack.
- Use a dry, soft brush to fluff up any velvet linings that may have been matted during cleaning.
Final Reassembly Tips
Now, here is the secret to making the drawers slide like they are brand new again.
- Rub a small amount of white candle wax or beeswax on the wooden drawer runners.
- Tighten any screws on the hinges that may have loosened during the cleaning process.
- Place a small silica gel packet in the back of a drawer to manage future humidity.
Key Takeaway
- Airflow: Never rush the drying process with artificial heat.
- Friction: Use wax to solve “sticking” drawer issues permanently.
| Final Step | Tool/Material | Objective | |
|---|---|---|---|
| Aeration | Room fan | Prevent mold growth | |
| Lubrication | Beeswax | Smooth drawer action | |
| Hardware Check | Small screwdriver | Secure structural parts |
Completing these final steps ensures that the box is not only clean but also functionally sound for daily use.
What tools help how to clean antique jewelry box pieces?
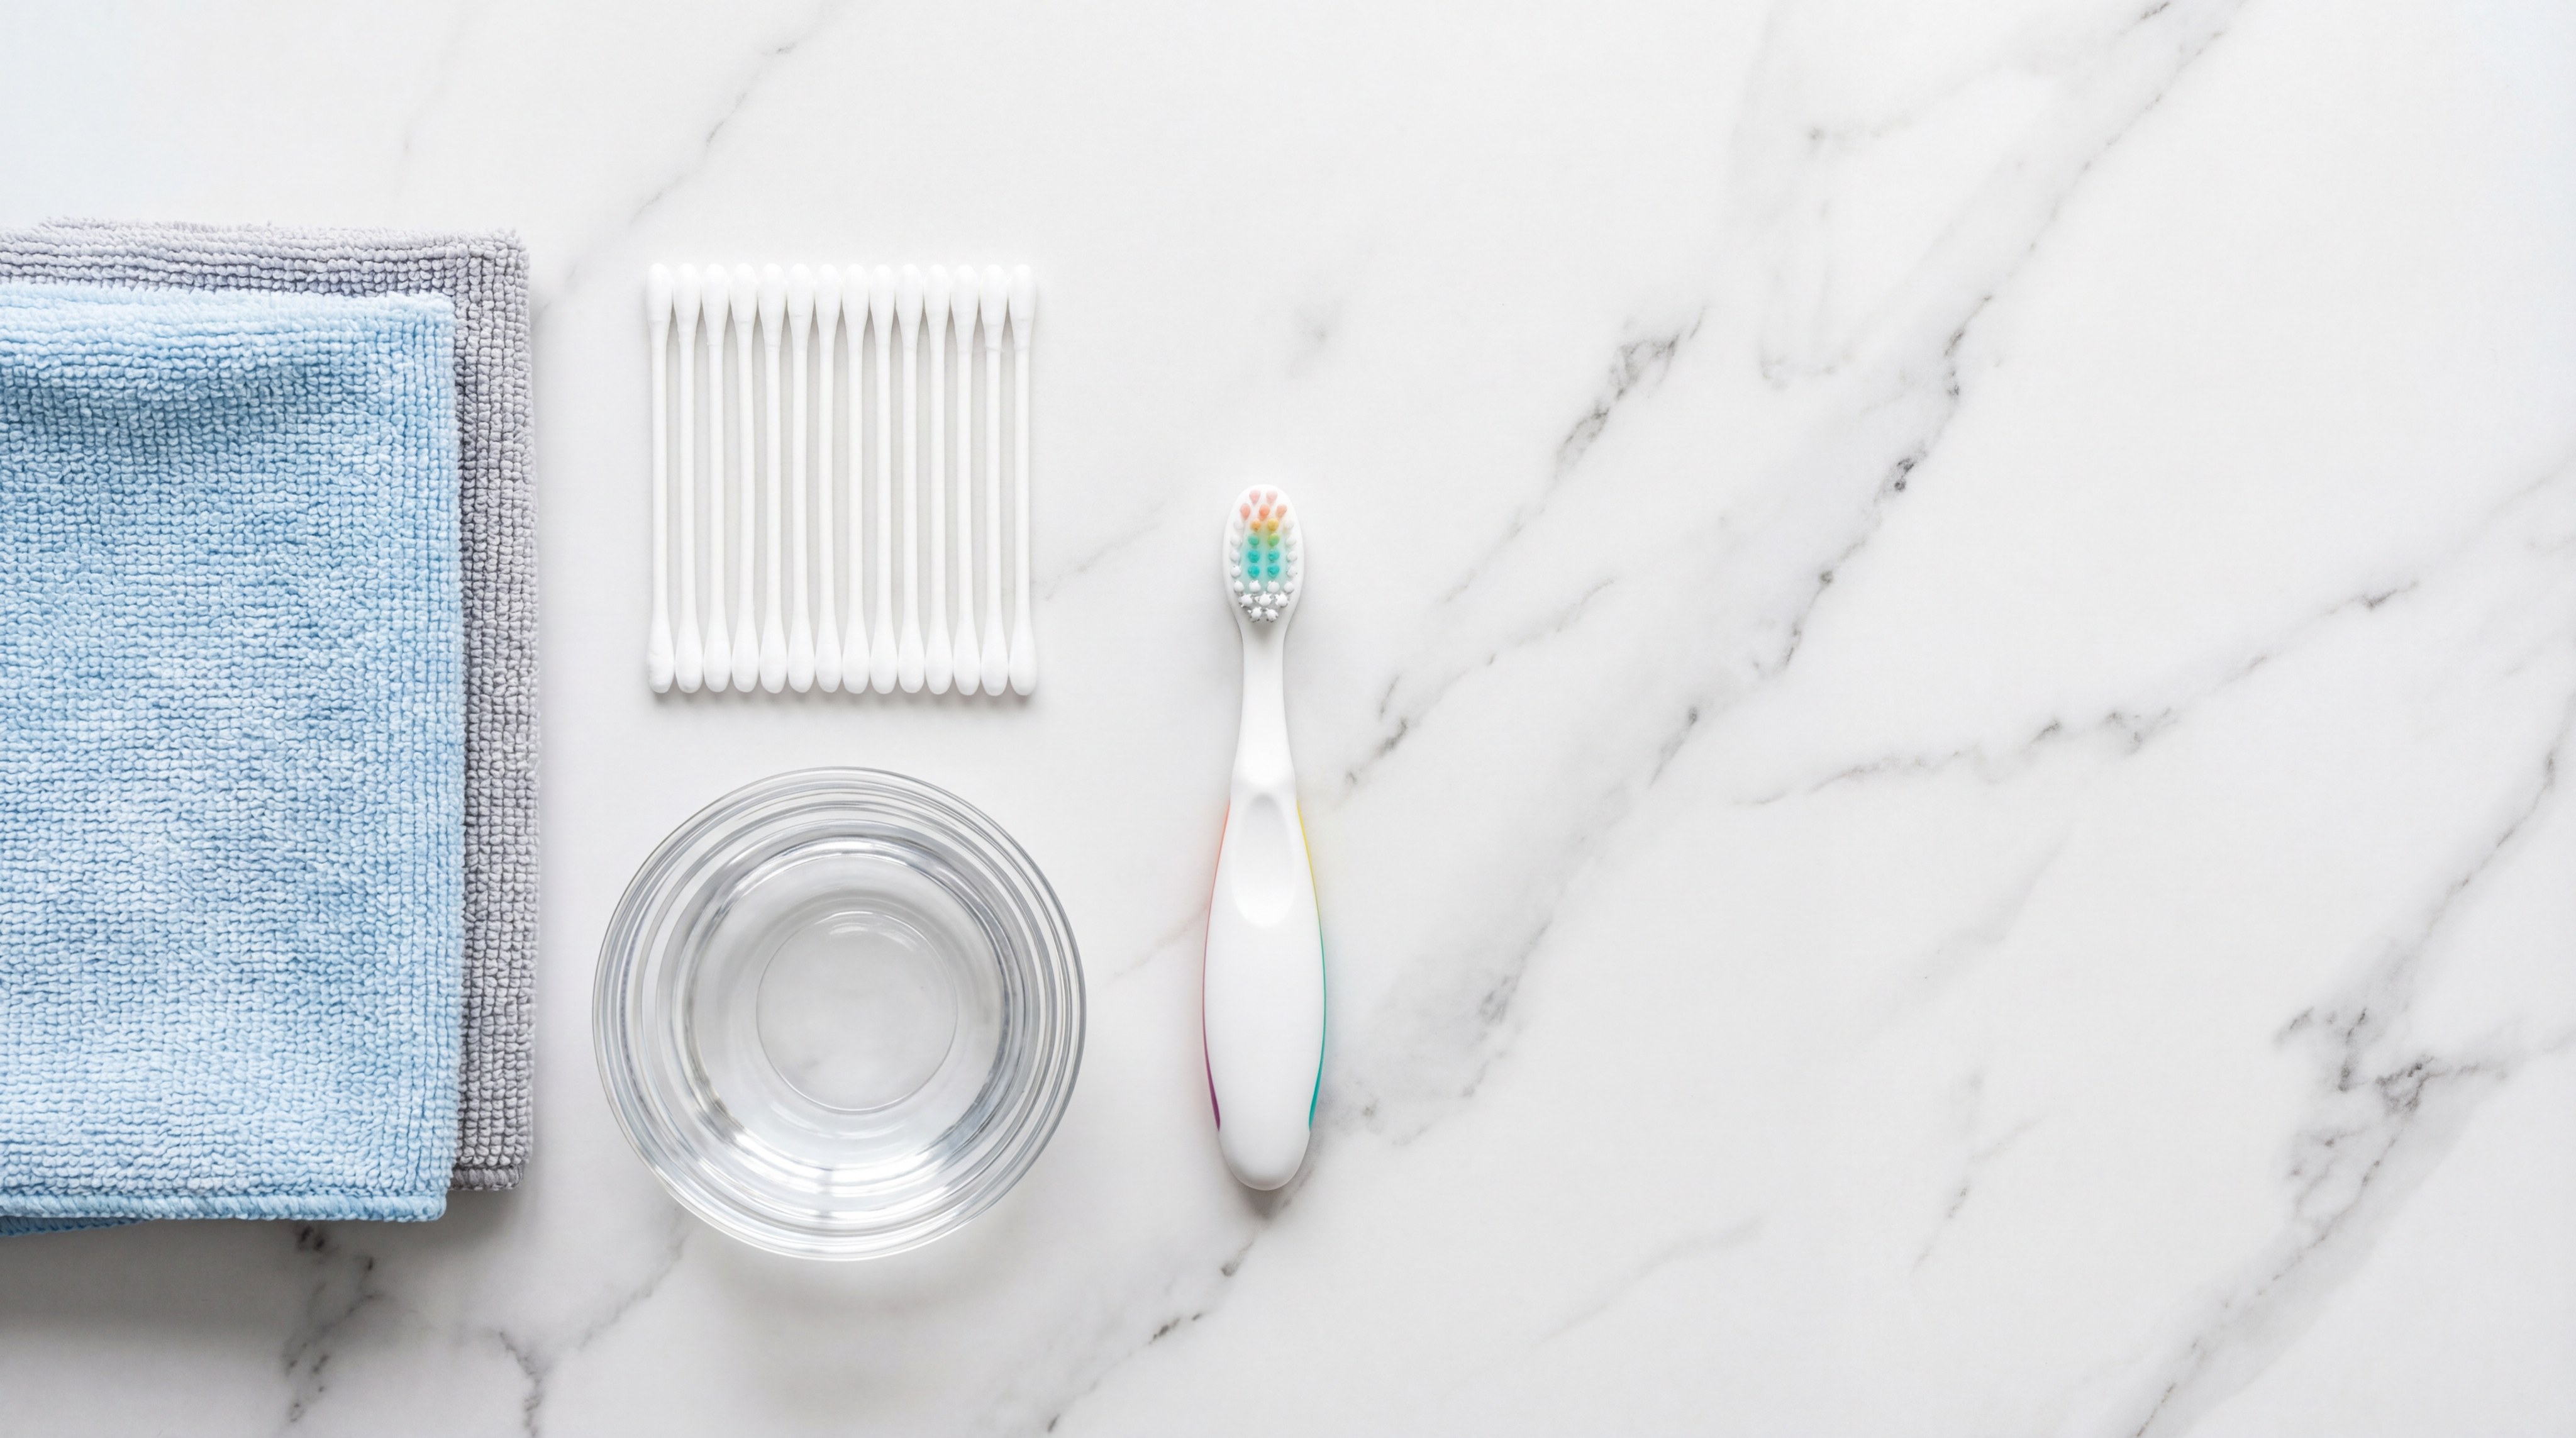
To succeed at how to clean antique jewelry box restoration, you need a specialized kit that prioritizes gentleness over speed. You should avoid heavy-duty industrial tools and instead look toward items found in a dental or makeup kit.
Essential Soft-Bristled Brushes
But that’s only half the story; the type of brush you choose can make or break the finish.
- A baby toothbrush is perfect for scrubbing ornate carvings without leaving scratches.
- Use a clean makeup brush to whisk away loose dust from delicate interior corners.
- A natural boar-hair brush is ideal for buffing wax into a deep, rich wood shine.
The Role of Microfiber Cloths
Best of all, microfiber technology allows you to lift dirt without the use of aggressive chemicals.
- Use high-gsm (grams per square meter) cloths for maximum absorbency and softness.
- Dedicate specific cloths to specific tasks: one for wood, one for metal, one for buffing.
- Wash your cloths frequently to ensure you aren’t just redepositing dirt onto the surface.
Key Takeaway
- Softness: If it’s too rough for your skin, it’s too rough for the box.
- Isolation: Keep oily wood cloths separate from dry velvet brushes.
| Tool | Application | Why it Works | |
|---|---|---|---|
| Cotton Swabs | Detail cleaning | Reaches tight crevices | |
| Baby Toothbrush | Textured surfaces | Flexible and soft | |
| Microfiber | Flat panels | Traps dust electrostatically |
The right tools act as an extension of your hands, allowing for precision work that protects the integrity of the antique.
Know how to clean antique jewelry box velvet?
Understanding how to clean antique jewelry box velvet is a matter of lifting dust rather than rubbing it, which can crush the delicate pile. You should always begin with a low-suction vacuum or a lint roller to remove the majority of loose debris before attempting any liquid spot cleaning.
Removing Deeply Embedded Dust
Keep in mind that old velvet is often fragile and can tear if handled too aggressively.
- Use a soft-bristled brush to gently agitate the fabric and bring dust to the surface.
- Cover your vacuum nozzle with a piece of pantyhose to protect the fabric from being sucked in.
- Roll a piece of masking tape around your hand to “dab” away stubborn lint or pet hair.
Treating Interior Fabric Stains
But wait, there’s more; treating stains on velvet requires a “blotting” motion, never a “scrubbing” one.
- Use a mixture of water and a tiny amount of vinegar to break down organic stains.
- Press a clean white cloth against the stain to pull the liquid out of the velvet fibers.
- Use a dry brush to restore the “nap” or direction of the fabric while it is still damp.
Key Takeaway
- Dab, Don’t Rub: Friction is the primary cause of velvet “balding.”
- Vacuum Guard: Always use a barrier between the vacuum and the fabric.
| Fabric Issue | Solution | Precaution | |
|---|---|---|---|
| Dust | Low-suction vacuum | Check for loose threads | |
| Odor | Baking soda (dry) | Vacuum thoroughly after | |
| Liquid Stain | Blotting with vinegar | Don’t oversaturate |
Restoring the interior fabric provides a safe, non-abrasive environment for your jewelry to rest without the risk of tarnishing.
How to clean antique jewelry box without damage?

The ultimate goal of how to clean antique jewelry box units is to reveal beauty while respecting the history of the piece. By using premium jewelry packaging standards as your guide, you ensure that every material is treated with the dignity it deserves.
FAQ: Expert Restoration Questions
- Can I use rubbing alcohol to clean the wood? No, alcohol will dissolve most vintage shellacs and lacquers instantly.
- What’s the best way to remove a musty smell? Place a bowl of coffee grounds or activated charcoal inside the closed box for 48 hours.
- Can I wash the velvet lining in water? Absolutely not; water can dissolve the old glues holding the lining to the wood frame.
- What should I do if the wood is peeling? Stop cleaning and apply a small amount of wood glue under the flake, then clamp it gently.
- How often should I deep clean my box? A thorough deep clean should only be performed once every one to two years to avoid finish wear.
At YiXin Packaging, we believe that the vessel is just as important as the treasure it holds. Our vision is to merge traditional craftsmanship with modern durability, ensuring that every box we manufacture—or you restore—serves as a lasting testament to your brand’s commitment to quality. Whether you are a collector or a jeweler, preserving the past is the best way to inspire the future. For more information on premium storage solutions or to discuss your custom project, contact us today .