
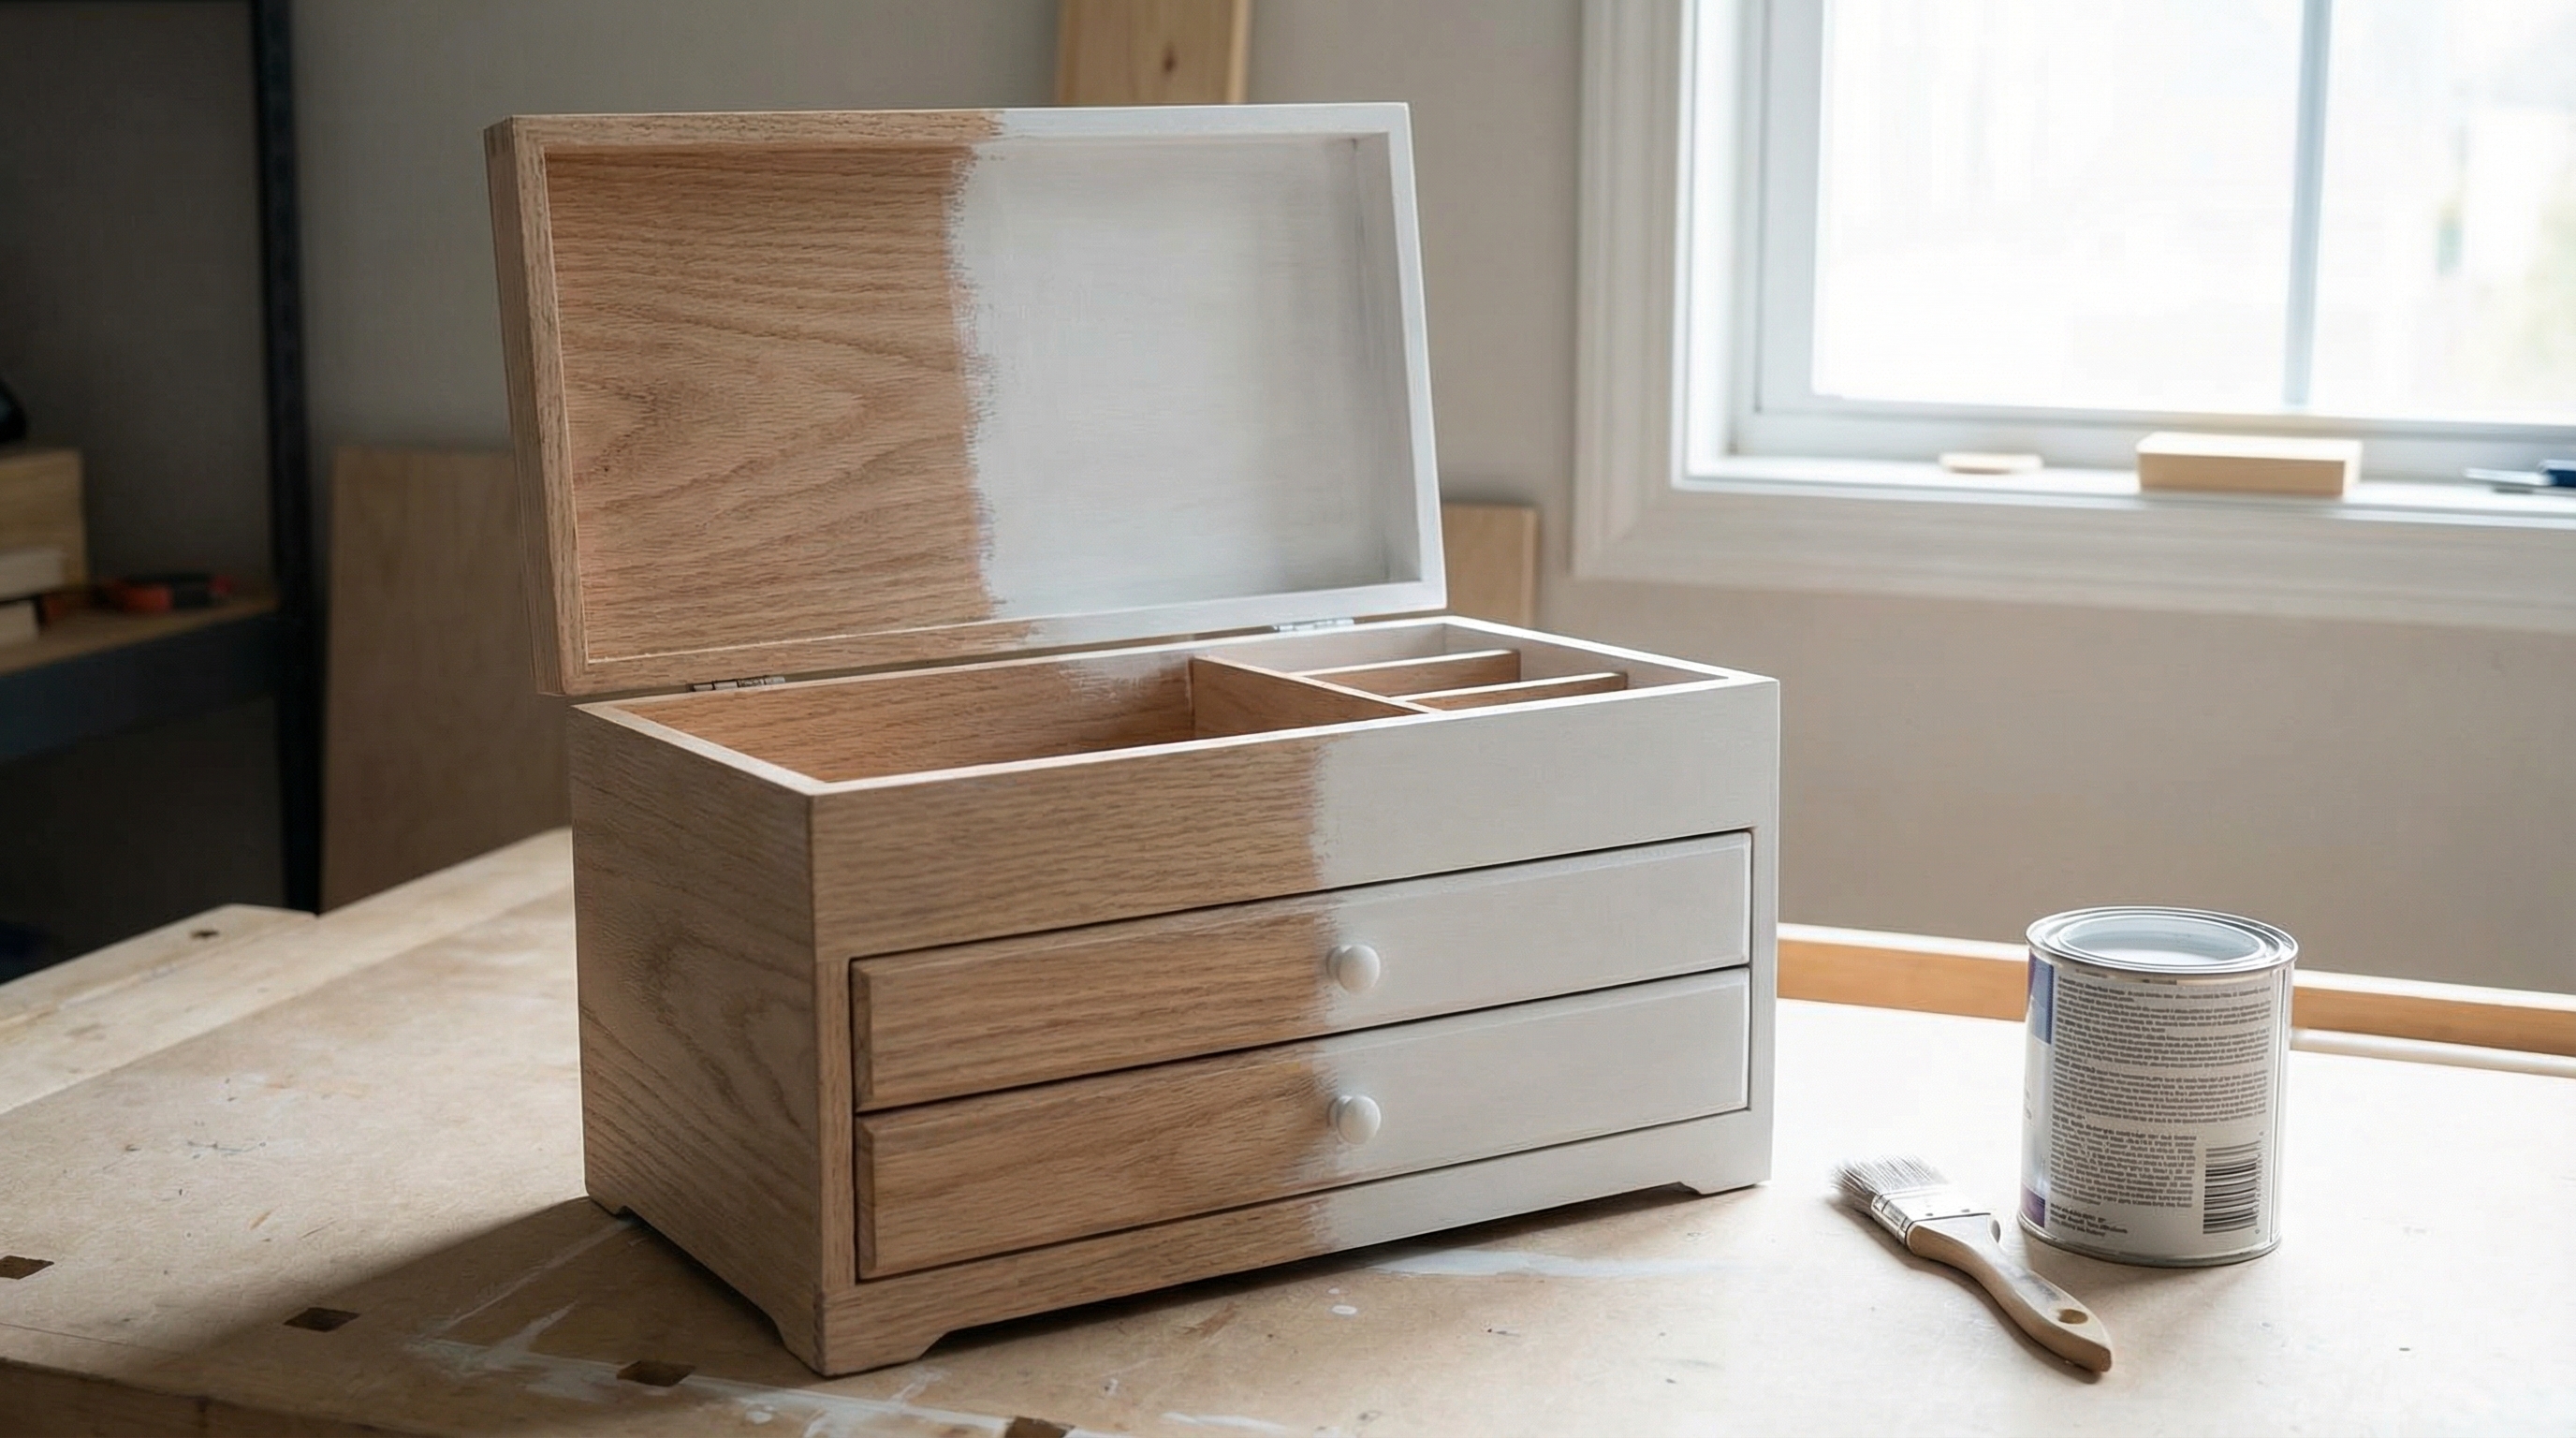
Owning a jewelry storage container that looks dull, dated, or simply doesn’t match your current room aesthetic can be a daily frustration. It is uninspiring to hide your most precious accessories in a generic box that feels like an afterthought. Fortunately, the creative freedom to paint jewelry box items allows you to transform these utilities into bespoke design pieces that perfectly match your style. By following a professional approach to prep and application, you can achieve a high-end look that rivals expensive boutique packaging found at YX Jewelry Packaging .
Why should you choose to paint jewelry box items?
Choosing to paint these items allows you to align your storage solutions with specific personal aesthetics or seasonal trends. When you decide to paint jewelry box containers, you are investing in a unique asset that stands out and enhances the perceived value of the treasures held within. This process transforms a standard utility item into a specialized piece of decor.
Tailoring aesthetics to your style
Customizing your box ensures that your vanity or retail display feels intentional and high-end.
Here is the kicker:
- You can match exact color codes for room consistency.
- Seasonal color palettes can be updated without buying new stock.
- Hand-painted details suggest a level of craftsmanship that mass-produced items lack.
Increasing perceived value
A personalized box suggests that the contents are equally unique and worthy of protection.
But wait, there’s more:
- Custom finishes often allow for higher retail markups in professional settings.
- Professional paint jobs can mimic expensive materials like lacquer or precious metals.
- Unique designs encourage long-term use and reuse of the packaging.
Key TakeawayPainting your own jewelry boxes provides a competitive edge by offering a level of personalization that standard wholesale options cannot match.
| Benefit | Description | Impact | |
|---|---|---|---|
| Style Alignment | Matching colors to your specific interior design | Increased Harmony | |
| Cost Efficiency | Upcycling existing boxes with fresh aesthetics | Lower Overheads | |
| Differentiation | Creating one-of-a-kind visual entries | Higher Appeal |
What materials are best to paint jewelry box surfaces?
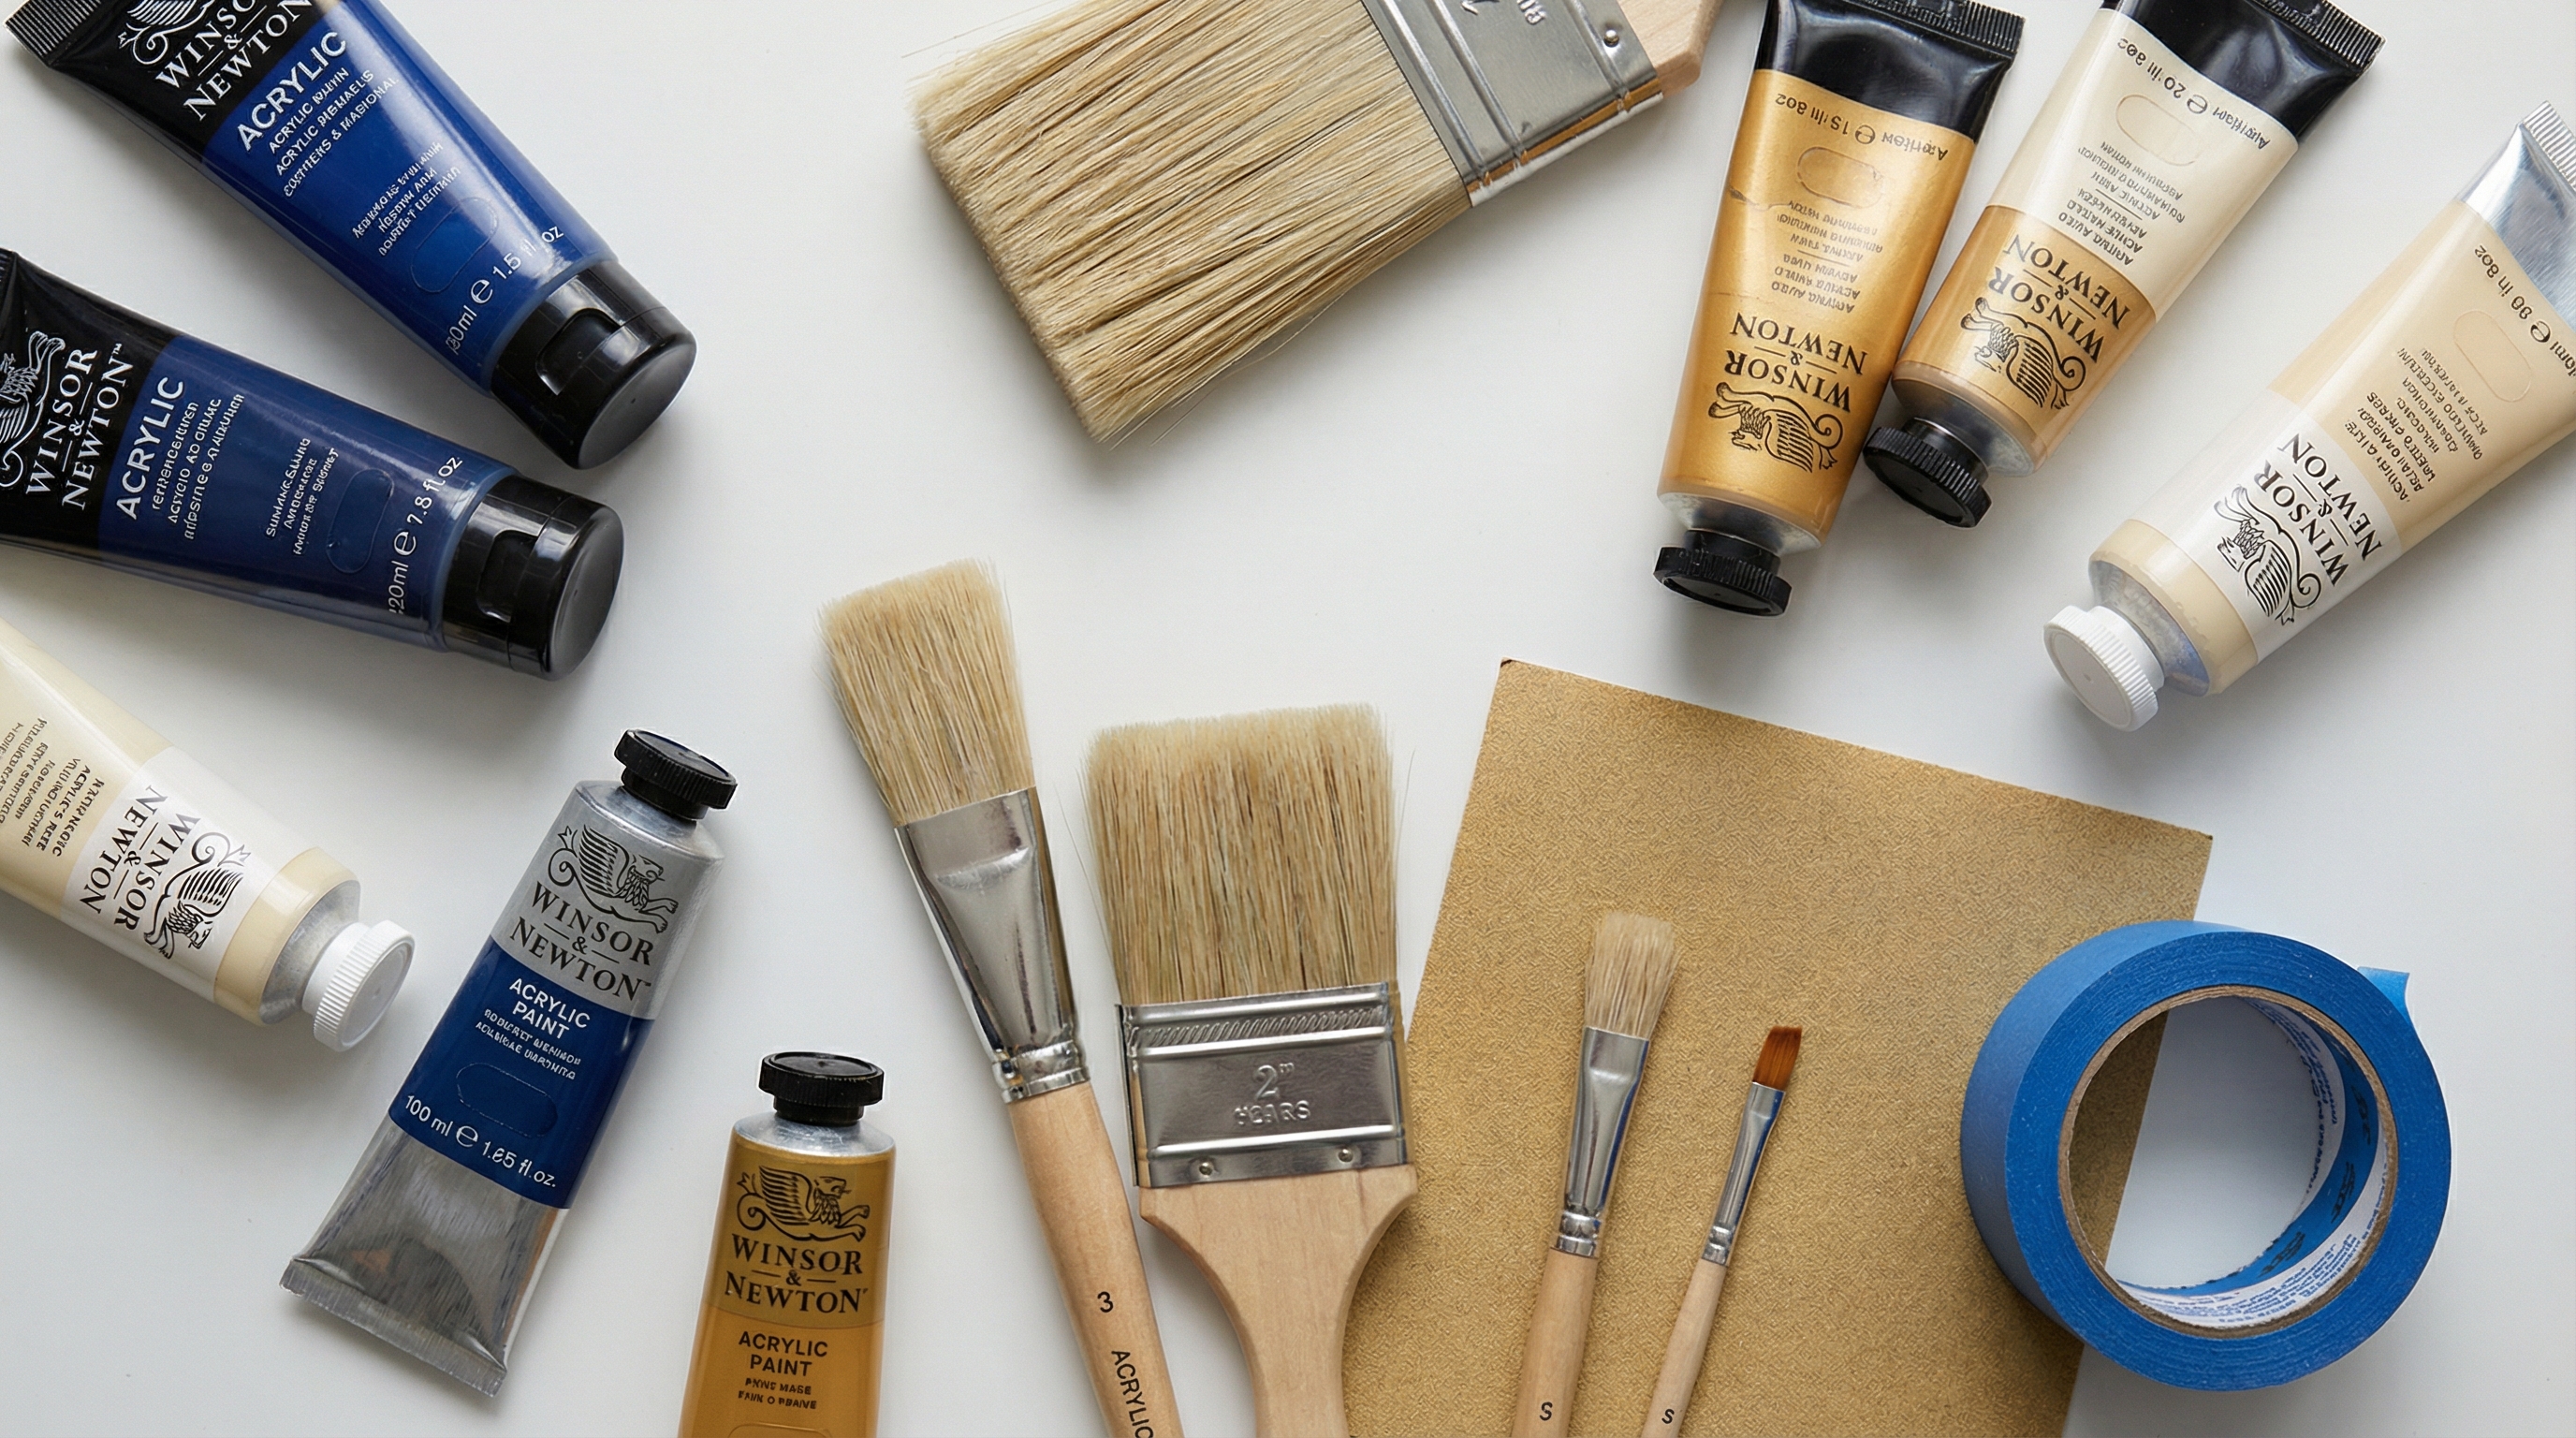
The best materials for this project include high-pigment acrylic paints, multi-surface primers, and professional-grade synthetic brushes. Selecting the right supplies to paint jewelry box surfaces is the most critical step in ensuring a durable and professional finish that lasts. Using inferior chemicals can lead to peeling, stickiness, or a finish that never fully cures.
Choosing quality paint types
High-quality acrylics offer the flexibility and adhesion needed for small, detailed wooden or cardboard surfaces.
You might be wondering:
- Heavy body acrylics provide excellent coverage for textured surfaces.
- Fluid acrylics are perfect for detailed decorative work and fine lines.
- Spray paints offer a factory-smooth finish for larger surface areas.
Selecting professional brushes
The quality of your brush directly influences the smoothness of the final paint application and prevents shedding.
It gets better:
- Synthetic taklon brushes are ideal for a streak-free acrylic finish.
- Detail liners allow for the precision required on small hinges and corners.
- Foam rollers can be used for large flat lids to avoid any visible brush marks.
Key TakeawayInvesting in professional-grade paints and brushes is the only way to ensure your jewelry box looks like a manufactured luxury item.
| Material | Recommended Type | Purpose | |
|---|---|---|---|
| Paint | Acrylic or Spray | Primary Color Application | |
| Brushes | Synthetic Taklon | Smooth, Streak-Free Finish | |
| Tape | Low-Tack Painter’s | Protecting Edges and Hardware |
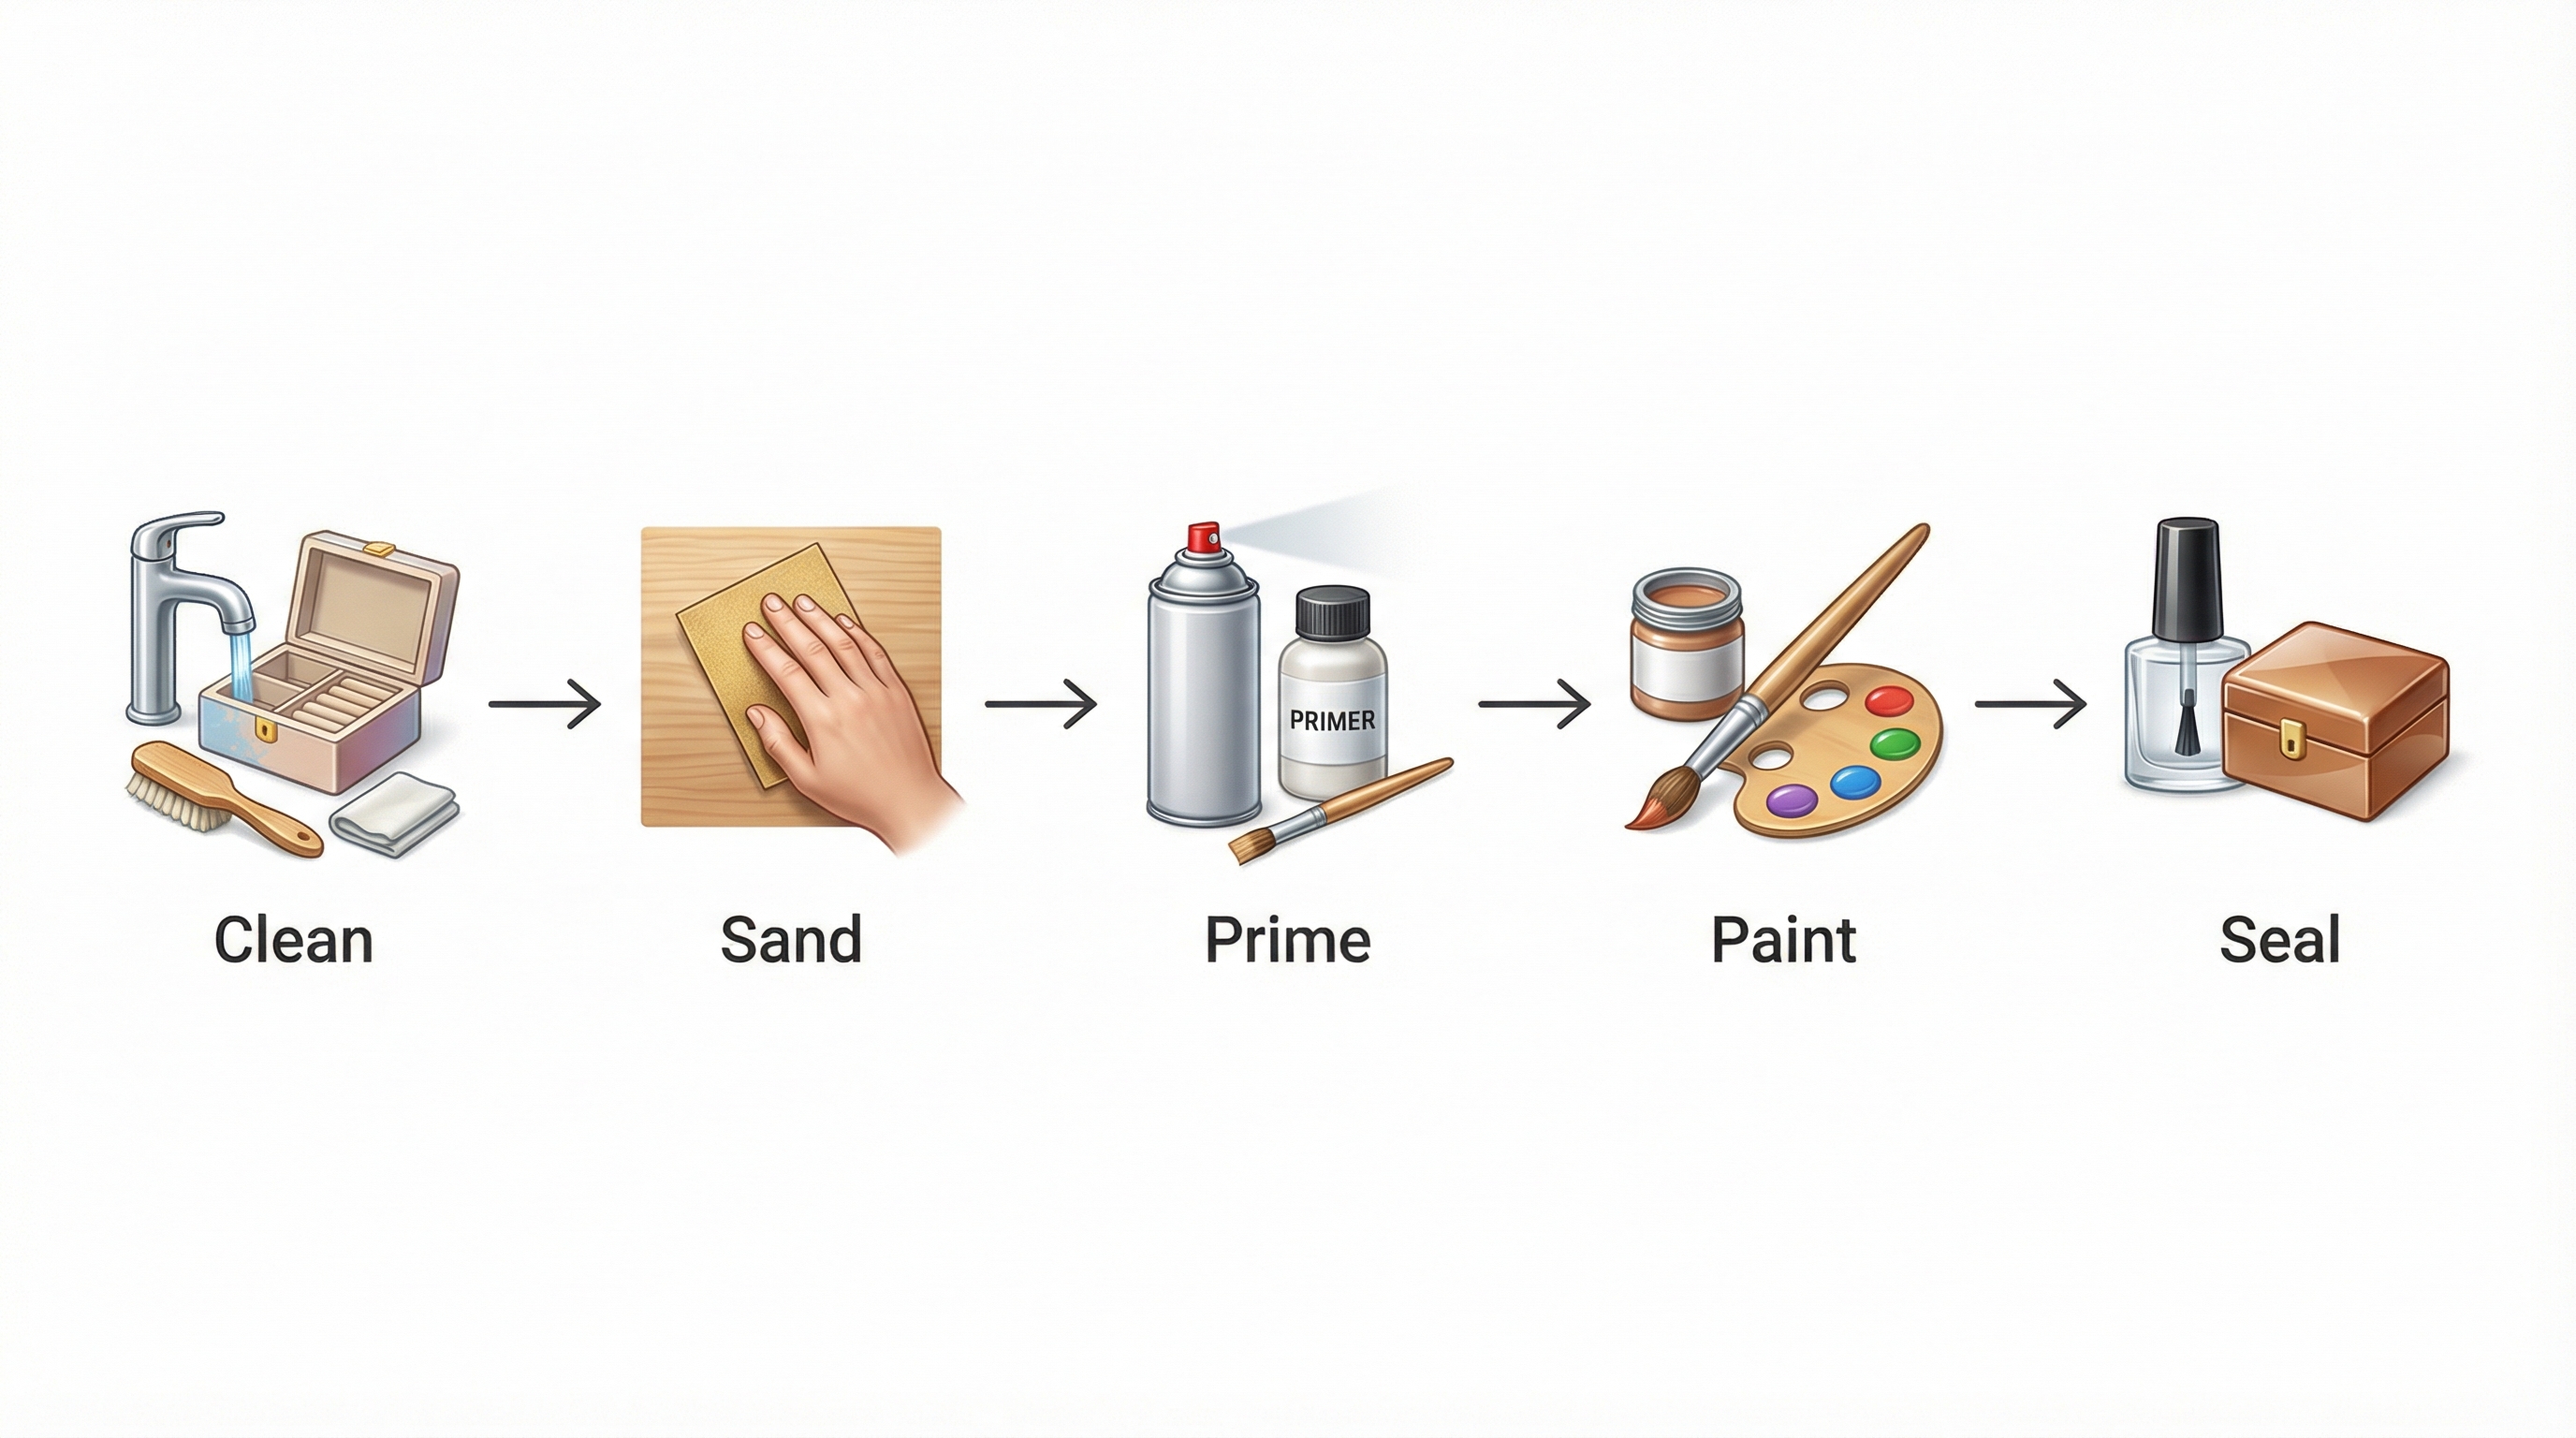
How do you prepare to paint jewelry box exteriors?
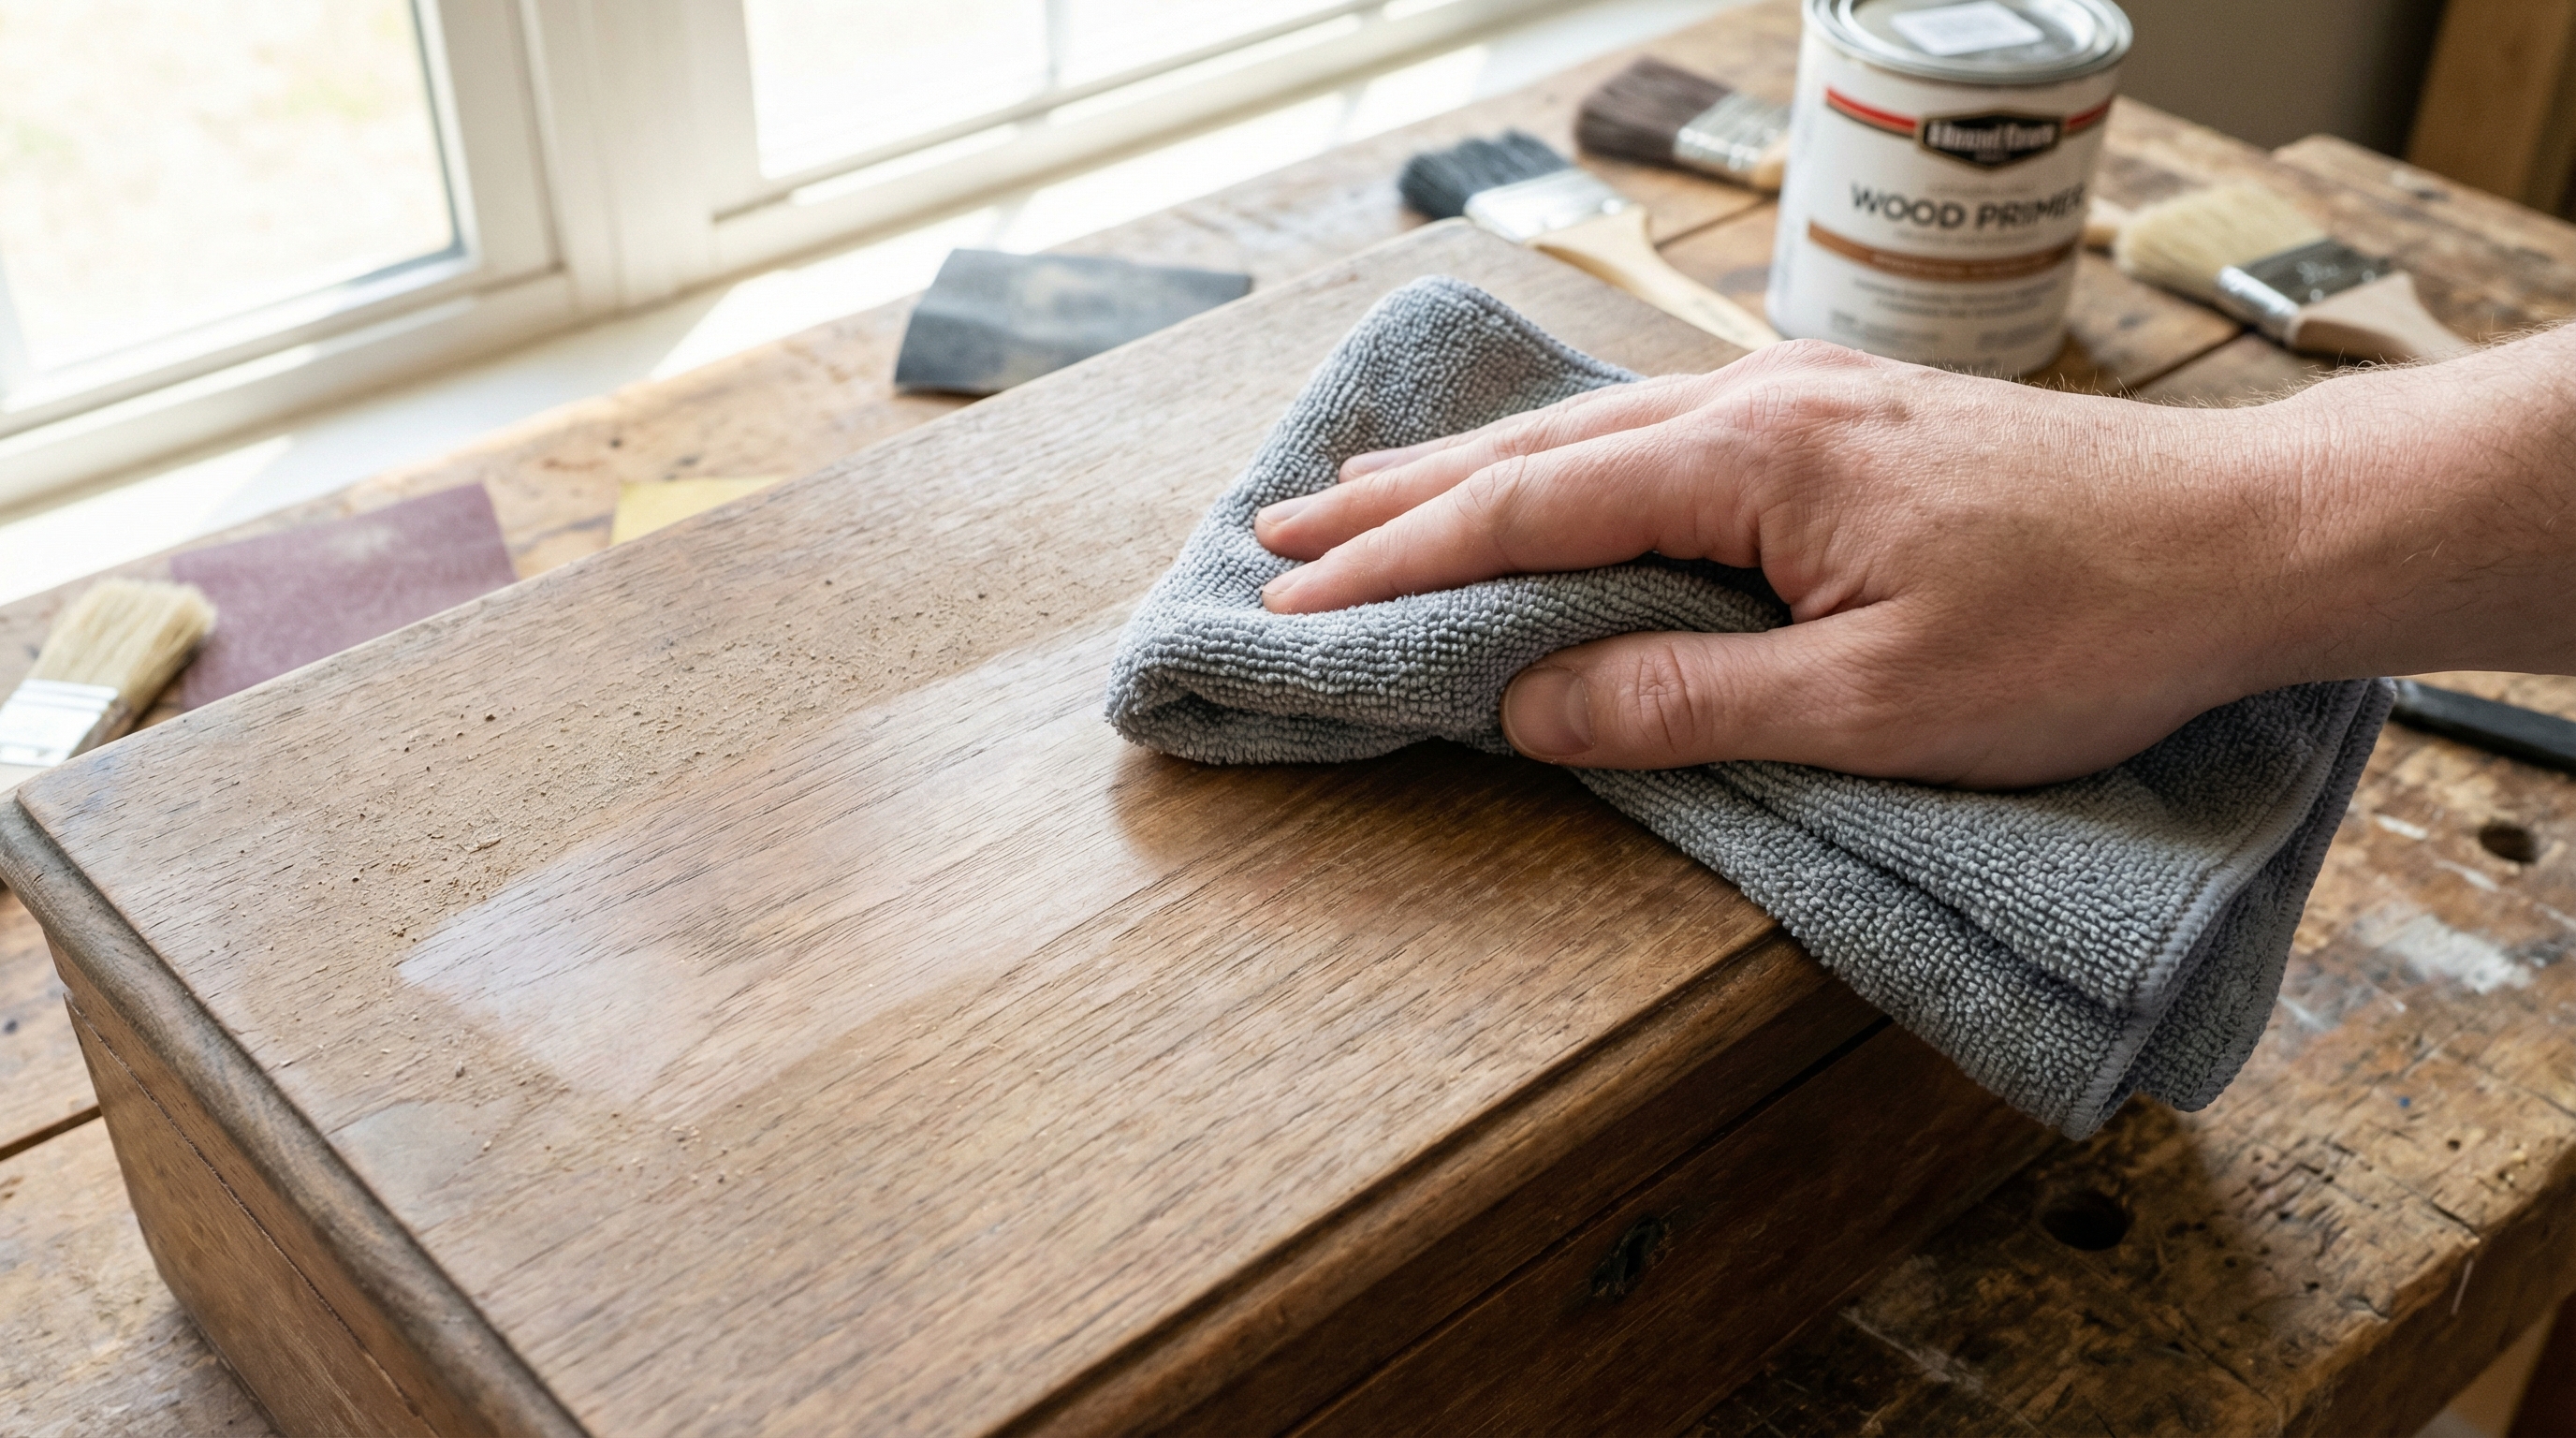
Preparation involves cleaning the surface with a mild degreaser and removing or masking all hardware components. Before you paint jewelry box exteriors, you must ensure the foundation is entirely free of oils and dust. Any residue left on the box will prevent the paint from bonding, leading to immediate failure of the finish.
Cleaning surfaces effectively
A clean surface is the primary requirement for a long-lasting and professional paint bond.
Believe it or not:
- Isopropyl alcohol effectively removes finger oils and manufacturing residues.
- A damp microfiber cloth captures loose particles without scratching the surface.
- Mild dish soap can break down stubborn wax coatings found on older wooden boxes.
Masking and hardware removal
Protecting the areas that should not be painted is just as important as the painting itself.
Check this out:
- Removing hinges and knobs prevents paint from seizing the moving parts.
- Masking the interior lining ensures a clean contrast between the paint and fabric.
- Covering glass or mirror inserts with paper prevents permanent damage.
Key TakeawayDetailed preparation accounts for the majority of the final quality, making it the most important phase of your personalization project.
| Prep Step | Tool Required | Goal | |
|---|---|---|---|
| Degreasing | Isopropyl Alcohol | Remove oils and fingerprints | |
| Dismantling | Precision Screwdriver | Protect hinges and hardware | |
| Taping | Masking Tape | Create sharp, professional lines |
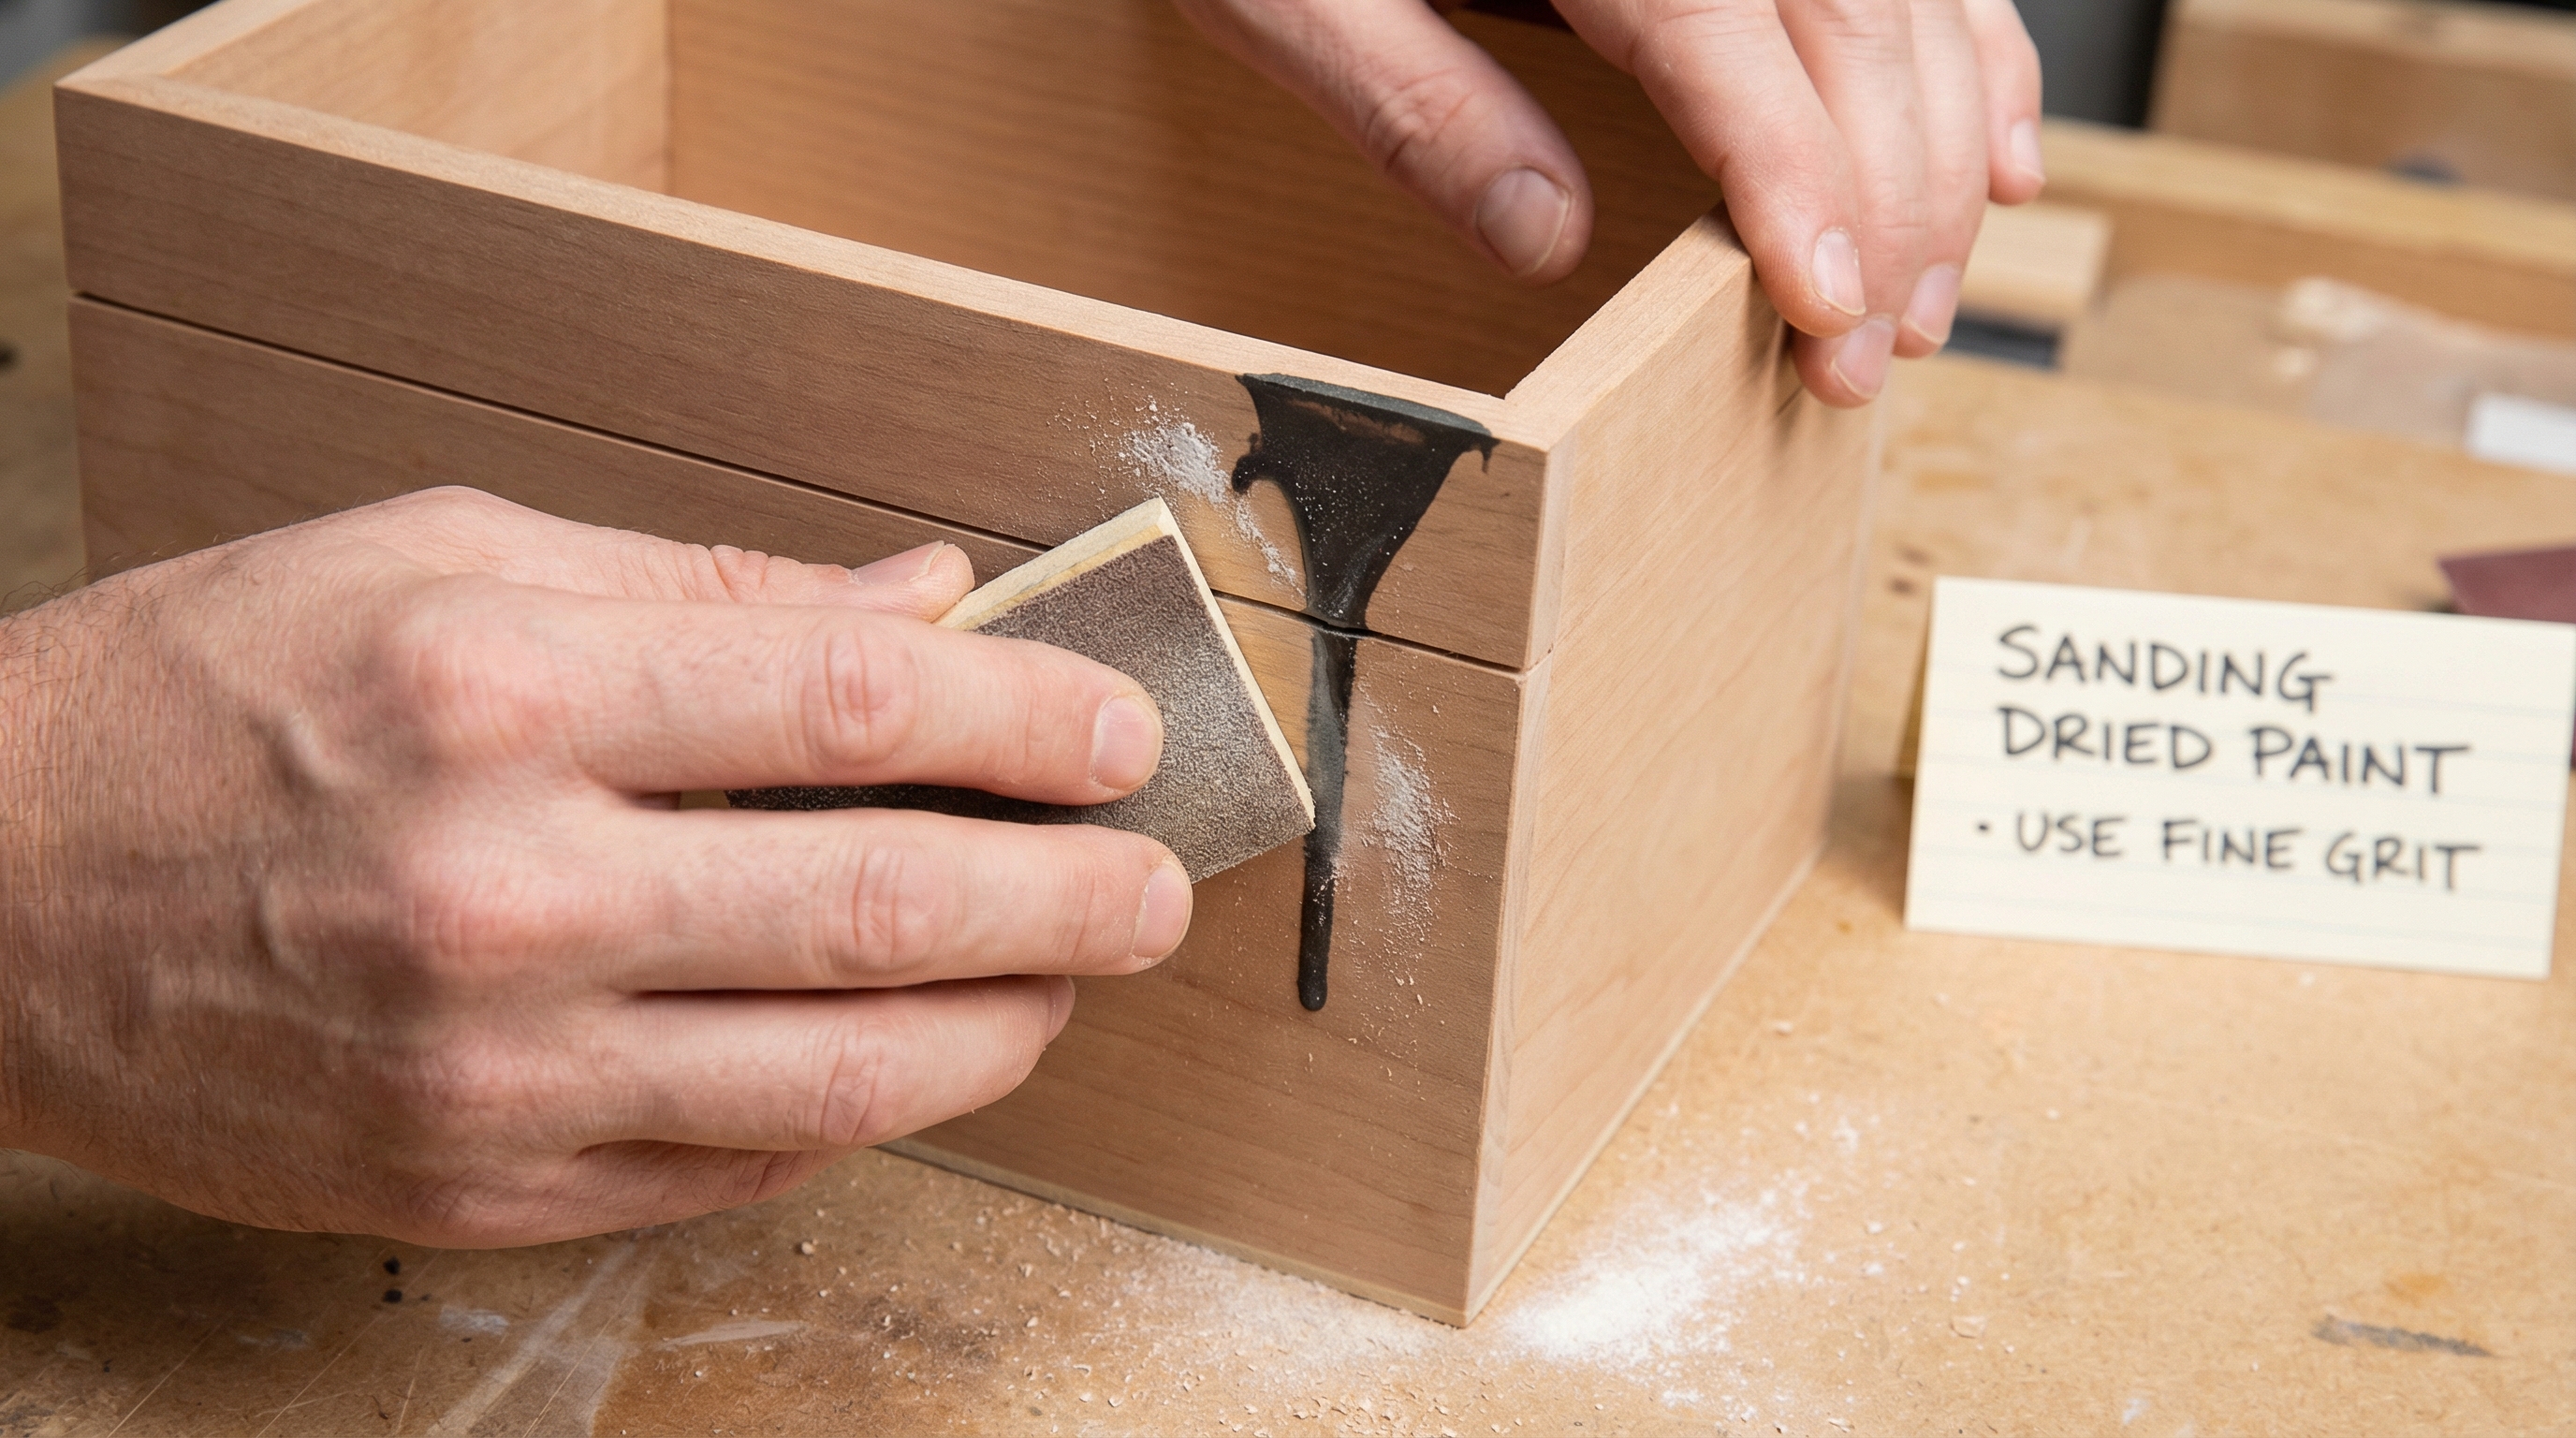
Why is sanding vital when you paint jewelry box wood?
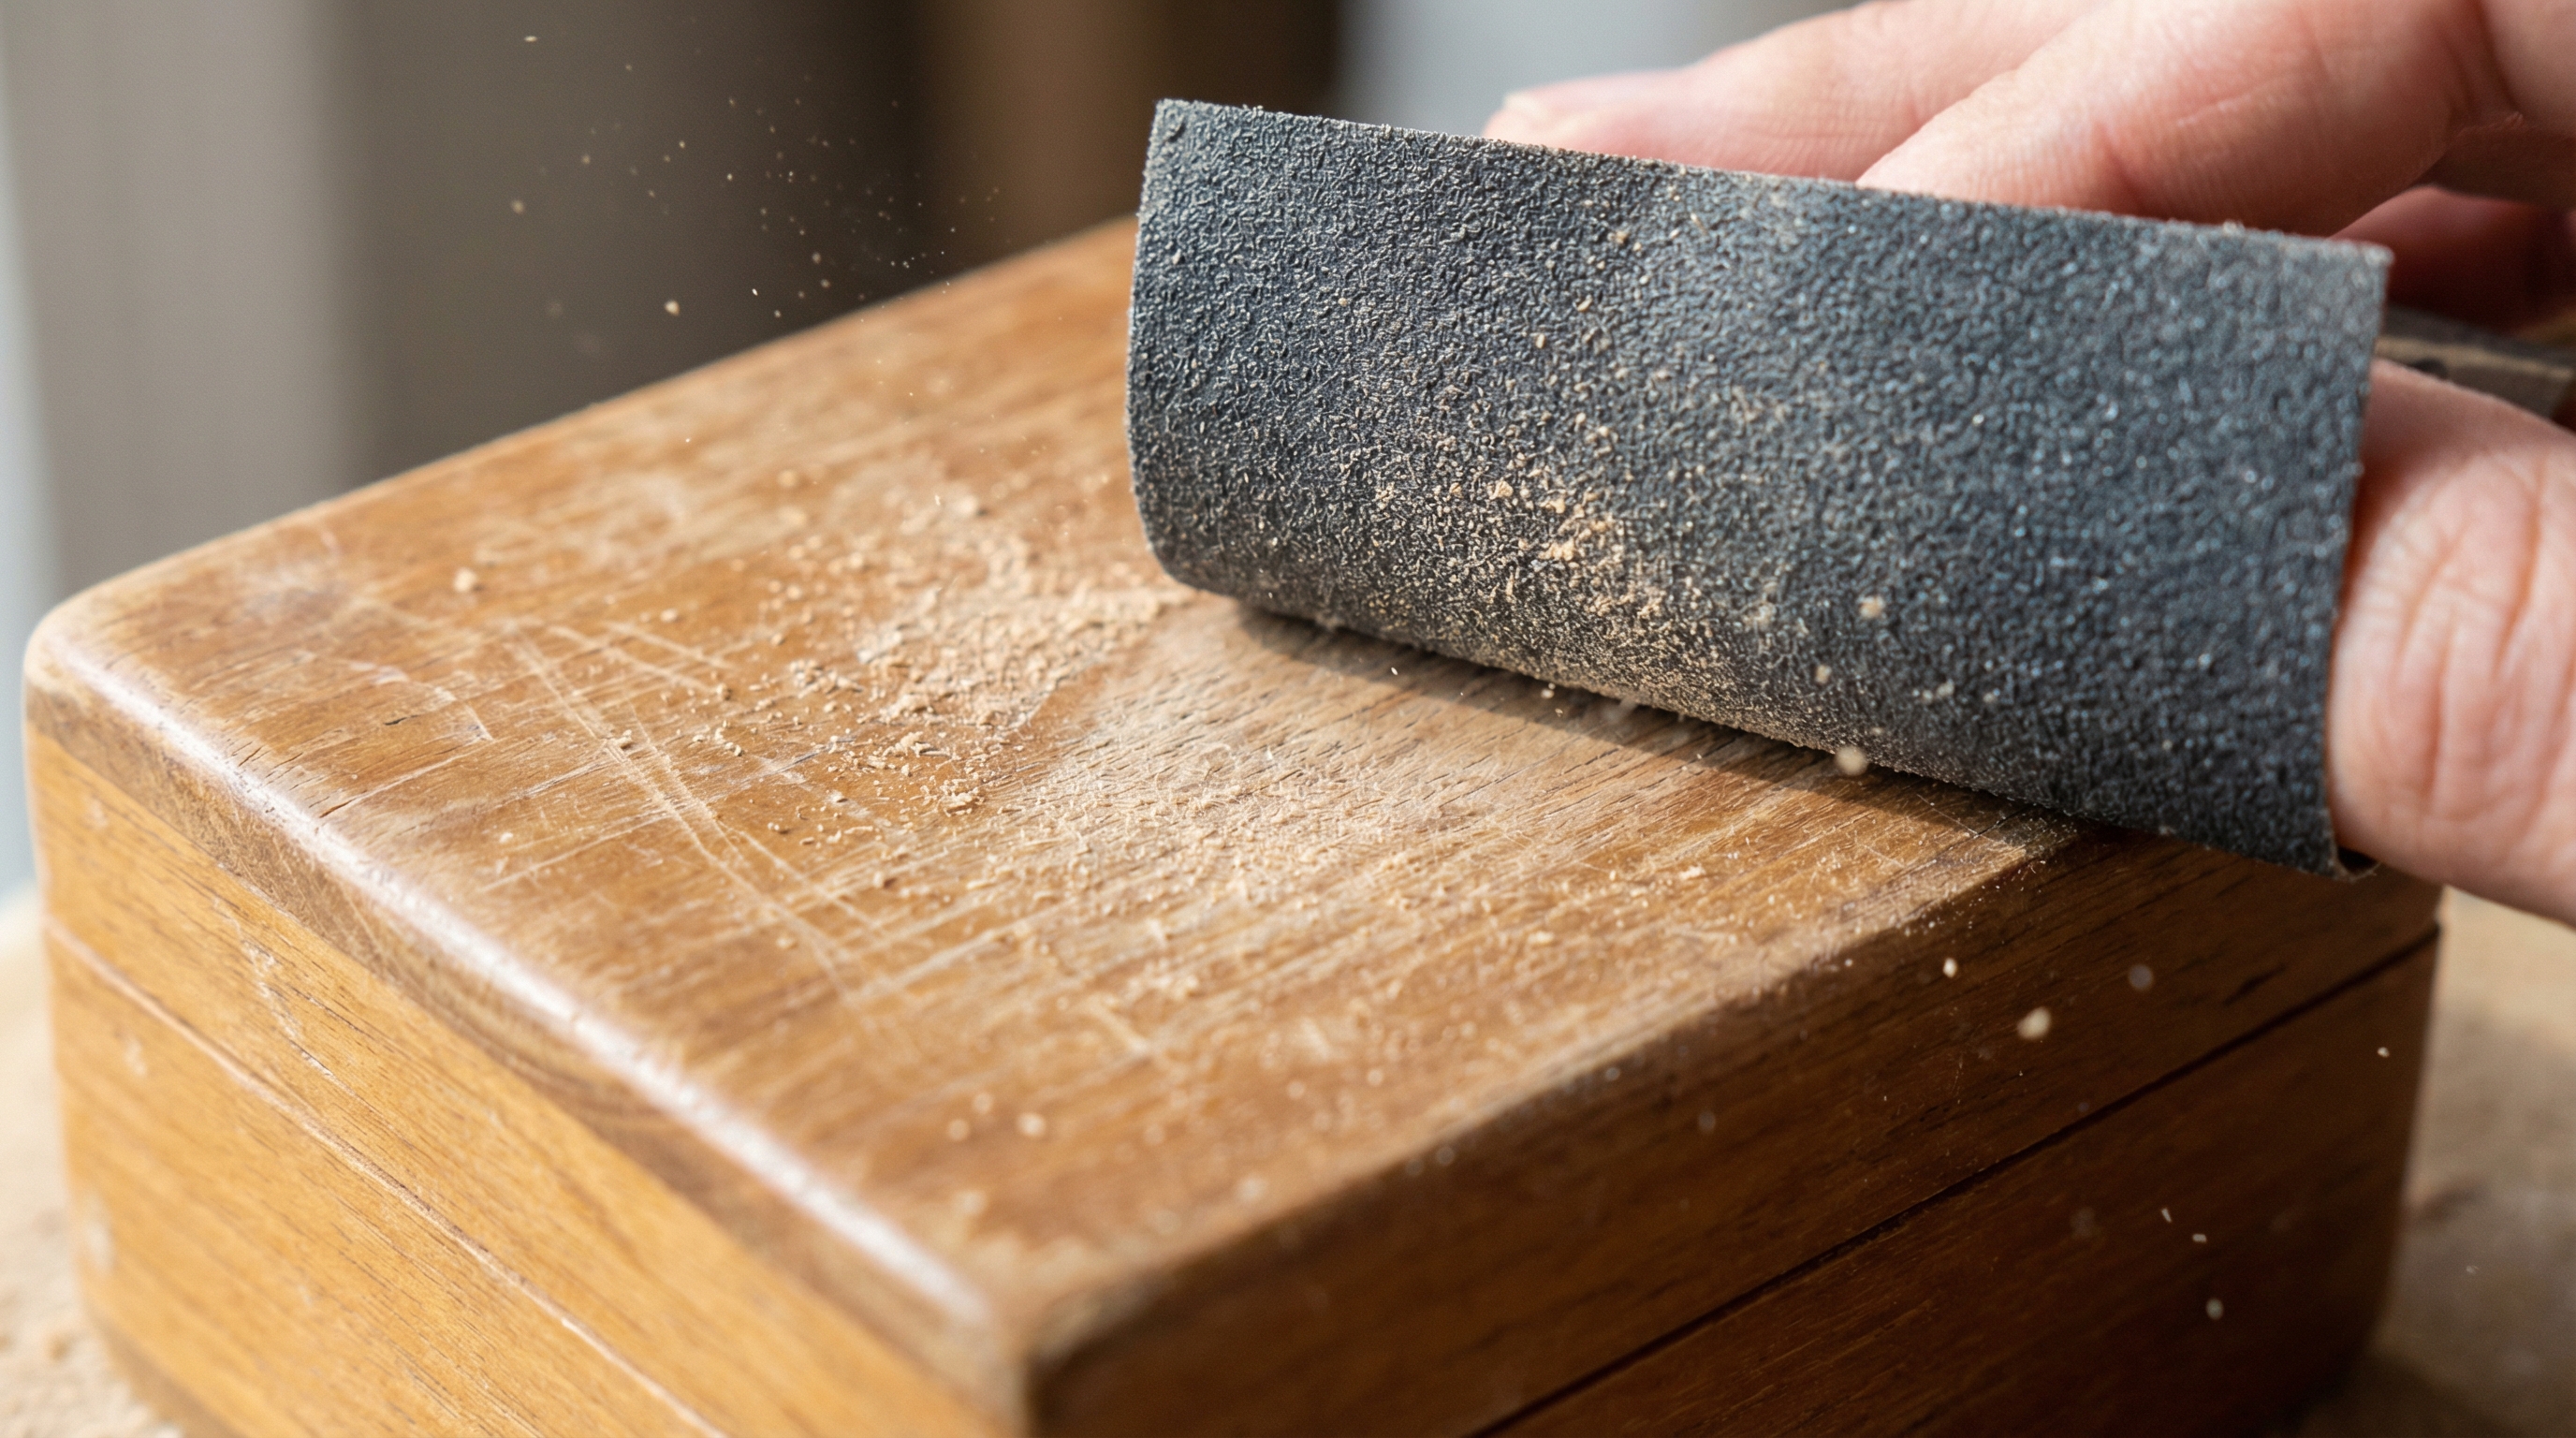
Sanding is vital because it creates a microscopic texture, or “tooth,” that allows the paint to anchor to the surface. Professional results depend on the quality of the substrate, which is why you must paint jewelry box wood only after it has been properly leveled. Without sanding, new paint will simply sit on top of the old finish and eventually slide or flake off.
Grits for surface prep
Using the correct sequence of sandpaper grits ensures a smooth surface without leaving deep, visible gouges.
Now, look at this:
- 120-grit sandpaper is perfect for removing old, thick lacquer or varnish.
- 220-grit provides the final smoothing required for most acrylic applications.
- 400-grit is used for wet-sanding between paint coats for a mirror-like finish.
Smoothing between coats
Sanding is not just a pre-paint step; it is a recurring part of the professional layering process.
Here is the deal:
- Lightly sanding after the primer coat removes any raised wood grain.
- Removing “nibs” or dust particles between color coats keeps the surface flat.
- A final buff with extremely fine grit can prepare the surface for a high-gloss sealant.
Key TakeawayProper sanding transforms a rough, uneven surface into a professional canvas that supports a durable and beautiful paint application.
| Grit Level | Surface Type | Desired Outcome | |
|---|---|---|---|
| Medium (120) | Rough or Varnished | Removal of old finish | |
| Fine (220) | Bare Wood | Leveling and tooth creation | |
| Ultra-Fine (400) | Painted Layers | Removing imperfections |
Do you need primer to paint jewelry box containers?
Yes, you need a primer to block stains from bleeding through and to provide a uniform surface for your color coats. When you paint jewelry box surfaces that are dark or highly absorbent, the primer acts as a vital barrier. Skipping this step often results in uneven color saturation or a finish that requires too many coats to cover.
Stain blocking properties
Primer prevents the tannins in wood or the dyes in previous finishes from ruining your new color.
What does this mean for you?
- Shellac-based primers are the best for blocking stubborn wood knots.
- White primers make neon or pastel topcoats appear more vibrant and true to tone.
- Grey primers are ideal when you are transitioning to a dark, moody finish.
Improving paint adhesion
The primary job of a primer is to act as a chemical bridge between the box and the paint.
But wait, there’s more:
- High-bond primers stick to glass and metal where standard paint would fail.
- Primers provide a “flat” surface that prevents the topcoat from sagging or running.
- A good primer reduces the total amount of expensive decorative paint required.
Key TakeawayPriming is an essential insurance policy that guarantees your color coats look professional and stay attached for years to come.
| Primer Type | Best For | Benefit | |
|---|---|---|---|
| Water-Based | Cardboard/MDF | Fast drying and low odor | |
| Shellac-Based | Raw Wood | Prevents stain bleed-through | |
| Bonding | Plastic/Metal | Maximum stick on slick surfaces |
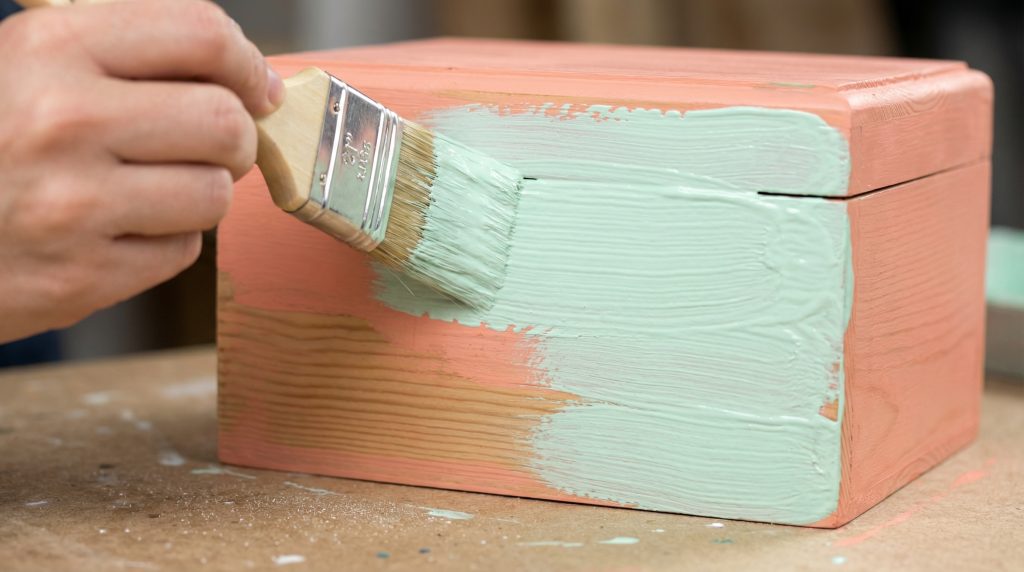
Which techniques help you paint jewelry box designs?
Techniques such as applying thin, multi-directional layers and allowing for proper drying help create a factory-perfect look. When you paint jewelry box components, the “thin to thick” rule is your best friend for avoiding drips. Patience is the hallmark of a professional artisan, as rushing the drying process is the most common cause of project failure.
Mastering the thin coat
The secret to a smooth finish is applying several thin layers rather than one heavy, thick layer.
You might be wondering:
- Thin coats dry faster and more evenly throughout the pigment layer.
- They prevent the “orange peel” texture commonly seen in amateur jobs.
- Multiple layers allow you to build up color depth and opacity gradually.
Brush stroke management
How you move your hand determines whether the final product looks handmade or professionally manufactured.
It gets better:
- Always brush in the direction of the wood grain to hide stroke marks.
- “Tipping off” with a dry brush removes air bubbles from the wet surface.
- Avoiding over-working the paint prevents the brush from dragging and creating ridges.
Key TakeawayProfessional results come from disciplined application techniques and environmental control during the drying phase.
| Technique | Action | Result | |
|---|---|---|---|
| Tipping Off | Light pass with dry brush | No visible brush strokes | |
| Multi-Coating | 3+ very thin layers | Durable, deep color | |
| Cross-Hatching | Alternating stroke direction | Complete, even coverage |
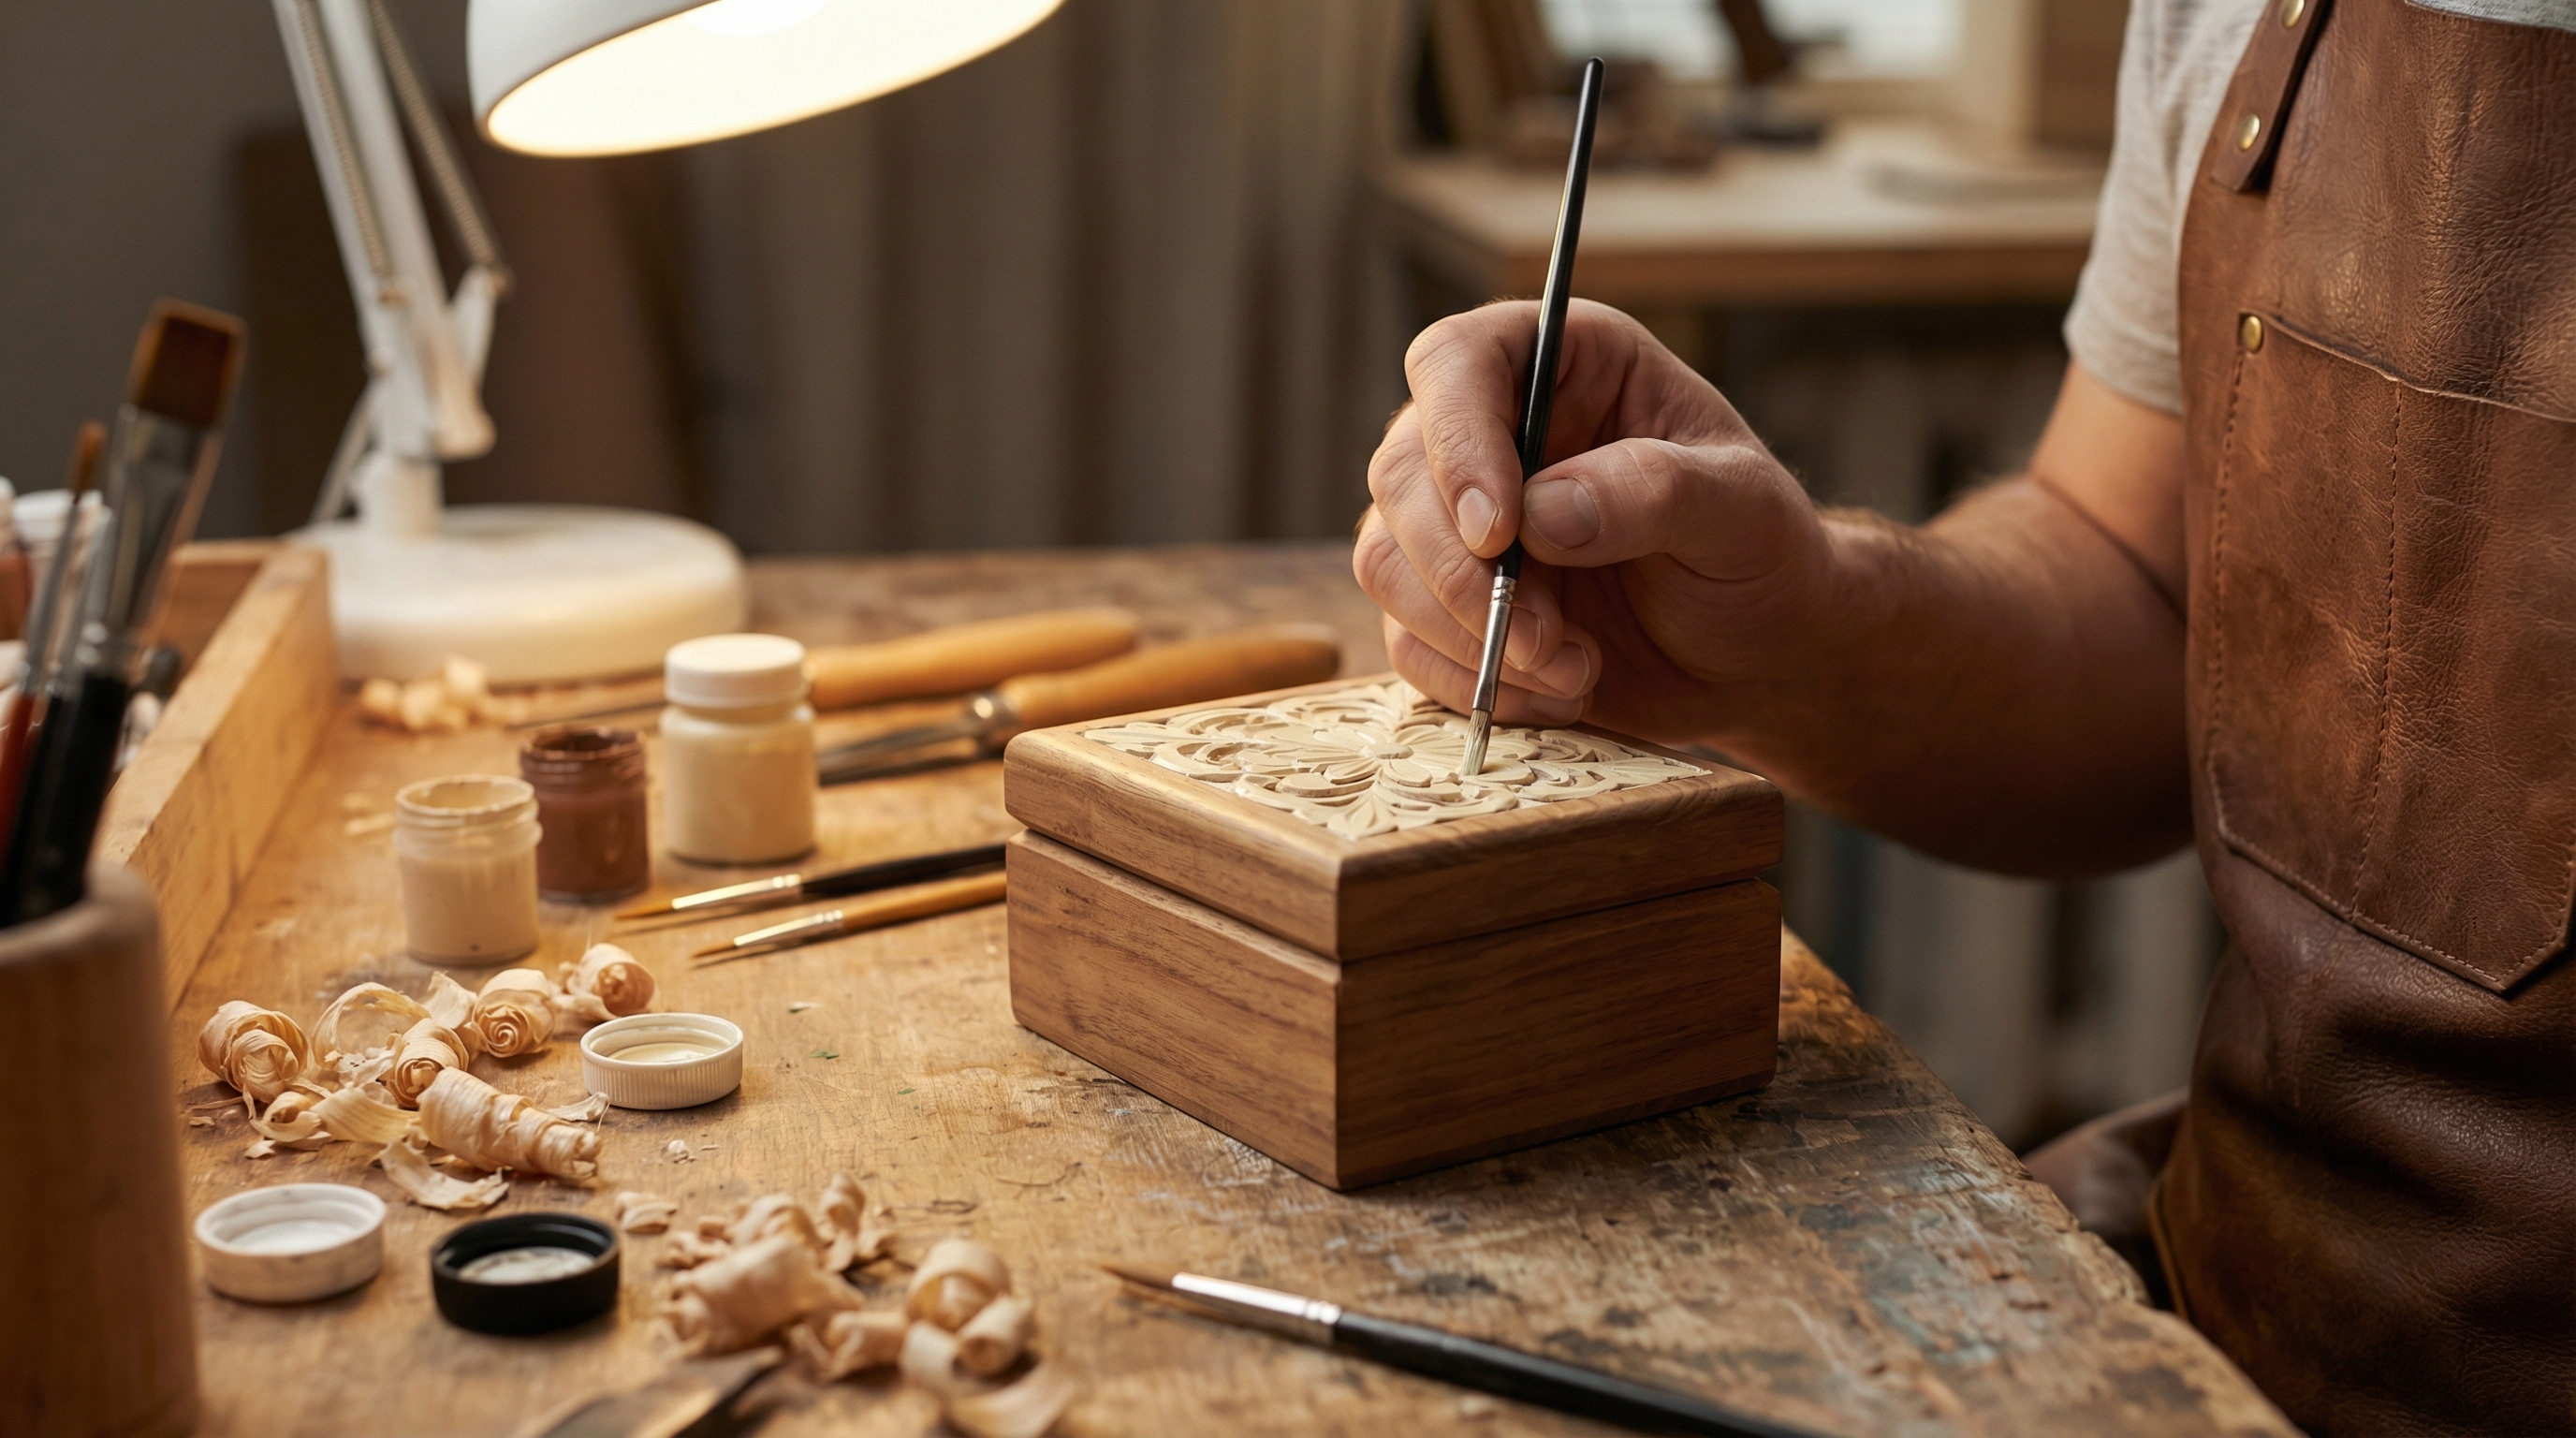
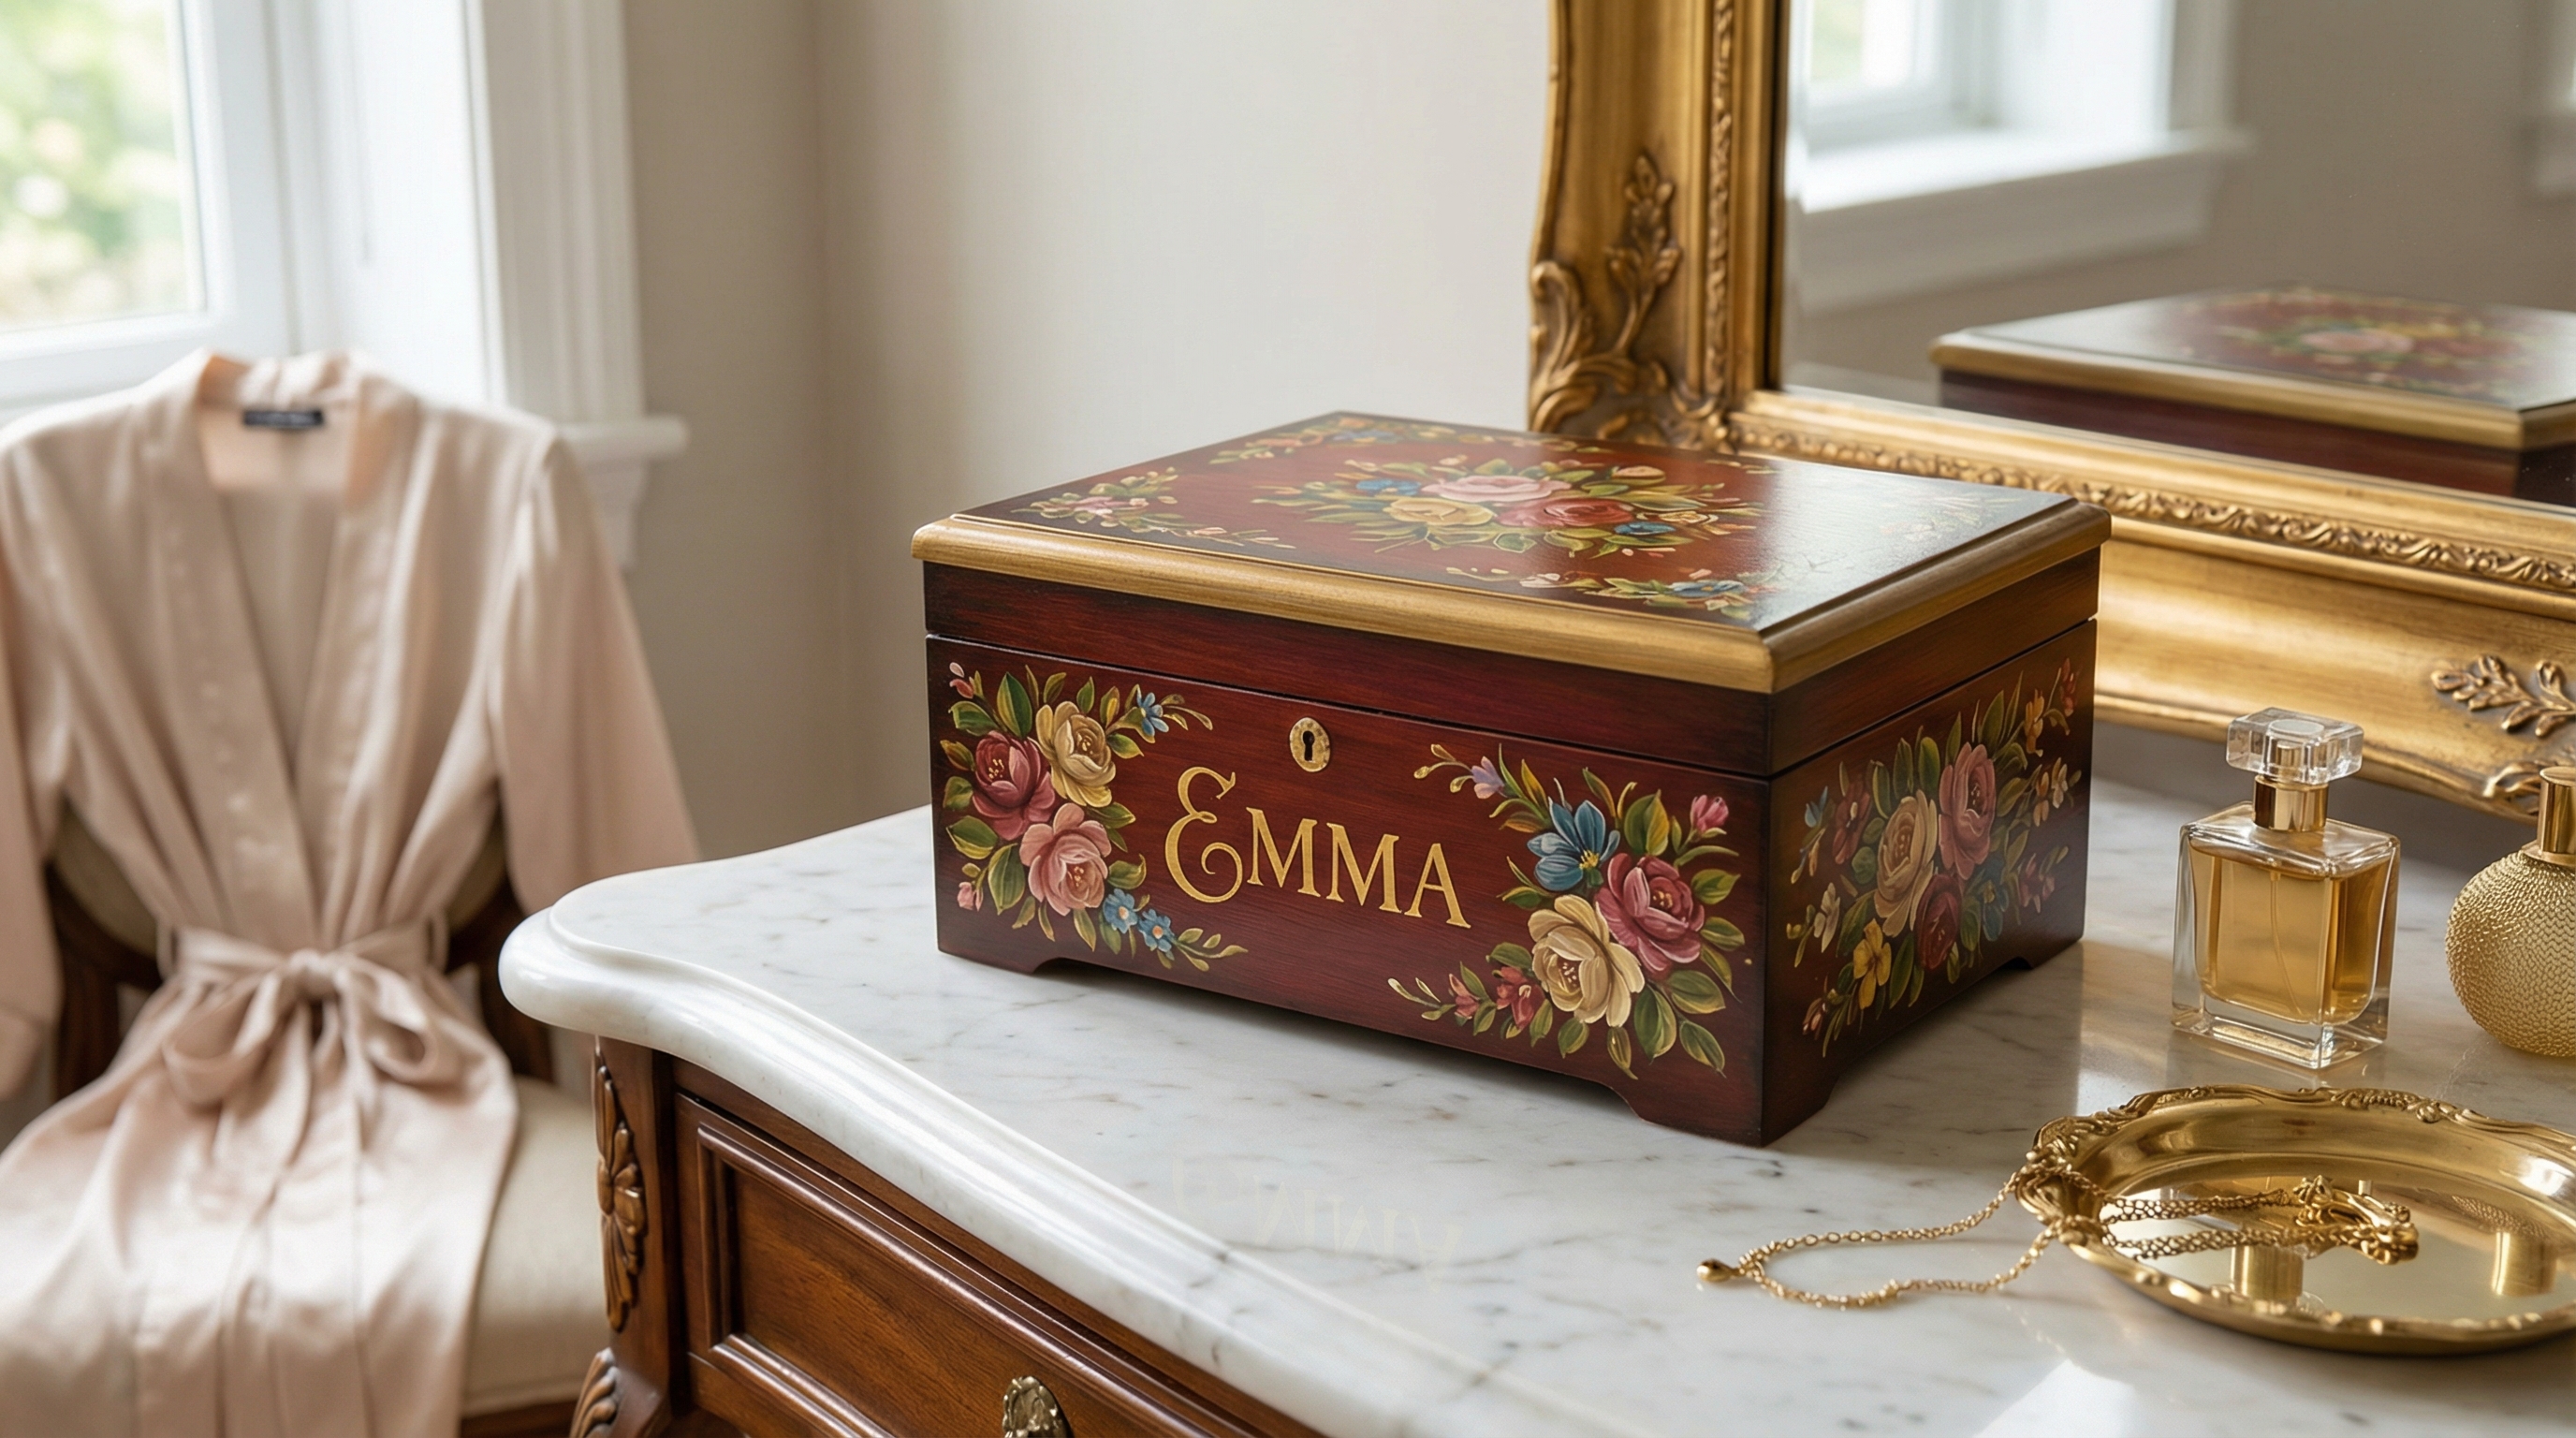
How can you decorate after you paint jewelry box lids?
You can decorate the lids using stencils, gold leafing, or hand-painted monograms to add a signature touch to your work. Once you paint jewelry box base colors, the lid becomes your primary canvas for artistic expression. This is where you can differentiate your item by adding intricate details that suggest luxury and exclusivity.
Utilizing professional stencils
Stencils allow you to replicate complex patterns with perfect precision across multiple boxes.
Here is the secret:
- Adhesive stencils prevent paint from “bleeding” under the edges of the design.
- Pouncing with a dry sponge creates a soft, textured look within the stencil area.
- Layering different stencil designs can create a unique three-dimensional effect.
Applying metallic accents
Gold and silver leafing can transform a simple painted box into a high-end treasure chest.
Now, look at this:
- Metal leaf adds a reflective quality that standard metallic paint cannot achieve.
- Gilding size (adhesive) must be “tacky” but not wet before applying the leaf.
- Burnishing the metal with a soft cloth creates a professional, polished glow.
Key TakeawayDecoration is the phase where a simple storage item becomes a personalized piece of art that represents your unique creativity.
| Method | Skill Level | Visual Effect | |
|---|---|---|---|
| Stenciling | Beginner | Precise, repeatable patterns | |
| Gold Leaf | Intermediate | High-end luxury and shimmer | |
| Freehand | Advanced | Unique, artisan personality |
Which sealants protect your paint jewelry box projects?
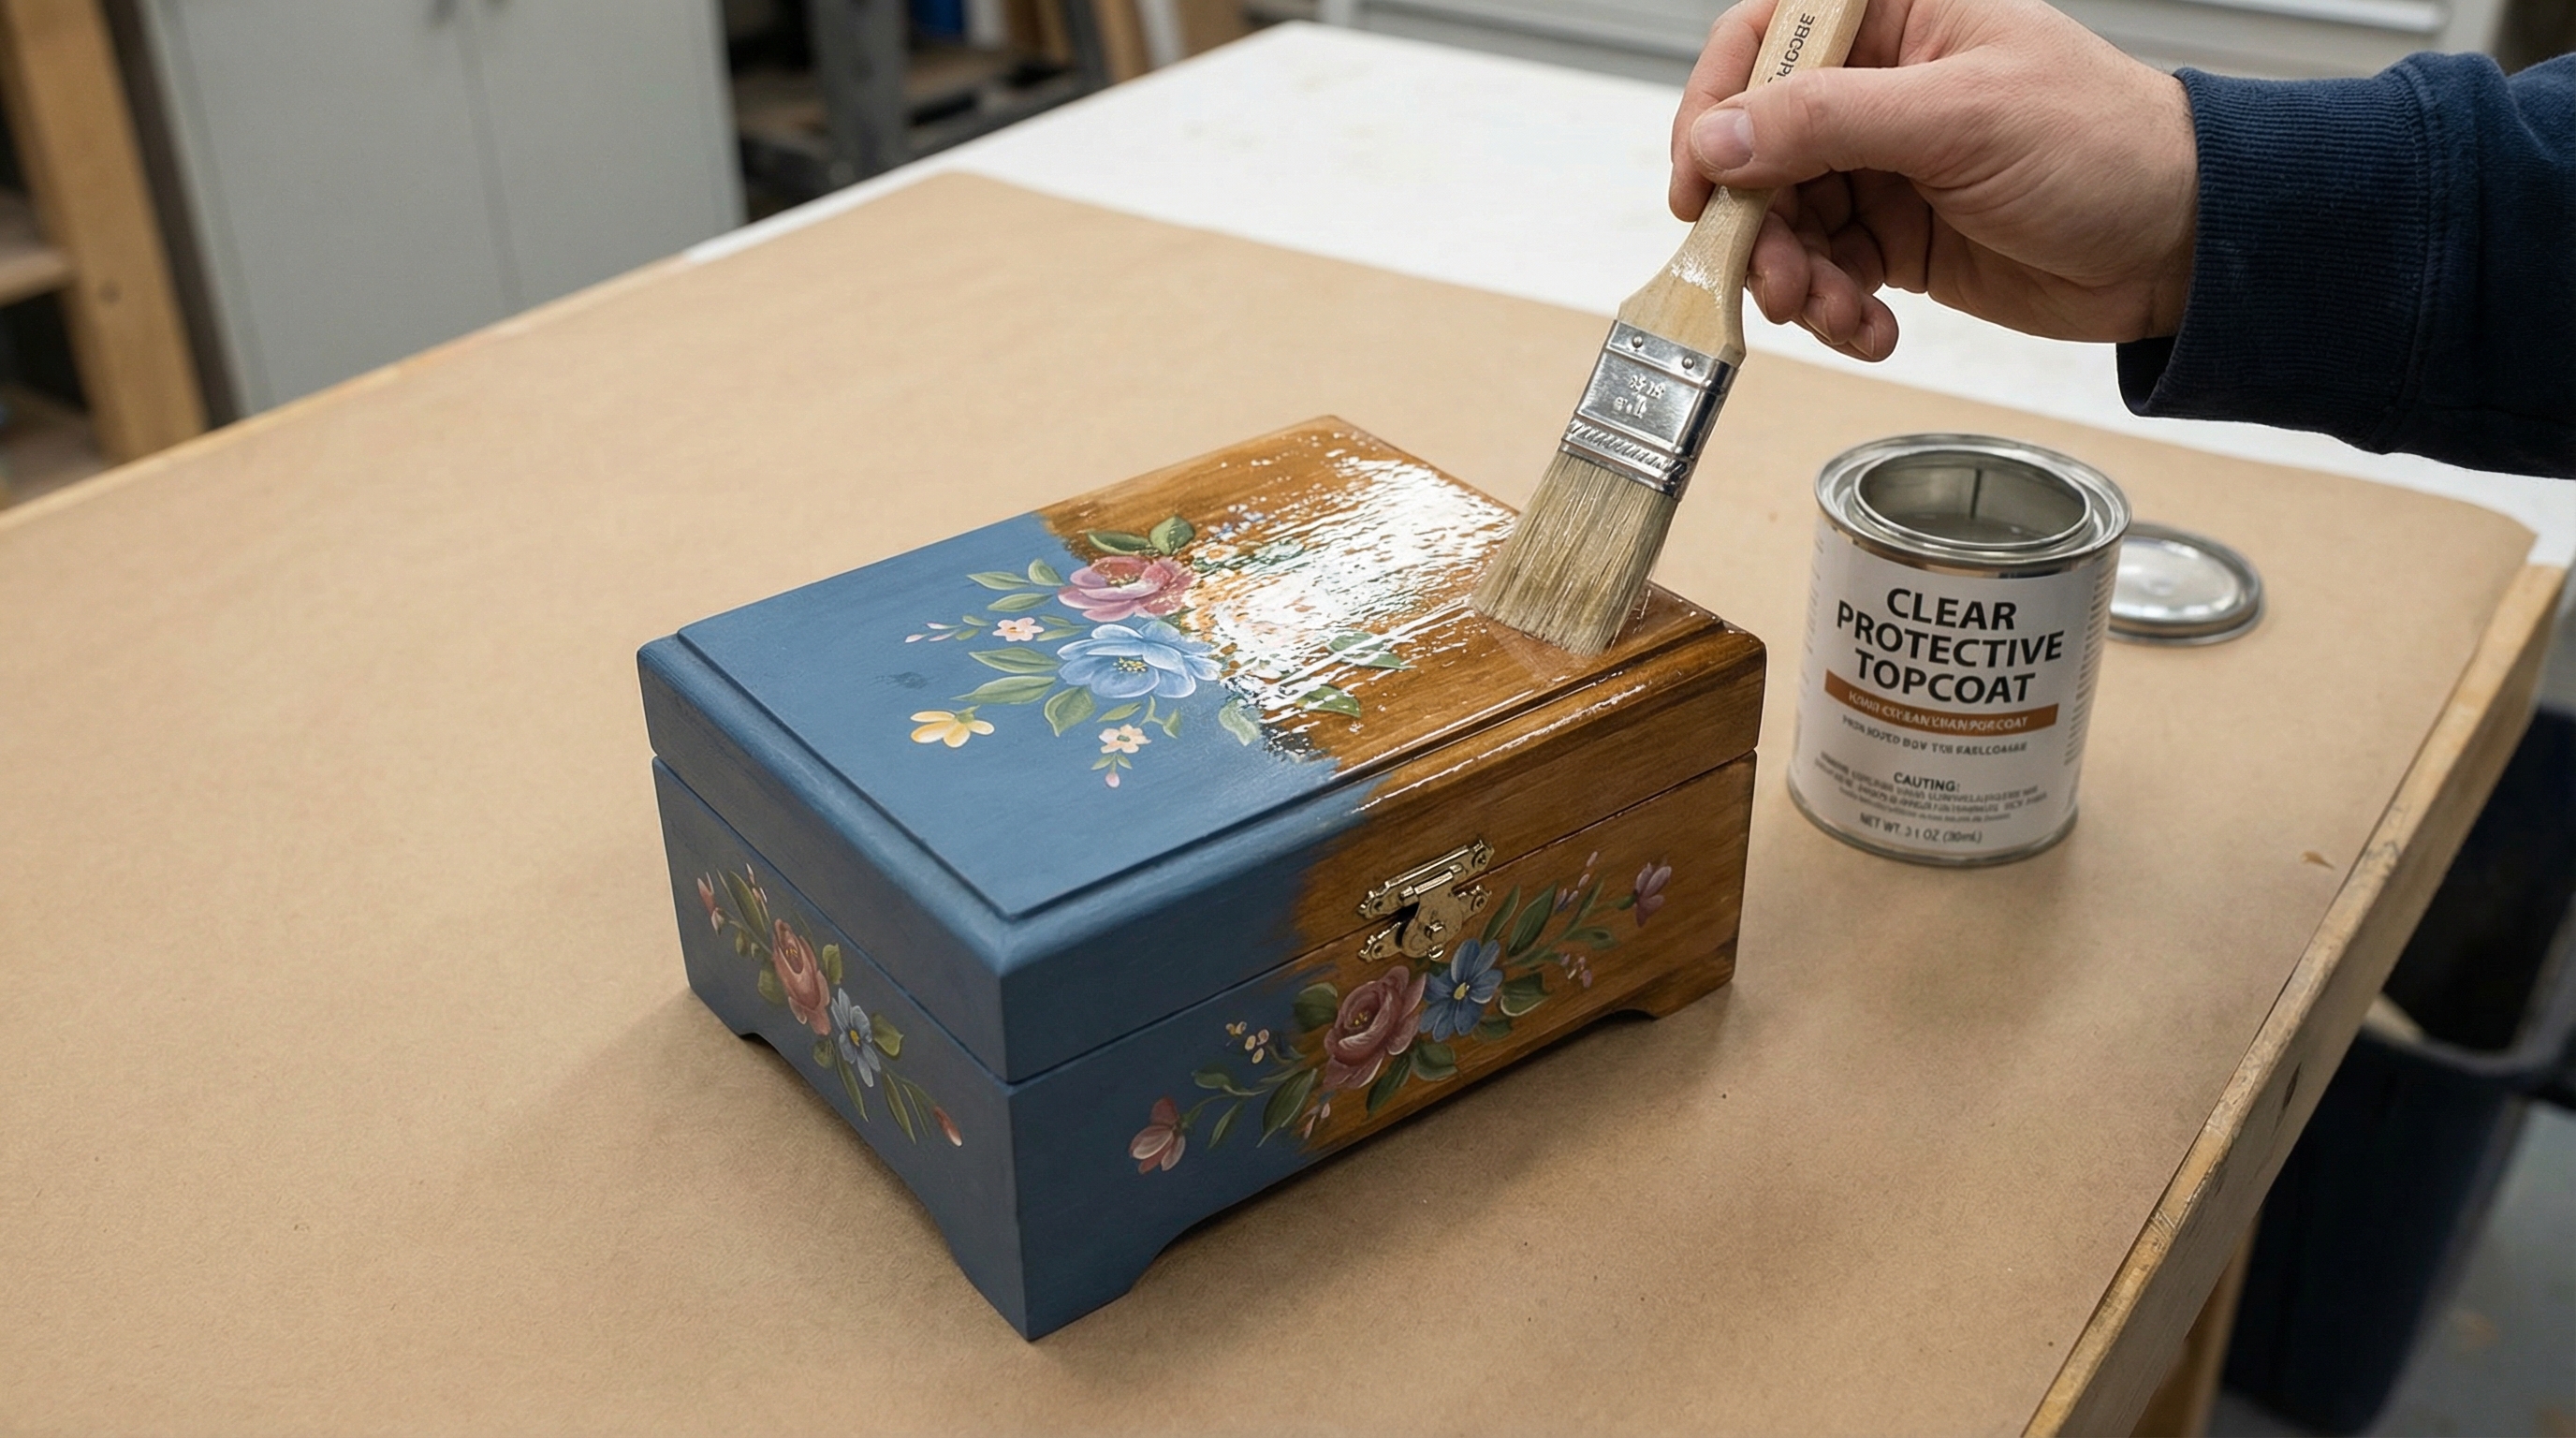
Polyurethane, polycrylic, and wax sealants are the best options for protecting your finish from scratches and moisture. To properly paint jewelry box items for long-term use, a clear topcoat is mandatory to prevent the color from chipping. Without a sealant, the daily friction of opening and closing the box will quickly wear down the edges of your paint.
Choosing the right sheen
The sheen of your sealant determines the final mood and tactile “feel” of the jewelry box.
Think about this:
- Matte sealants provide a modern, velvet-like appearance that hides fingerprints.
- Gloss finishes offer a high-shine, traditional look that makes colors look deeper.
- Satin sheens provide a “best of both worlds” balance for a professional look.
Curing for maximum durability
There is a major difference between paint being “dry to the touch” and being fully “cured.”
Best of all:
- Most sealants require 24 to 72 hours to reach their full chemical hardness.
- Avoiding heavy use during the first week prevents the finish from denting.
- A cured finish is waterproof and resistant to most household cleaning agents.
Key TakeawayApplying a high-quality sealant is the final insurance policy that keeps your decorative work looking new despite daily handling.
| Finish | Best Use Case | Durability | |
|---|---|---|---|
| Matte | Modern/Boho Styles | Medium (Hides scratches) | |
| Satin | Retail/Commercial | High (Versatile) | |
| Gloss | Luxury/Traditional | Very High (Shows dust) |
What common mistakes occur when I paint jewelry box gifts?
Common mistakes include applying paint too thickly, failing to sand between coats, and ignoring room humidity levels. When you paint jewelry box presents, the pressure to be perfect can lead to rushing, which is the root of most errors. Recognizing these pitfalls early allows you to correct them before they become permanent eyesores on your gift.
Dealing with paint bleeds
Bleeding occurs when paint seeps under your masking tape, ruining your clean lines.
Here is the kicker:
- “Sealing” the tape edge with a bit of the base color prevents seepage.
- Removing tape while the paint is still slightly damp creates a crisper edge.
- Using high-quality, low-tack tape is better than using standard masking tape.
Preventing the “sticky box” syndrome
If your jewelry box lid sticks shut after painting, it is likely due to an incomplete cure or paint in the joints.
Wait, there is more:
- Applying paint to the contact points where the lid meets the base should be avoided.
- A light coat of furniture wax on the edges can prevent sticking during the cure.
- Using too many layers of soft craft paint without a hard sealant causes permanent tackiness.
Key TakeawayMost painting mistakes are fixable if you are willing to slow down, sand back the error, and reapply the layers correctly.
| Mistake | Prevention | Fix | |
|---|---|---|---|
| Drips/Runs | Thinner coats | Sand flat and repaint | |
| Sticky Lid | Wax the edges | Sand contact points | |
| Bubbles | Don’t shake paint | Pop with needle while wet |
How do you maintain the finish on your paint jewelry box?
Maintain the finish by dusting with a dry microfiber cloth and avoiding the use of harsh chemical cleaners. To keep your paint jewelry box looking showroom-new, you must treat the surface like fine furniture. Over time, even the hardest sealants can be degraded by improper care or environmental stressors.
Safe cleaning protocols
Harsh chemicals can soften the paint and cause it to become cloudy or peel away.
Believe it or not:
- A slightly damp cloth is all you need to remove most surface smudges.
- Never use ammonia-based window cleaners on a painted surface.
- Buffing with a dry, soft cloth restores the original sheen of the sealant.
Environmental protection strategies
Where you store your jewelry box is just as important as how you clean it for longevity.
The secret is:
- Direct sunlight can fade even the highest-quality pigments over several months.
- Extreme humidity can cause wooden boxes to swell, cracking the paint film.
- Keeping the box away from direct heat sources prevents the sealant from becoming brittle.
Key TakeawayConsistency in gentle cleaning and environmental control ensures that your custom jewelry box remains a beautiful asset for years.
| Care Task | Frequency | Method | |
|---|---|---|---|
| Dusting | Weekly | Dry Microfiber | |
| Deep Clean | As Needed | Damp Cloth (Water Only) | |
| Polishing | Annually | Specialized Furniture Wax |
FAQ
- Can I paint jewelry box linings made of fabric?No, painting fabric lining usually results in a stiff, cracking texture. It is better to tape off the fabric or remove and replace it after the exterior painting is finished.
- What’s the best paint for a glossy finish?High-gloss acrylic spray paint is the best option for a factory-smooth look. It provides a uniform, shiny shell without the brush marks often seen with liquid craft paint.
- How do I know if I need to sand the box first?You almost always need to sand if the surface feels smooth or glossy. If you do not scuff it up to create a “tooth” for adhesion, the new paint will peel off easily.
- Can I use wall paint for this project?It is possible, but not recommended for small items. Wall paint is too thick for small details, while craft acrylics or spray paints offer better control for precision work.
- What’s the best way to speed up drying?Place the box in a warm, dry area with good airflow. Fans help circulate air, but avoid direct heat sources like hair dryers, which can cause the paint to crack.
Conclusion
Personalizing your jewelry storage is a rewarding way to elevate everyday items into unique pieces of art. By mastering the sequence of cleaning, sanding, priming, and sealing, you ensure a professional result that protects your treasures for years. Whether you are upcycling an old heirloom or customizing a gift, the attention to detail in your finish reflects the value of the items inside. To learn more about professional manufacturing and bulk storage solutions, contact us today .